Build your light - the way you like it
Plaster combined with LED profiles in ready-to-install drywall panels.
Just the right lighting: finally sufficient and functional light! Create your individual direct and flush lighting from 15 different plasterboard panels. Dark corners in the hallway are a thing of the past and become bright - the installation is simple and time-saving. The profiles are already integrated and can be aligned perfectly straight with the included accessories.
-
sophisticated system
-
simple and time saving
-
flush mounting
-
matching diffusers for a glare-free and ideally diffused light
-
integrable curtains
Get a personal consultation today and secure your project discount depending on the order value.
You want to use the panels commercially? Sign up today and benefit from our partner program and agreed conditions.
Prefabricated plaster elements (panels) with 1, 2 or 3 races
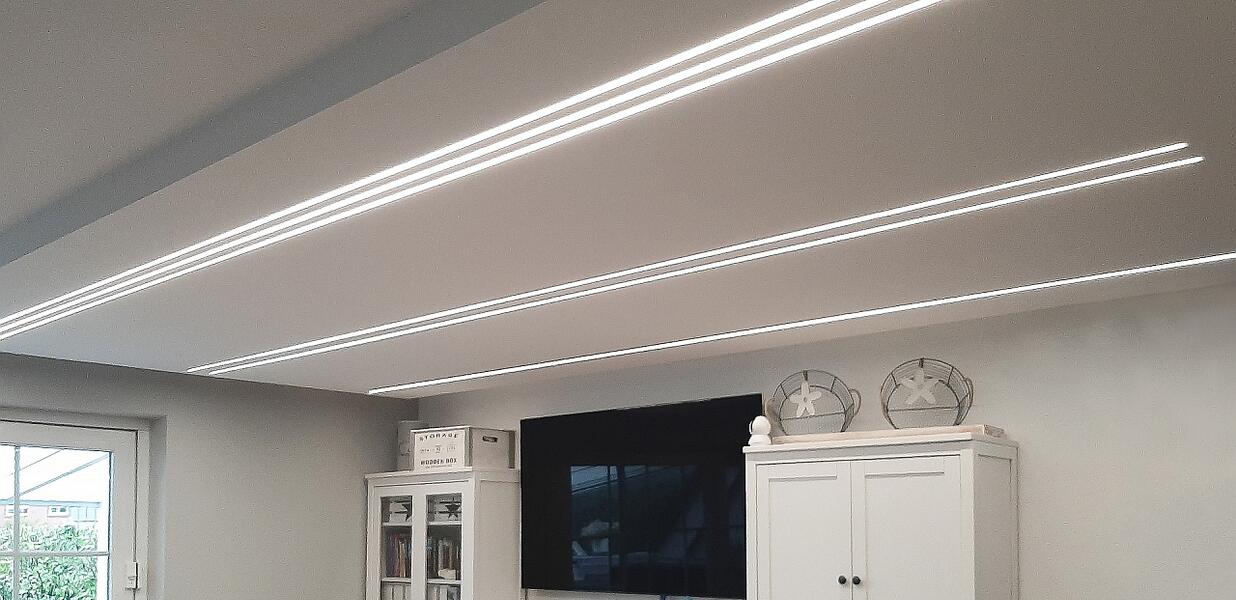
All panels have 1, 2 or 3 races (profiles). Various elements with a Y-arrangement also allow the transfer from 1 to 2 or from 2 to 3 lanes. Below are the dimensions of the profiles in the lanes.

1-race

2-race

3-race
Curtain integrable
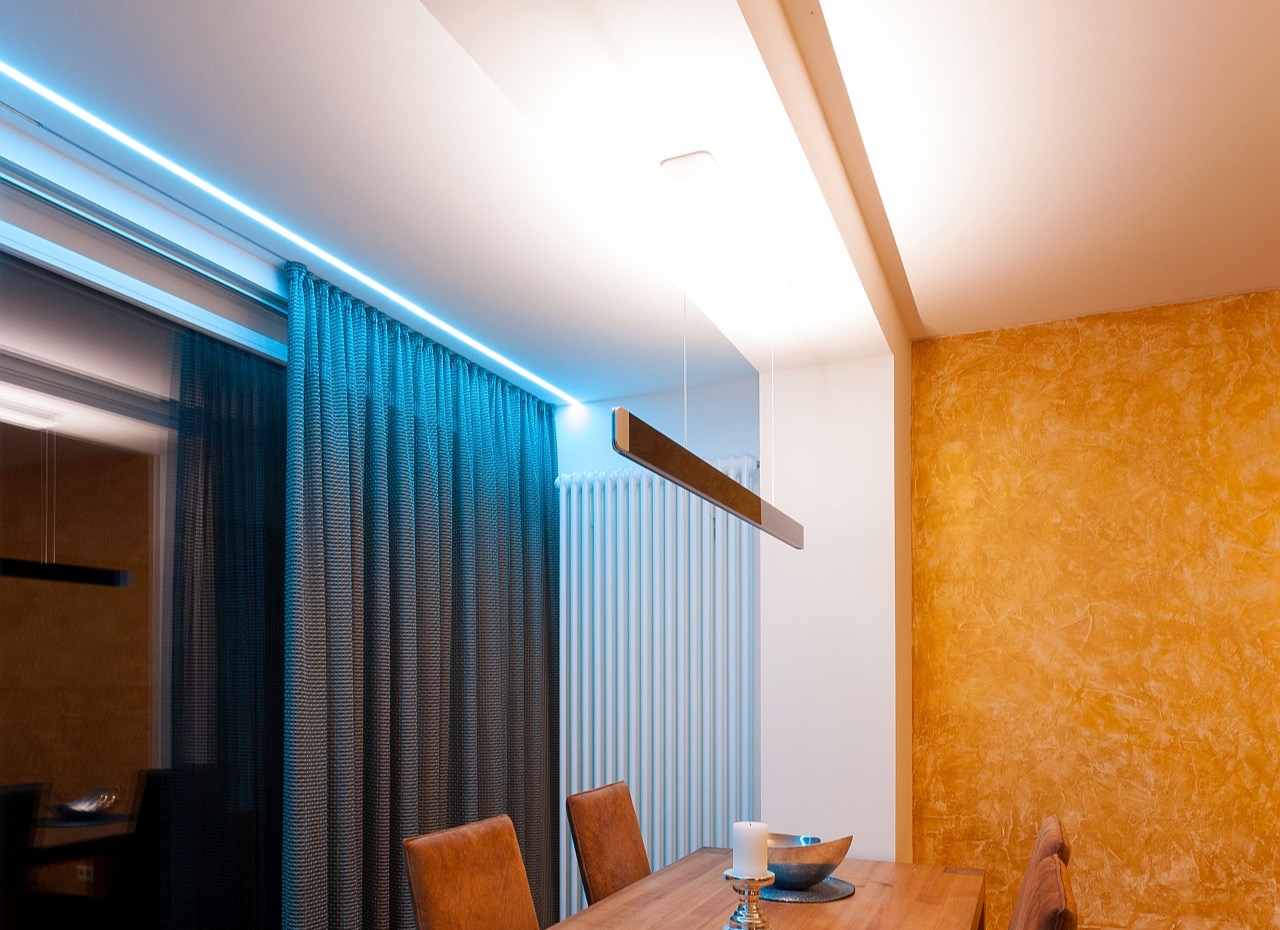
As a special highlight, curtains can also be used instead of installing light in one of the integrated profile tracks with the appropriate accessories. To do this, simply slide a curtain track into the aluminum profile instead of an LED light strip.
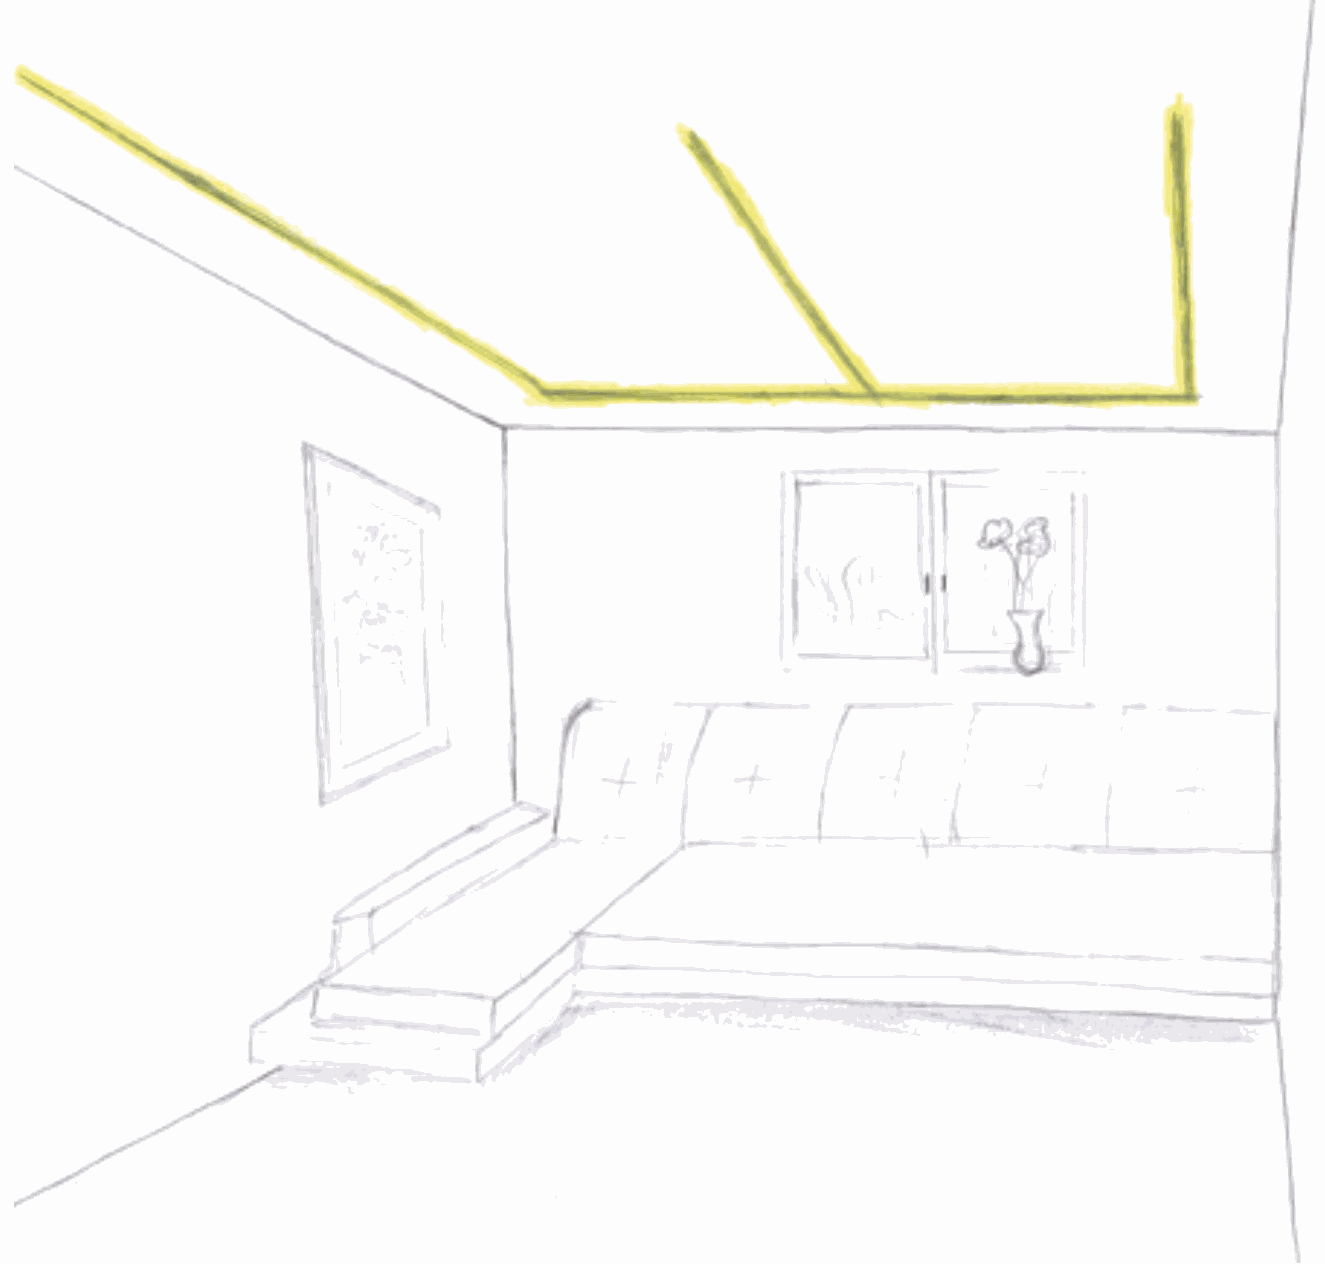
From the idea to the result using a practical example
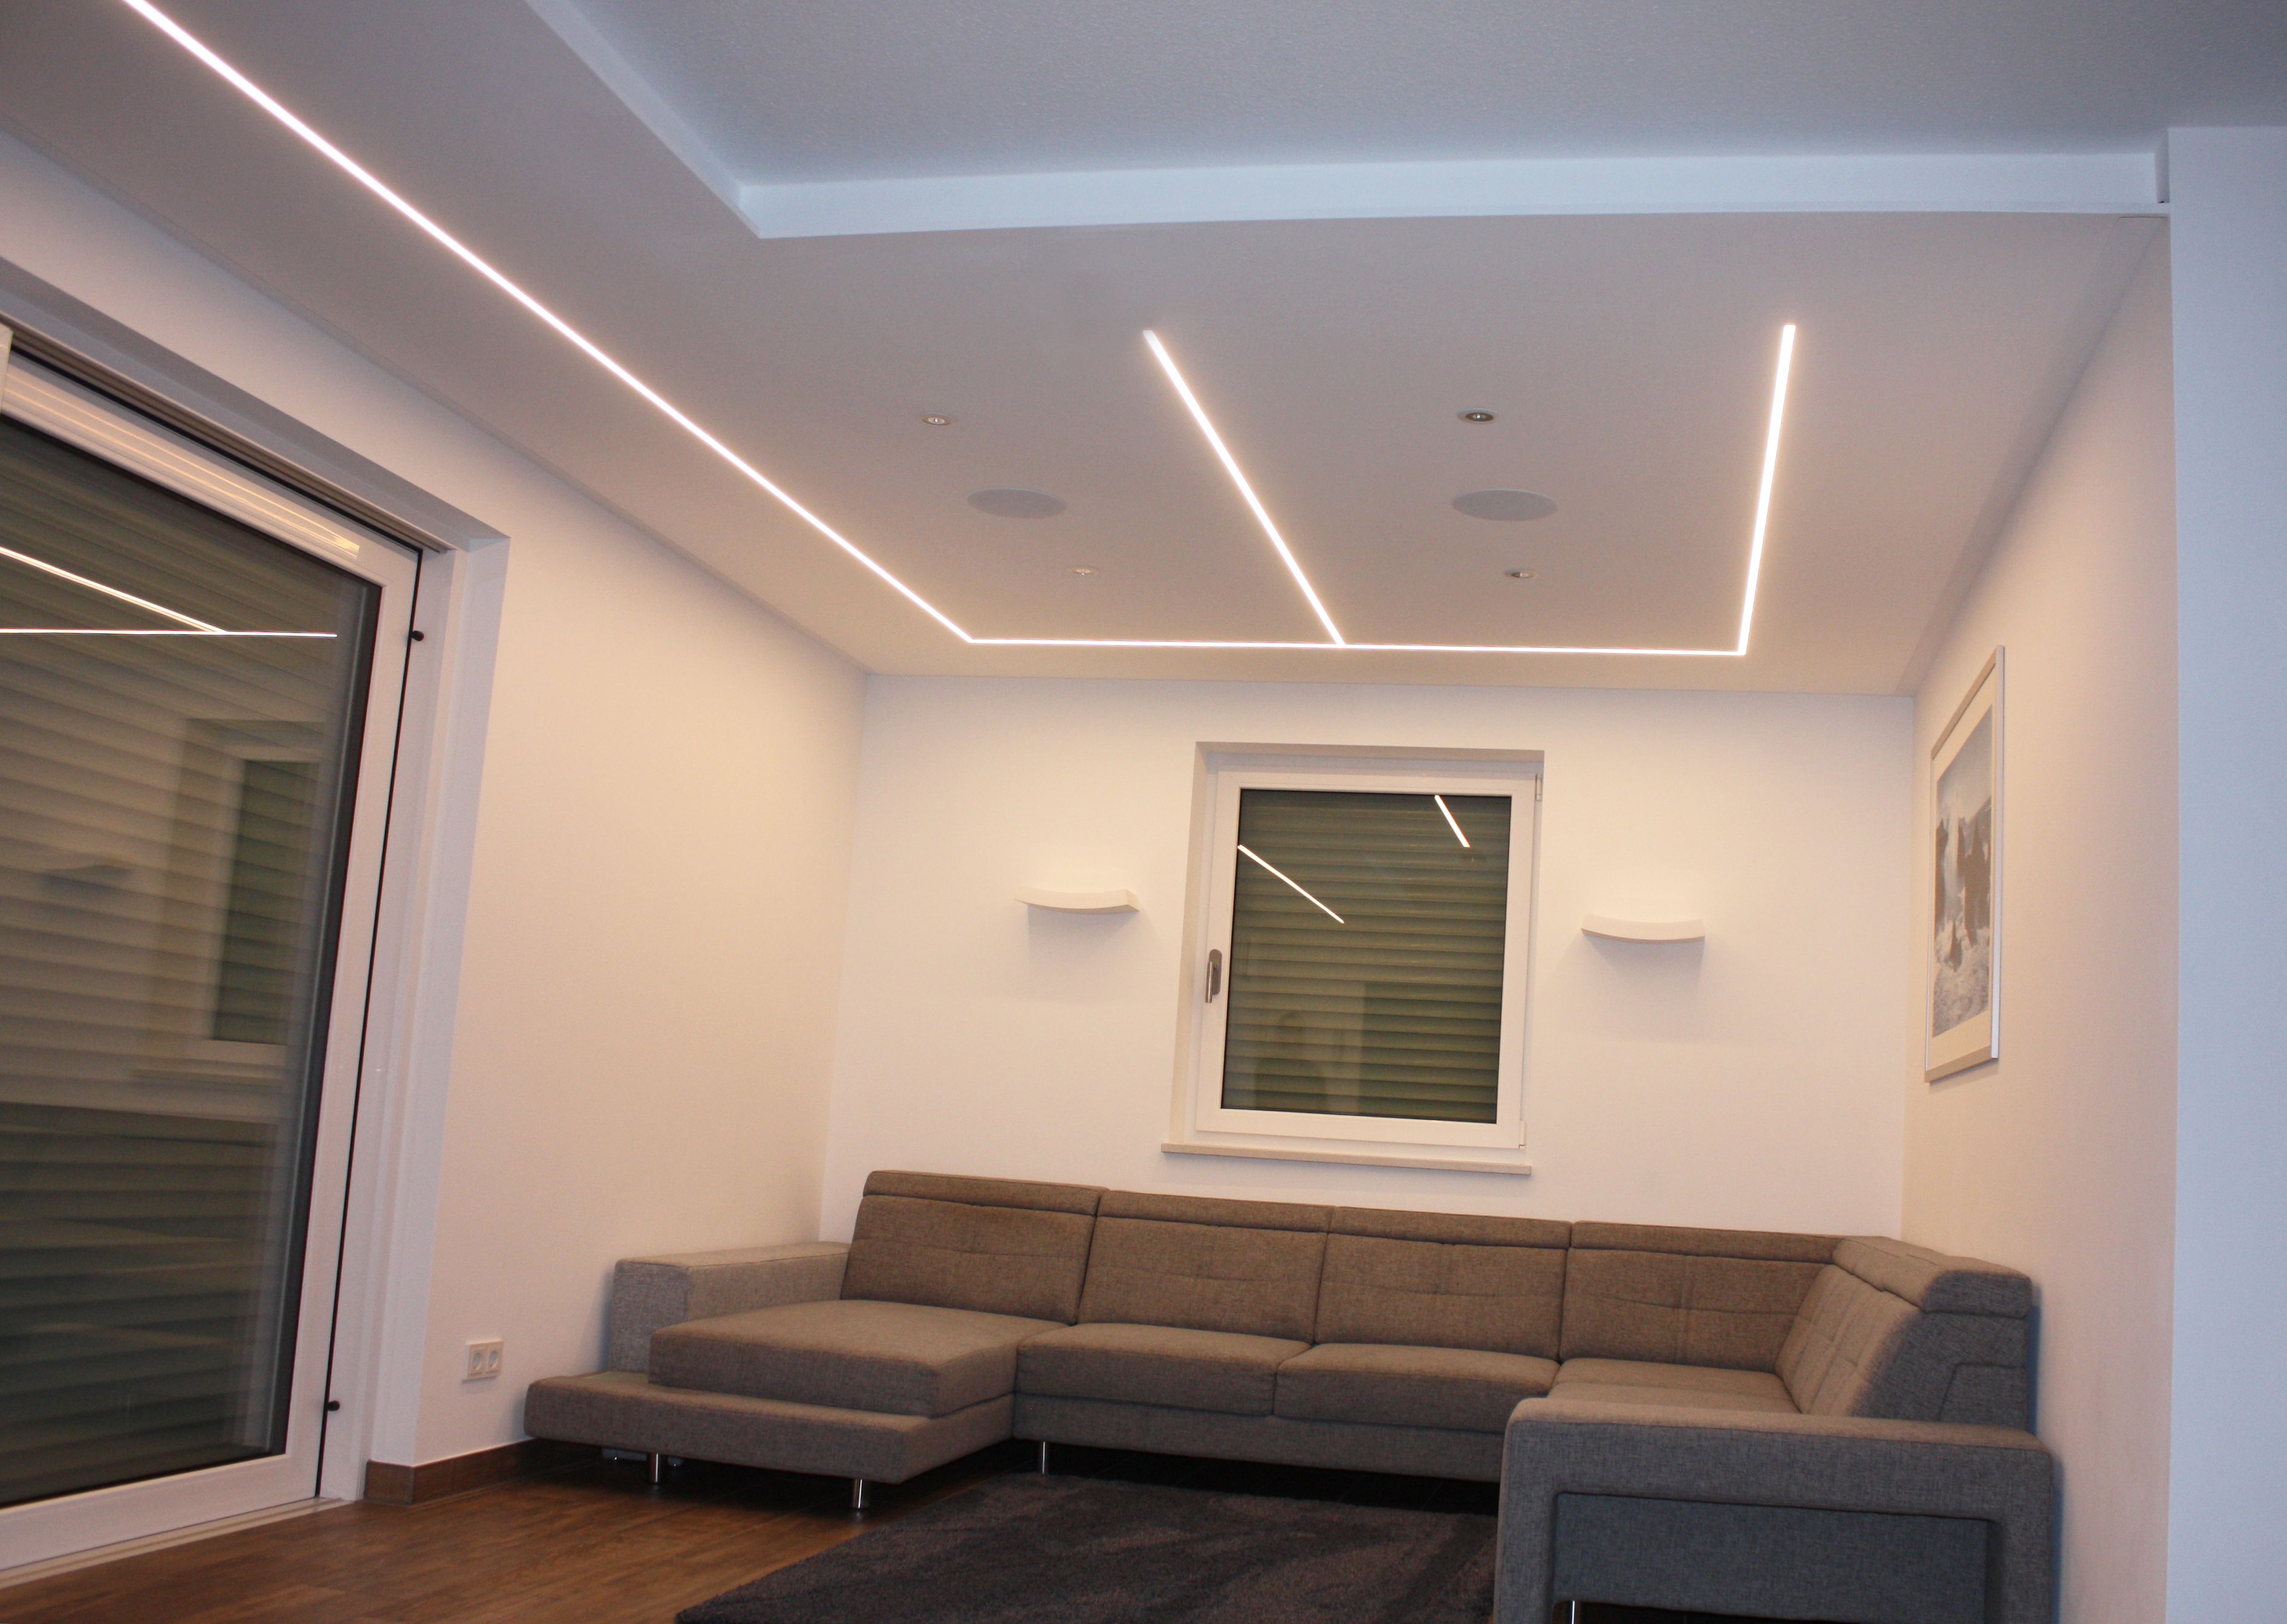
A living room receives a suspended ceiling and is to be illuminated with sufficient light above the couch landscape. The installation is done with a light track.
Optimal procedure
-
Determine later form and sketch if possible
-
Plan & order required panels
-
Finish the substructure, if necessary insert reinforcements to the right and left of the planned light lines so that the panels can be easily screwed on.
-
Screw on panels in the desired shape
-
Lay connection cable and drill holes for cable feed-through in the profiles
-
Insert painting and covering rubbers (included in delivery) to protect the profiles
-
Close gaps in the ceiling with gypsum fiberboard
-
Test cable for continuity before finishing
-
Fill, sand and paint the ceiling as required
-
Install LEDs and optionally slide in curtains.
Note: when using the angles and tees, all angles must be exactly 90°. If this is not guaranteed, you should make the corners and tees with a miter saw.
The idea and the sketch for it
The result
The planning
The desired shape can be made from three simple basic elements. It is needed:
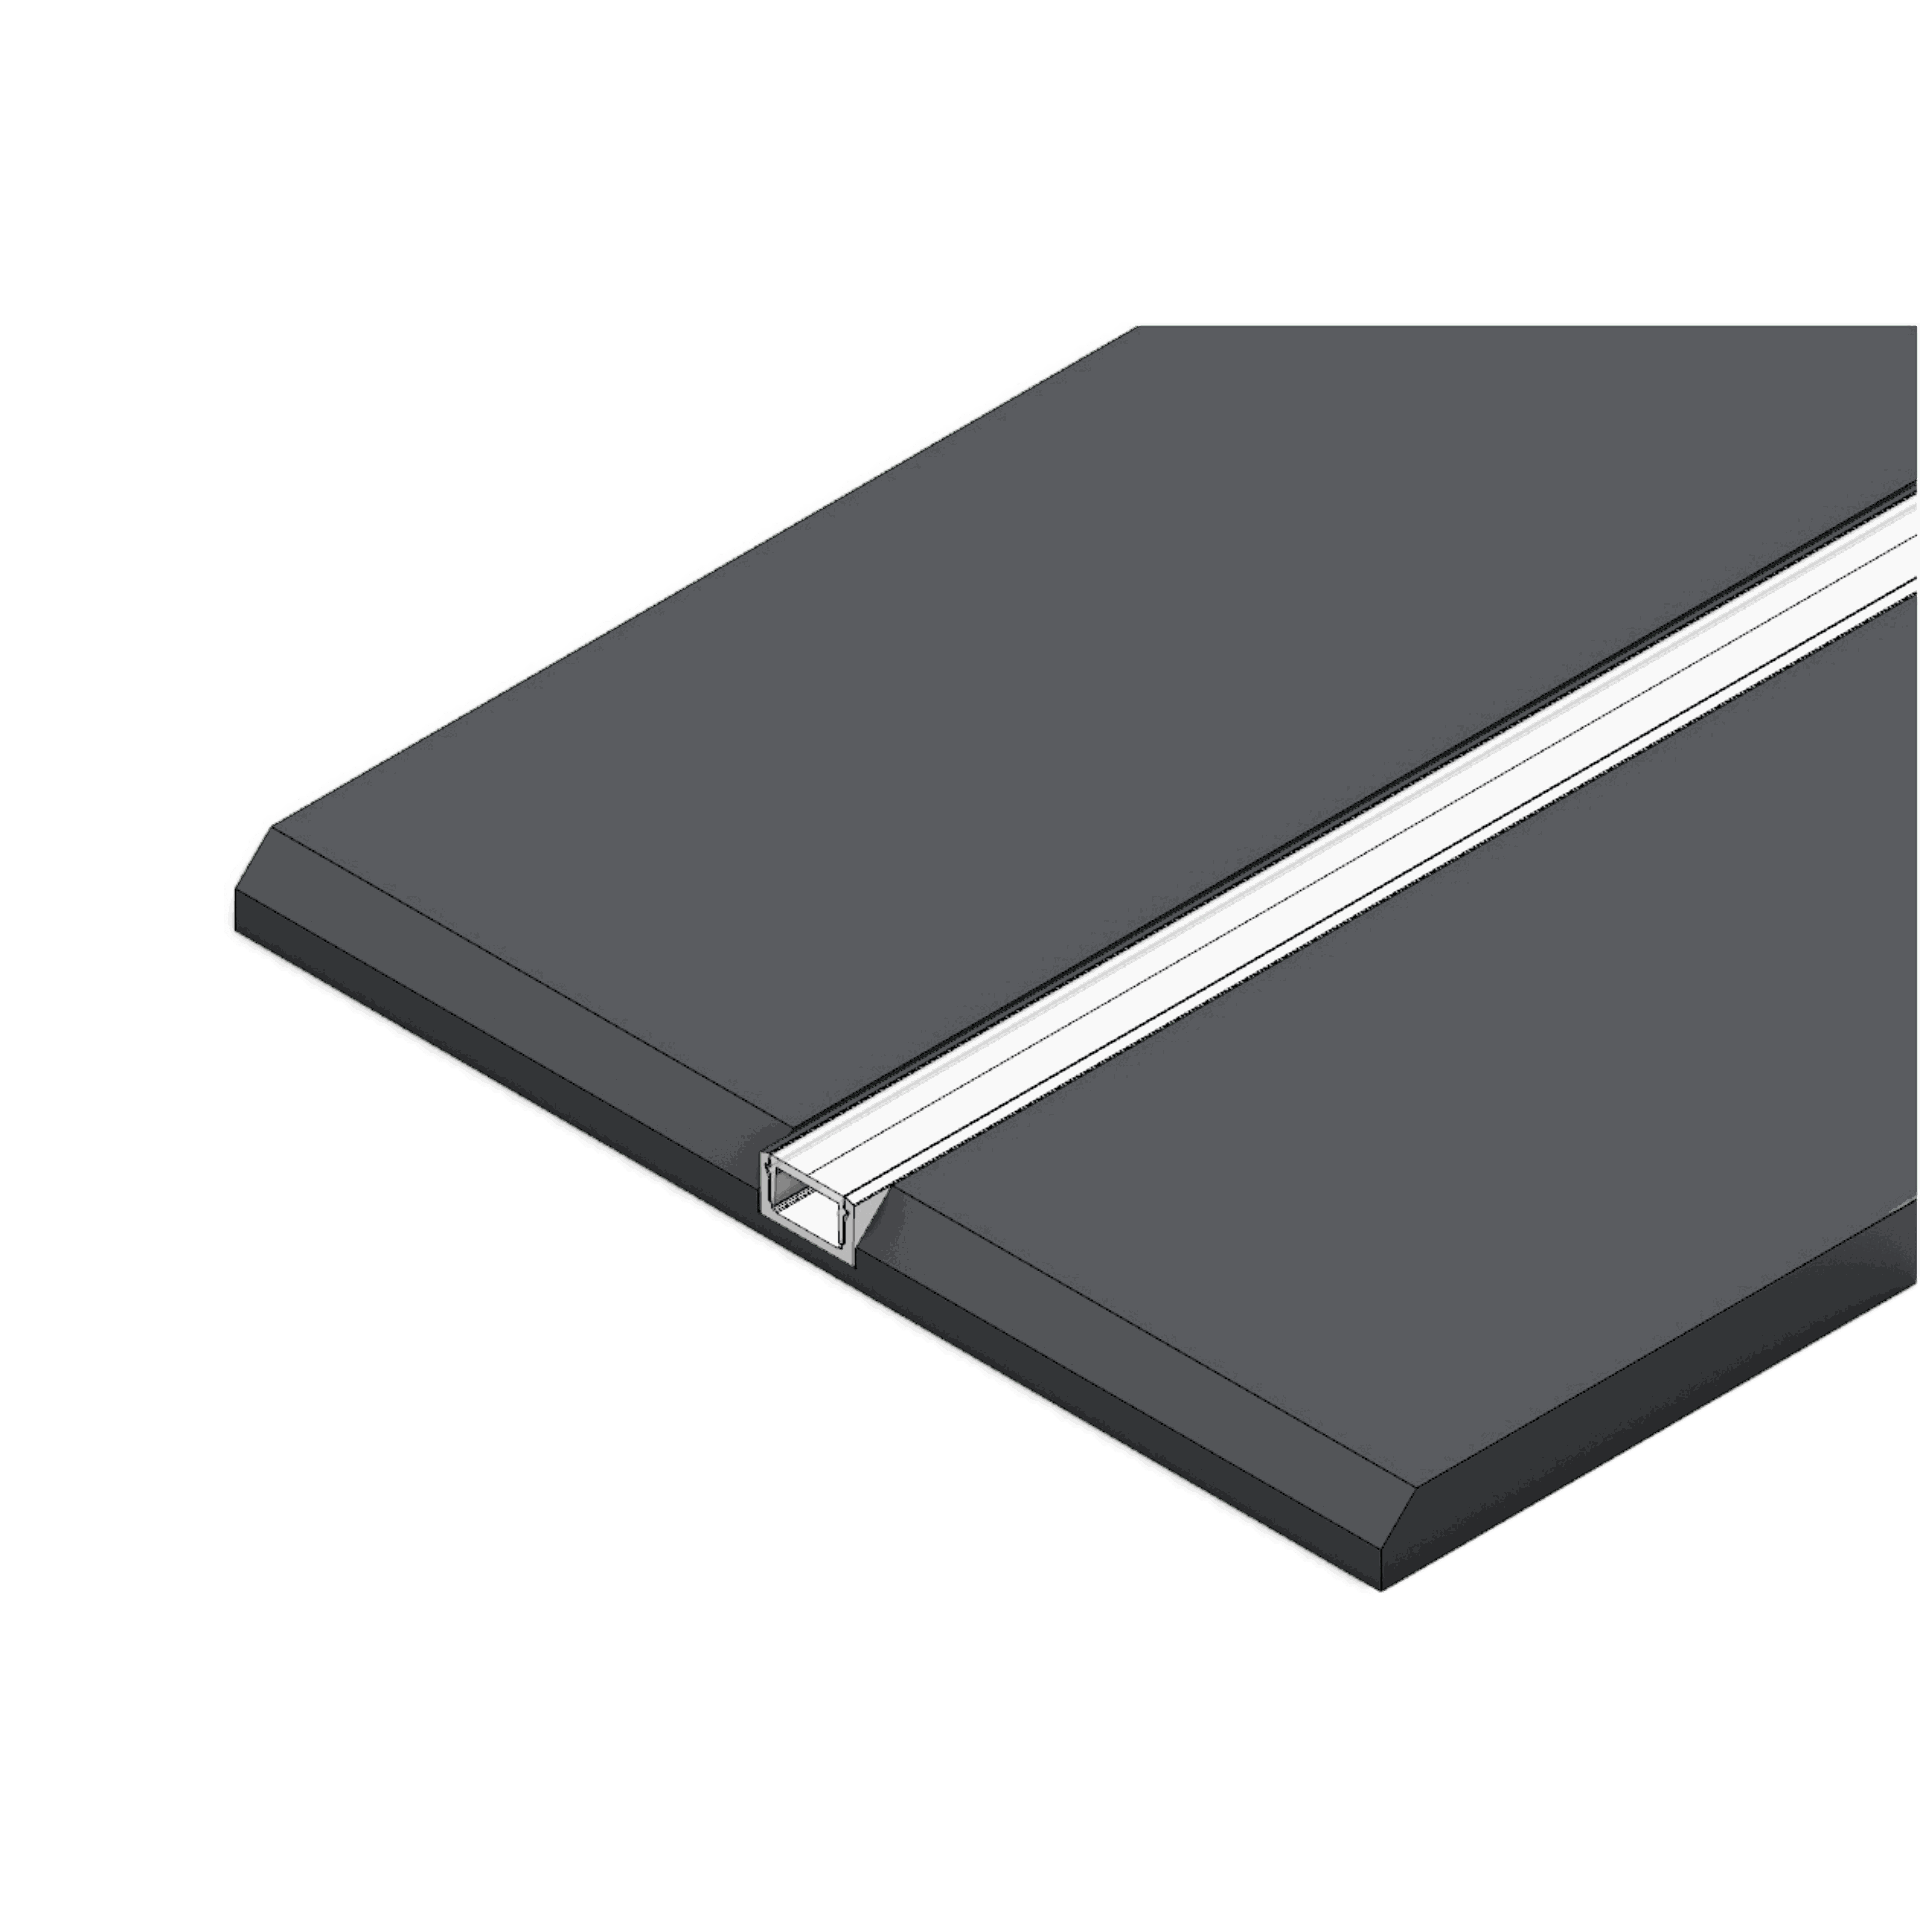
Four linear panels with one track on 200cm length. If necessary, these are shortened accordingly with a chop saw.
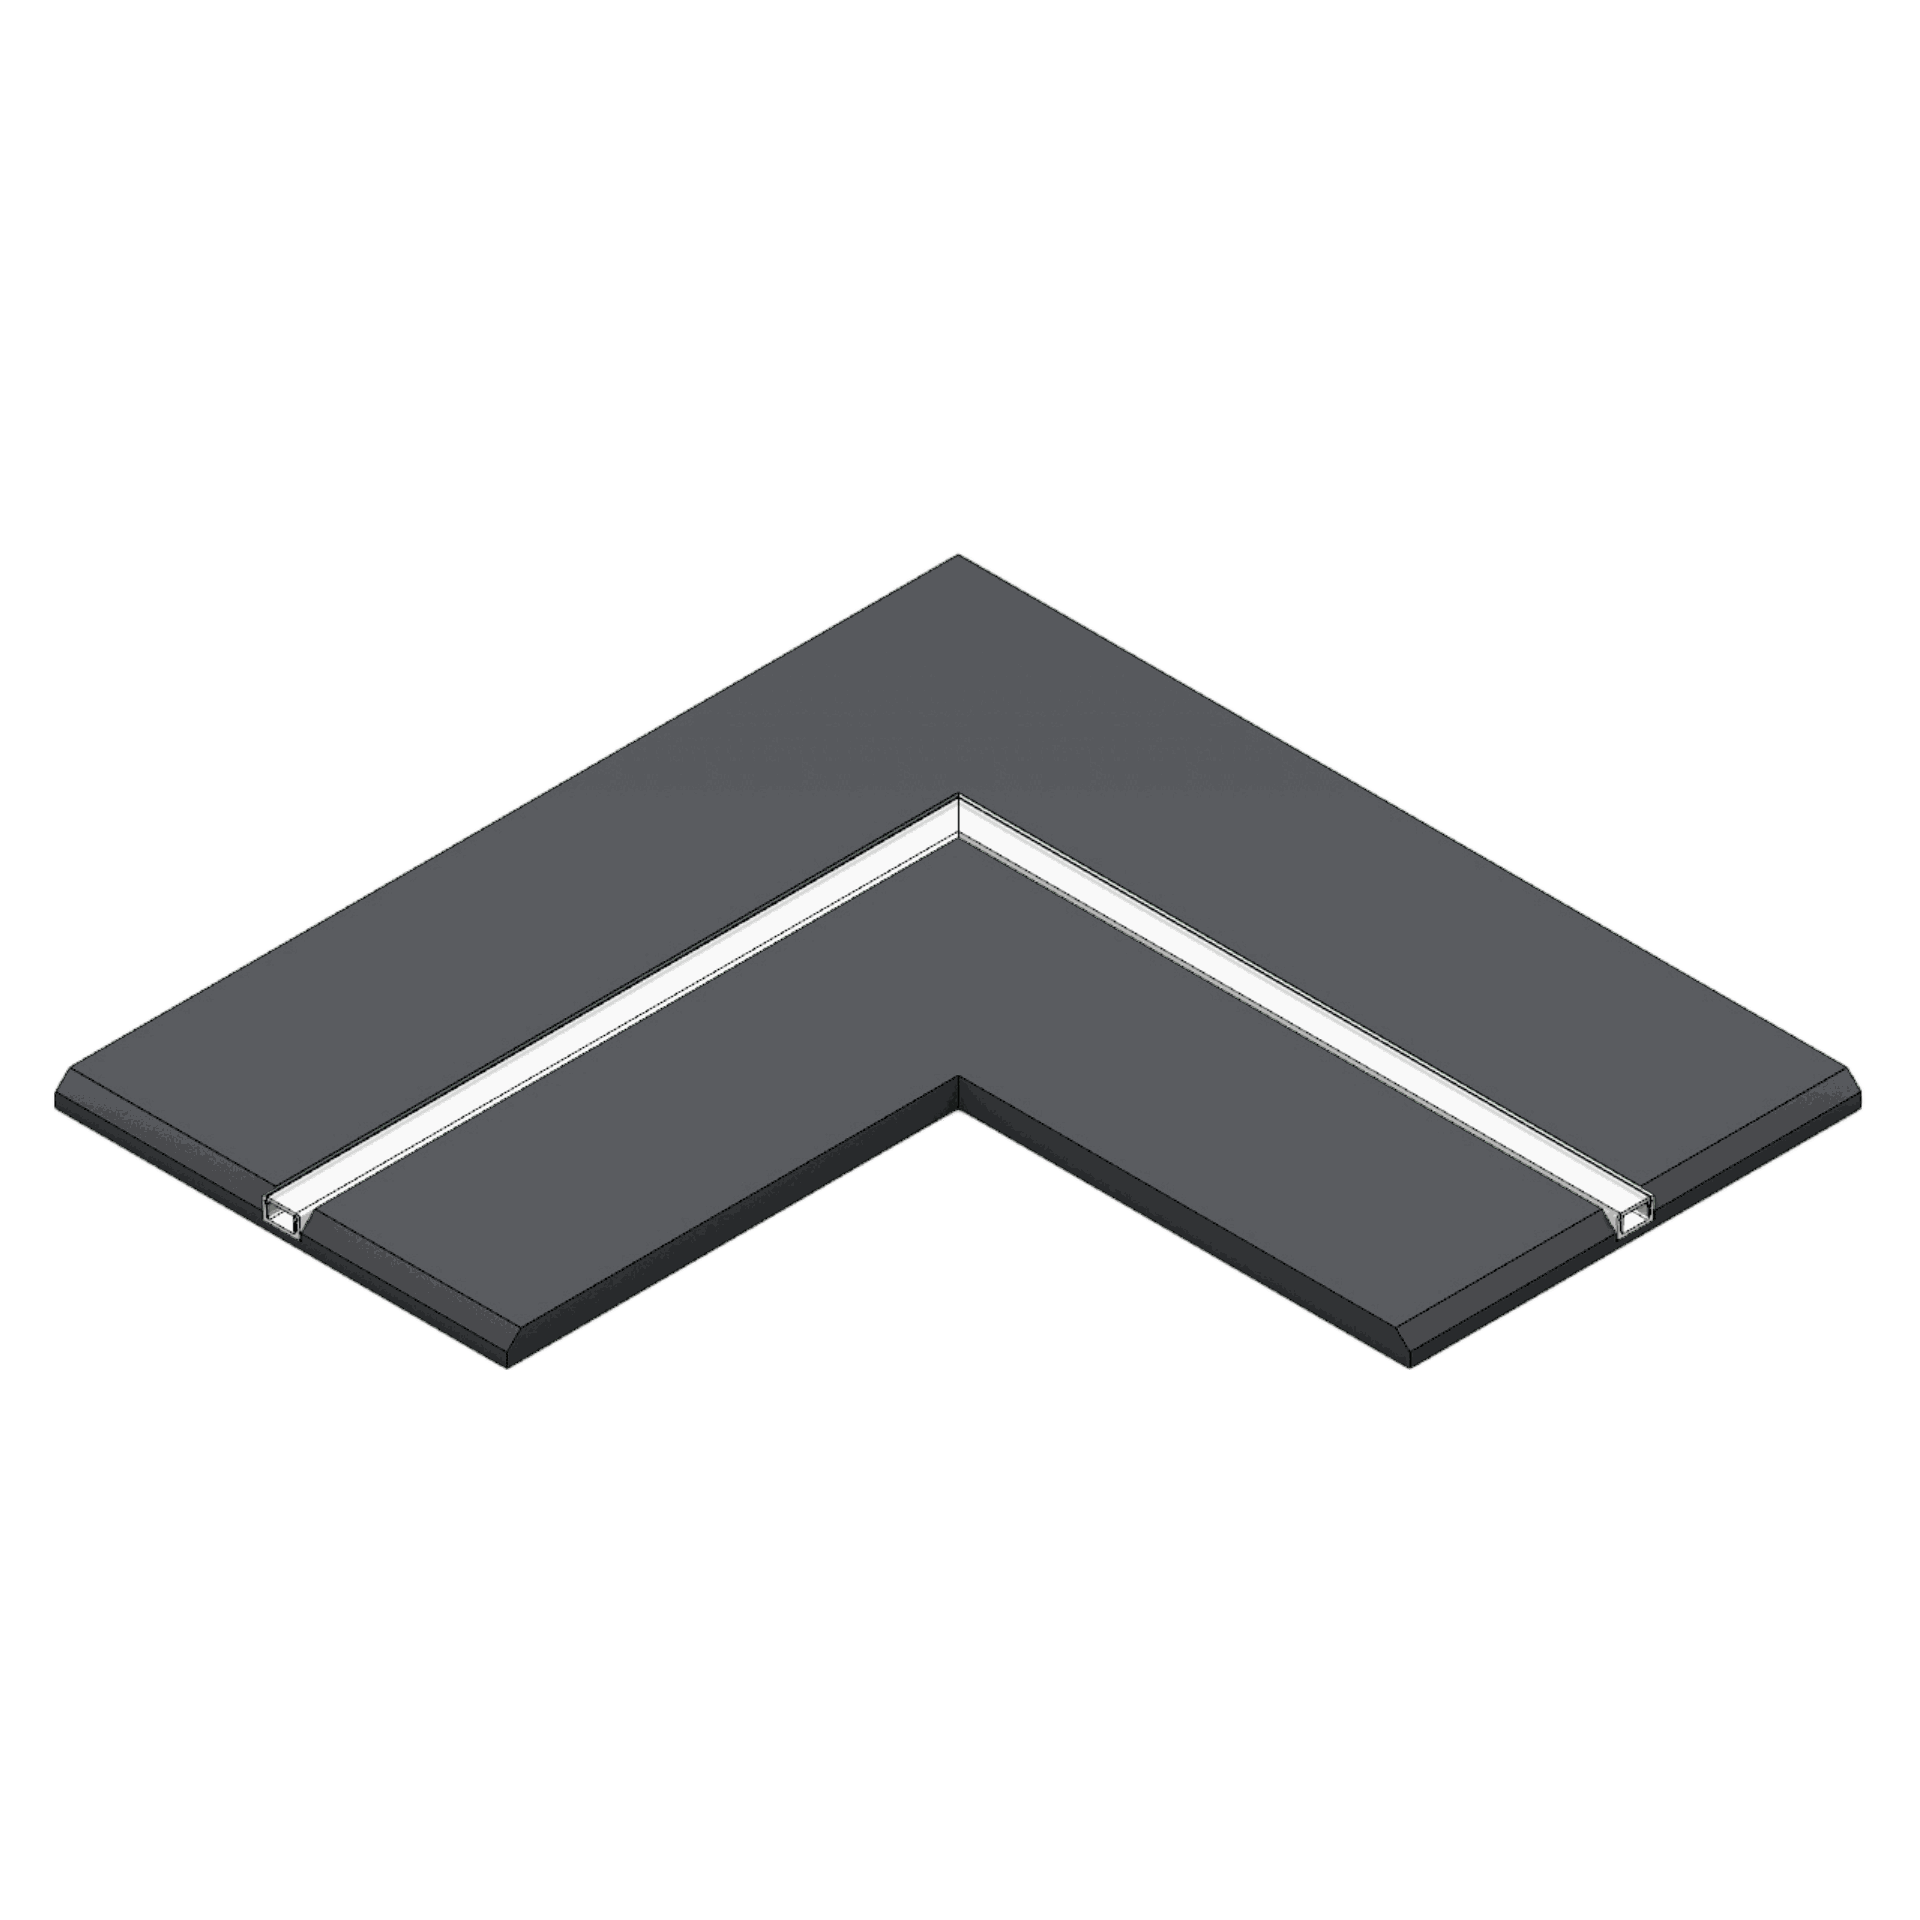
For the two corners you need 2 corner panels with one track.
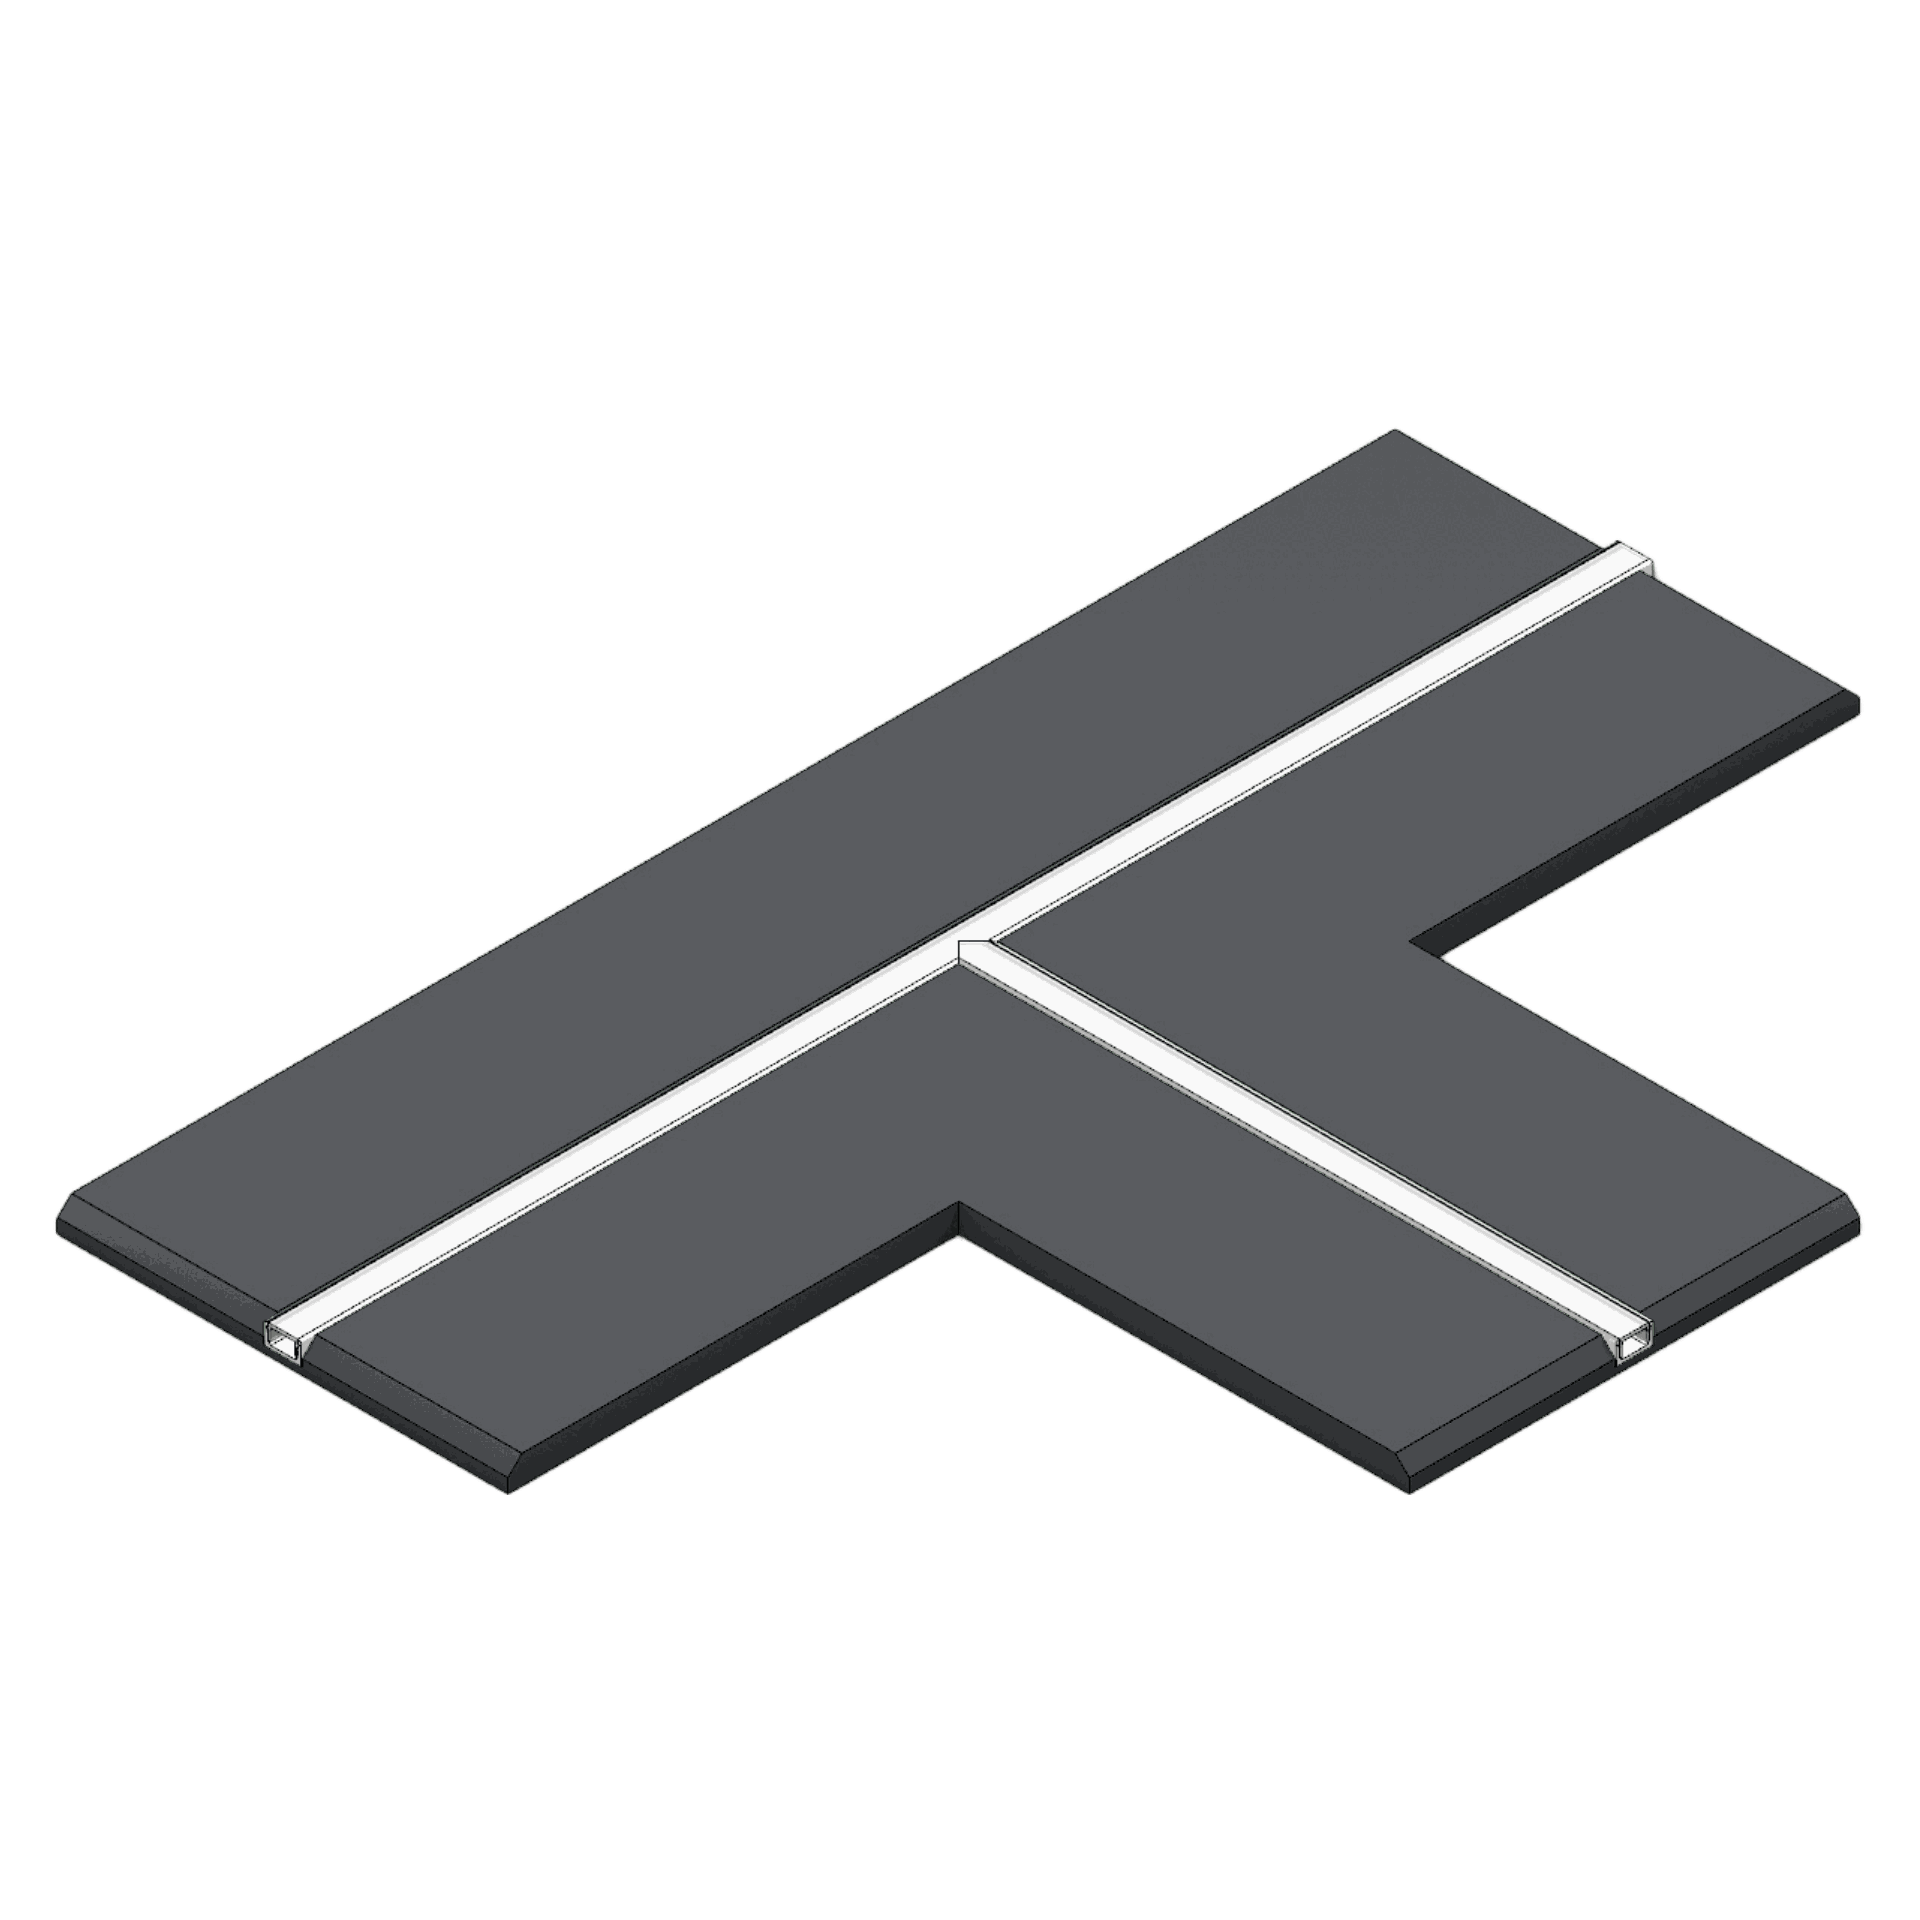
And in the middle, a T-panel is used.
The design
The panels are first aligned and screwed to the substructure. The resulting gaps are covered with commercially available gypsum boards 12.5 mm thick.
For the electrical connection, small holes for the cables must be drilled in the profiles. The connection cables for the LED light strips are laid in these before closing the gaps.
Before filling, sanding and painting, the aluminum profiles are sealed with the supplied painting and covering rubbers. The finish can then be applied.
After installation of the LED light strips, the profiles are closed with matching diffusers (covers) in one of the three color variants.
Due to the low depth of the aluminum profiles, we recommend the use of the opal diffuser and a LED light strip with a high LED density of 140 LEDs per meter or more.
Hint
To avoid unlit corners, the LEDs should be designed one segment longer than the track. The protrusion in the LED light strip can then be directed to the structure through holes in the profile corners. In this way, the light shines right into the corners.
Available shapes
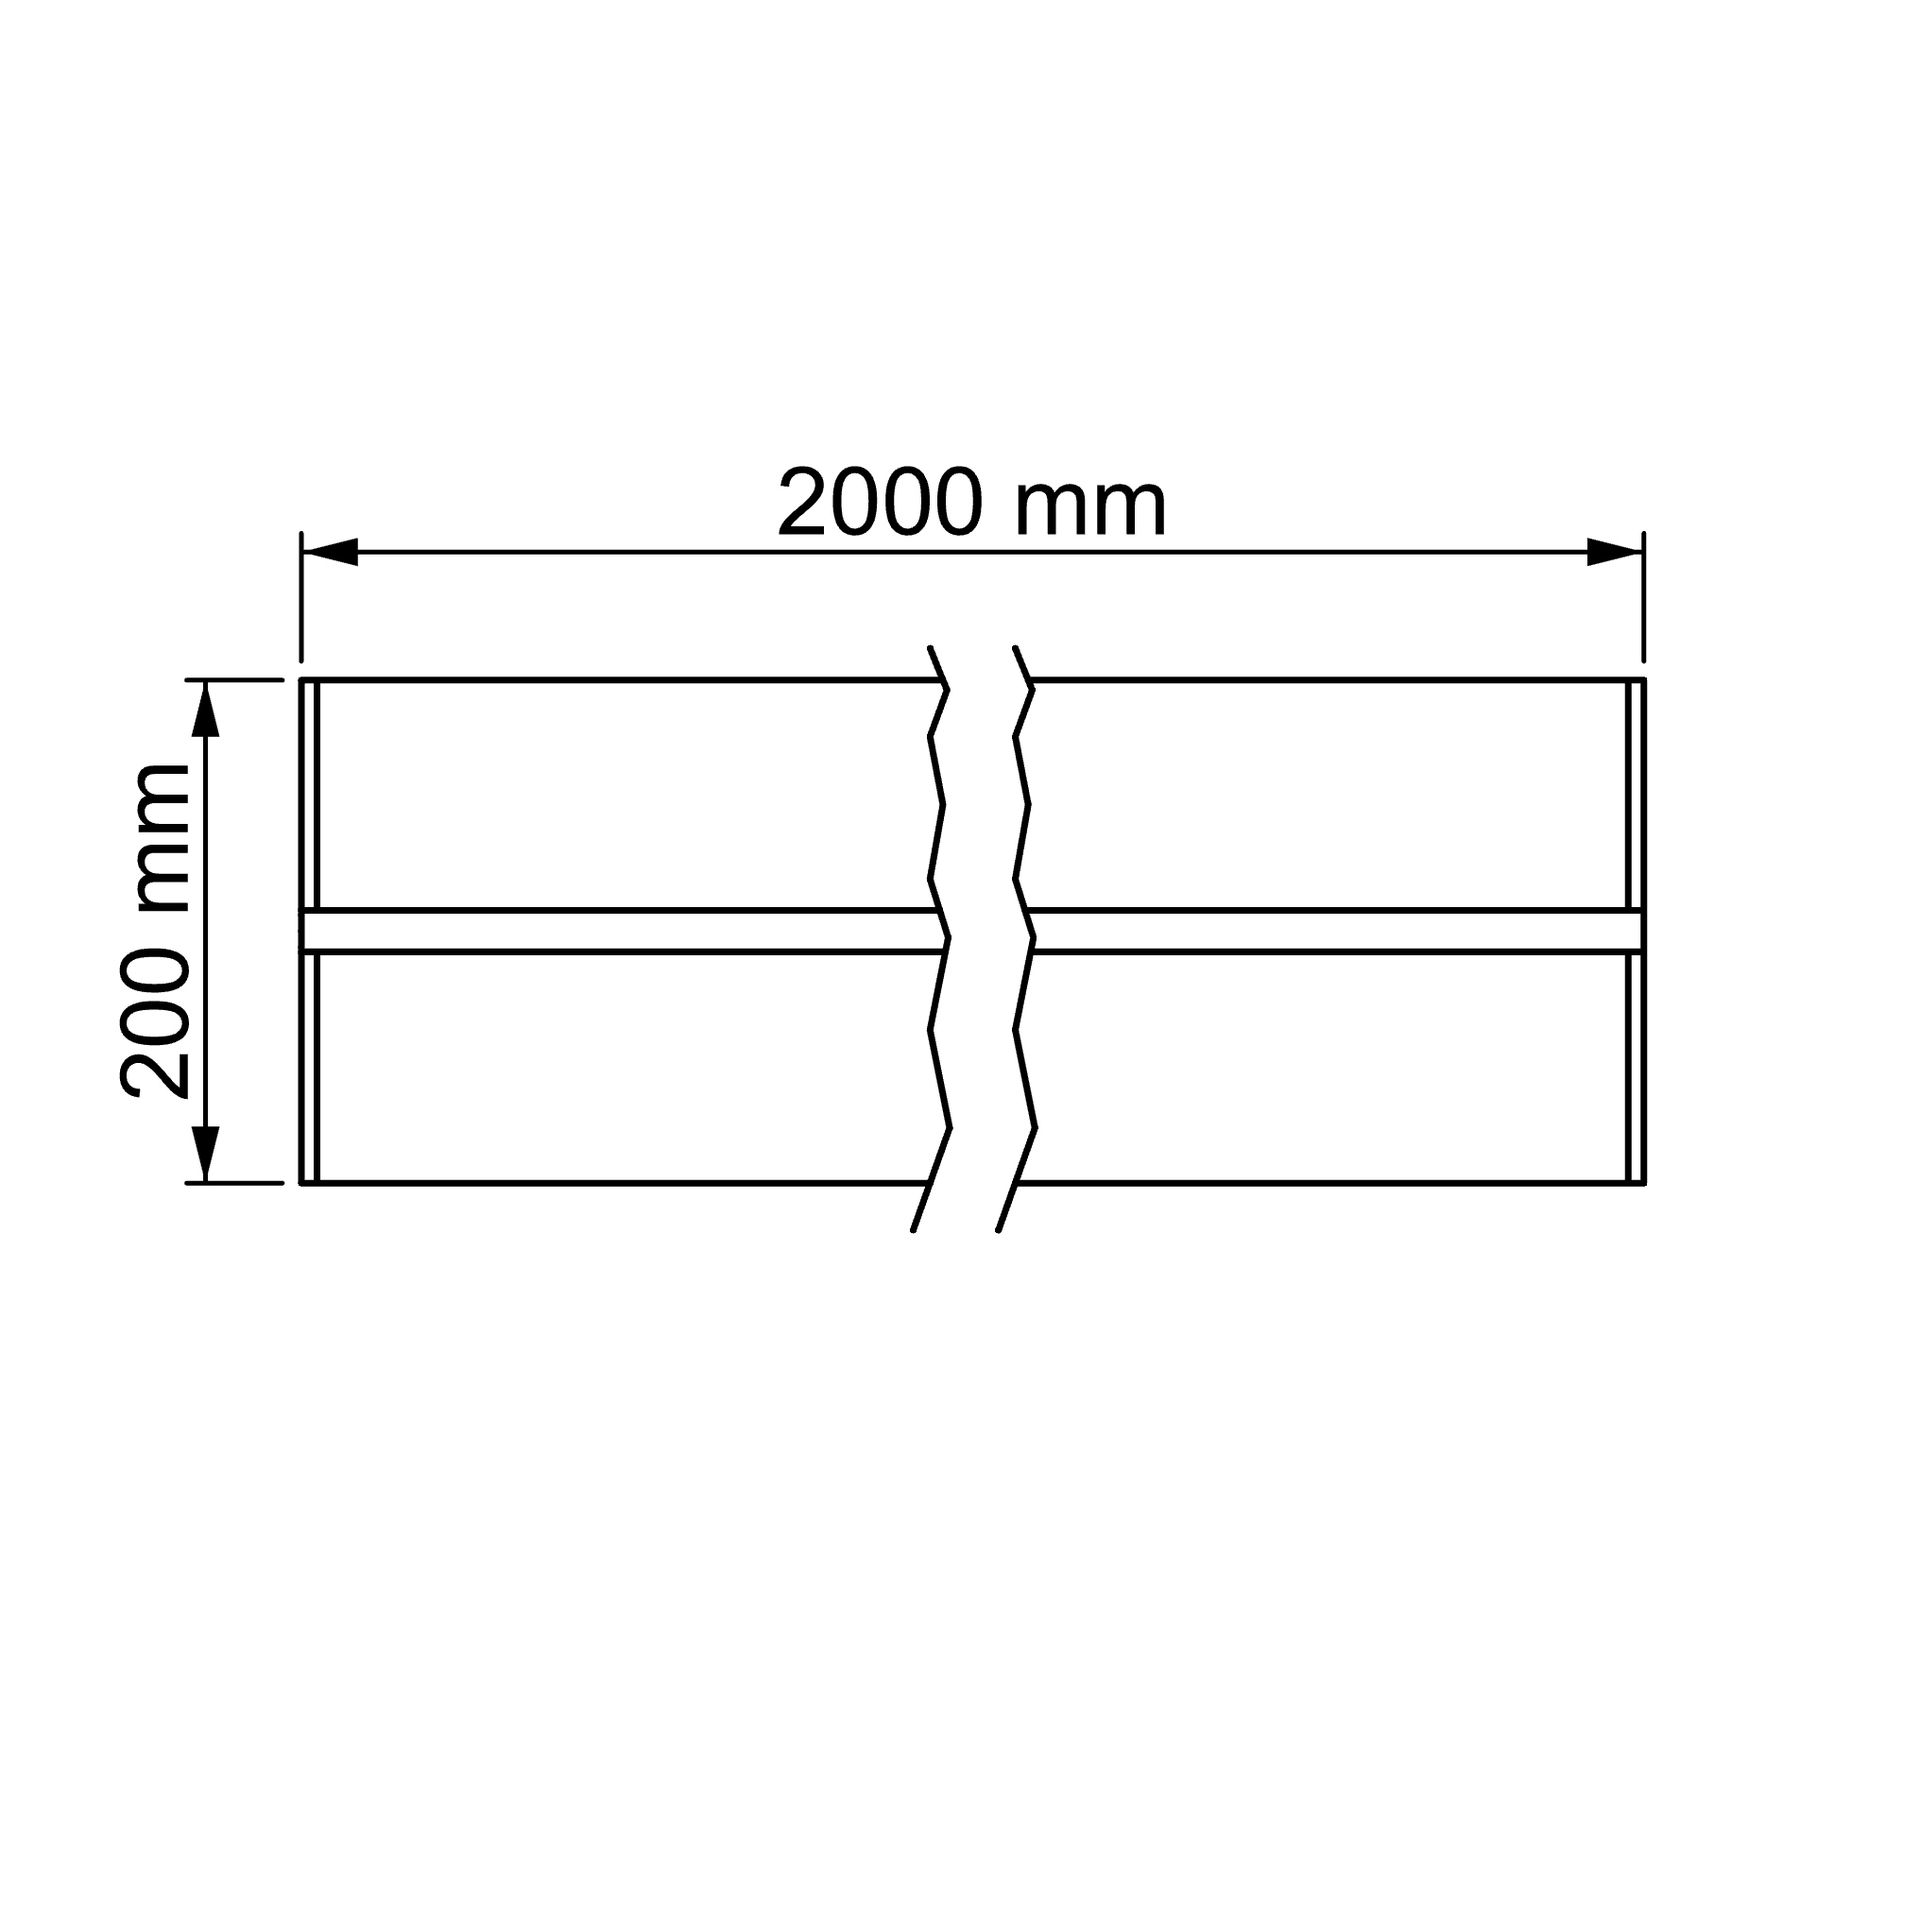
Straight profile | 1
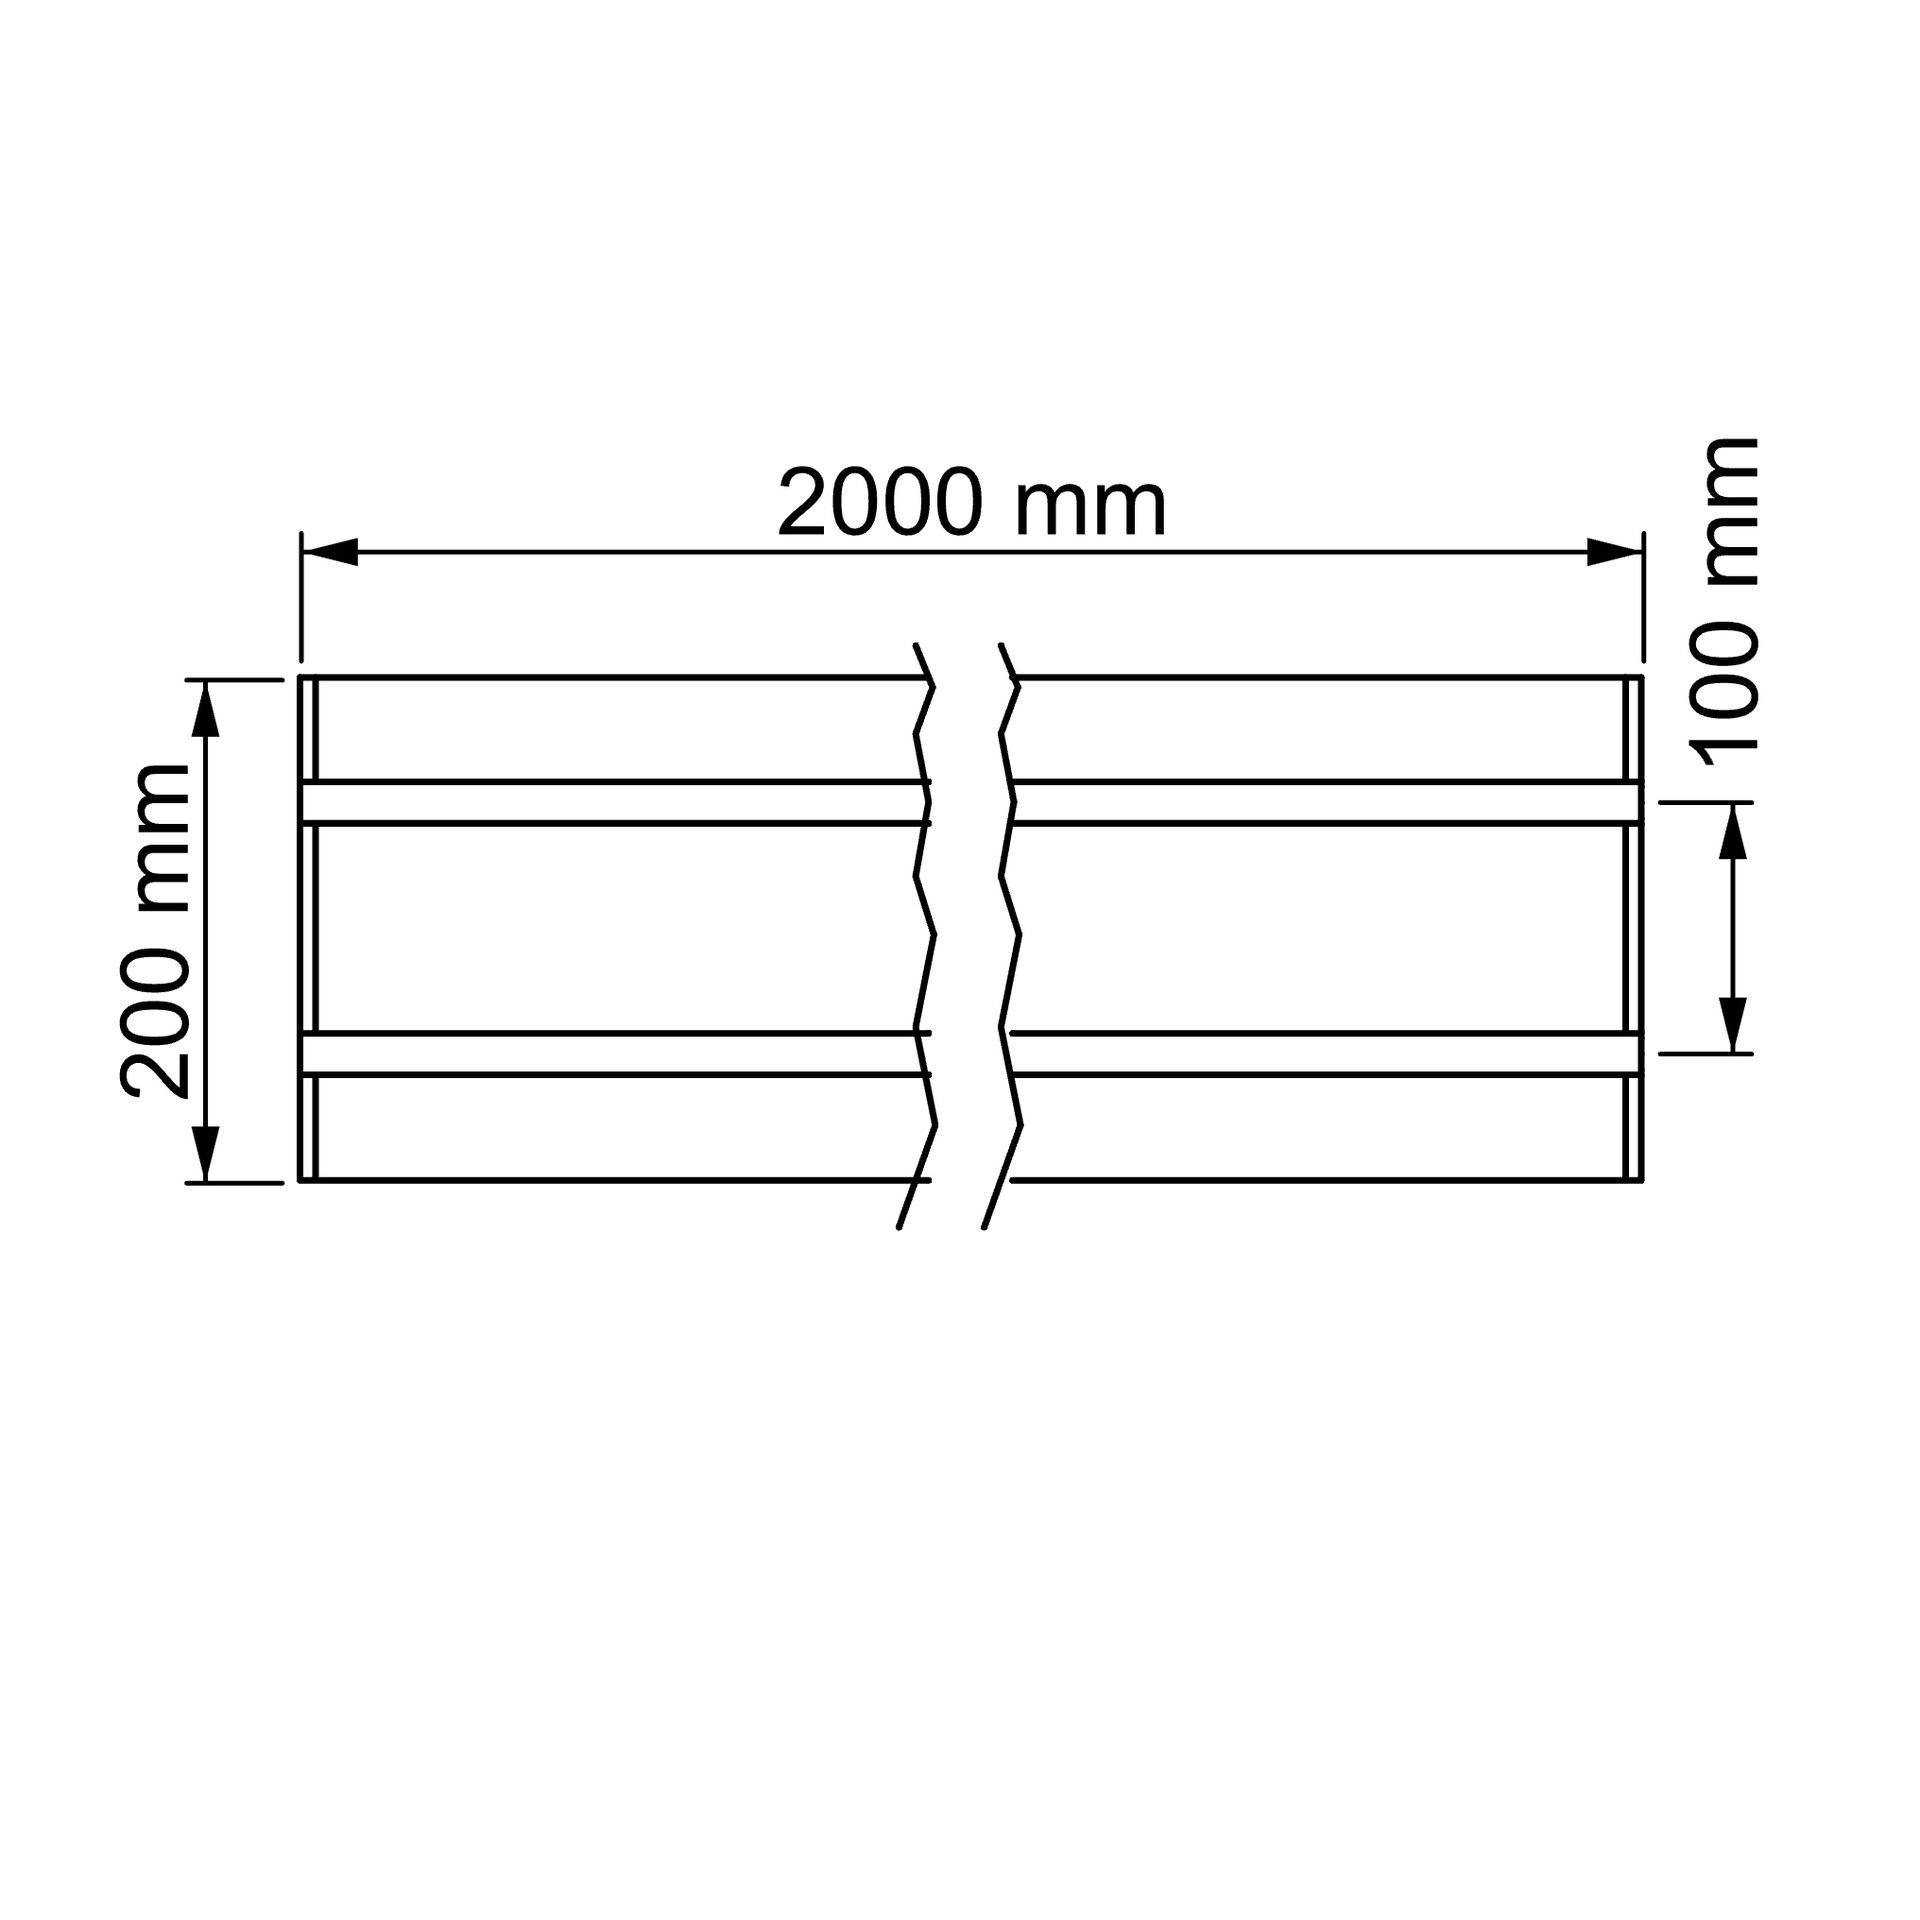
Straight profile | 2
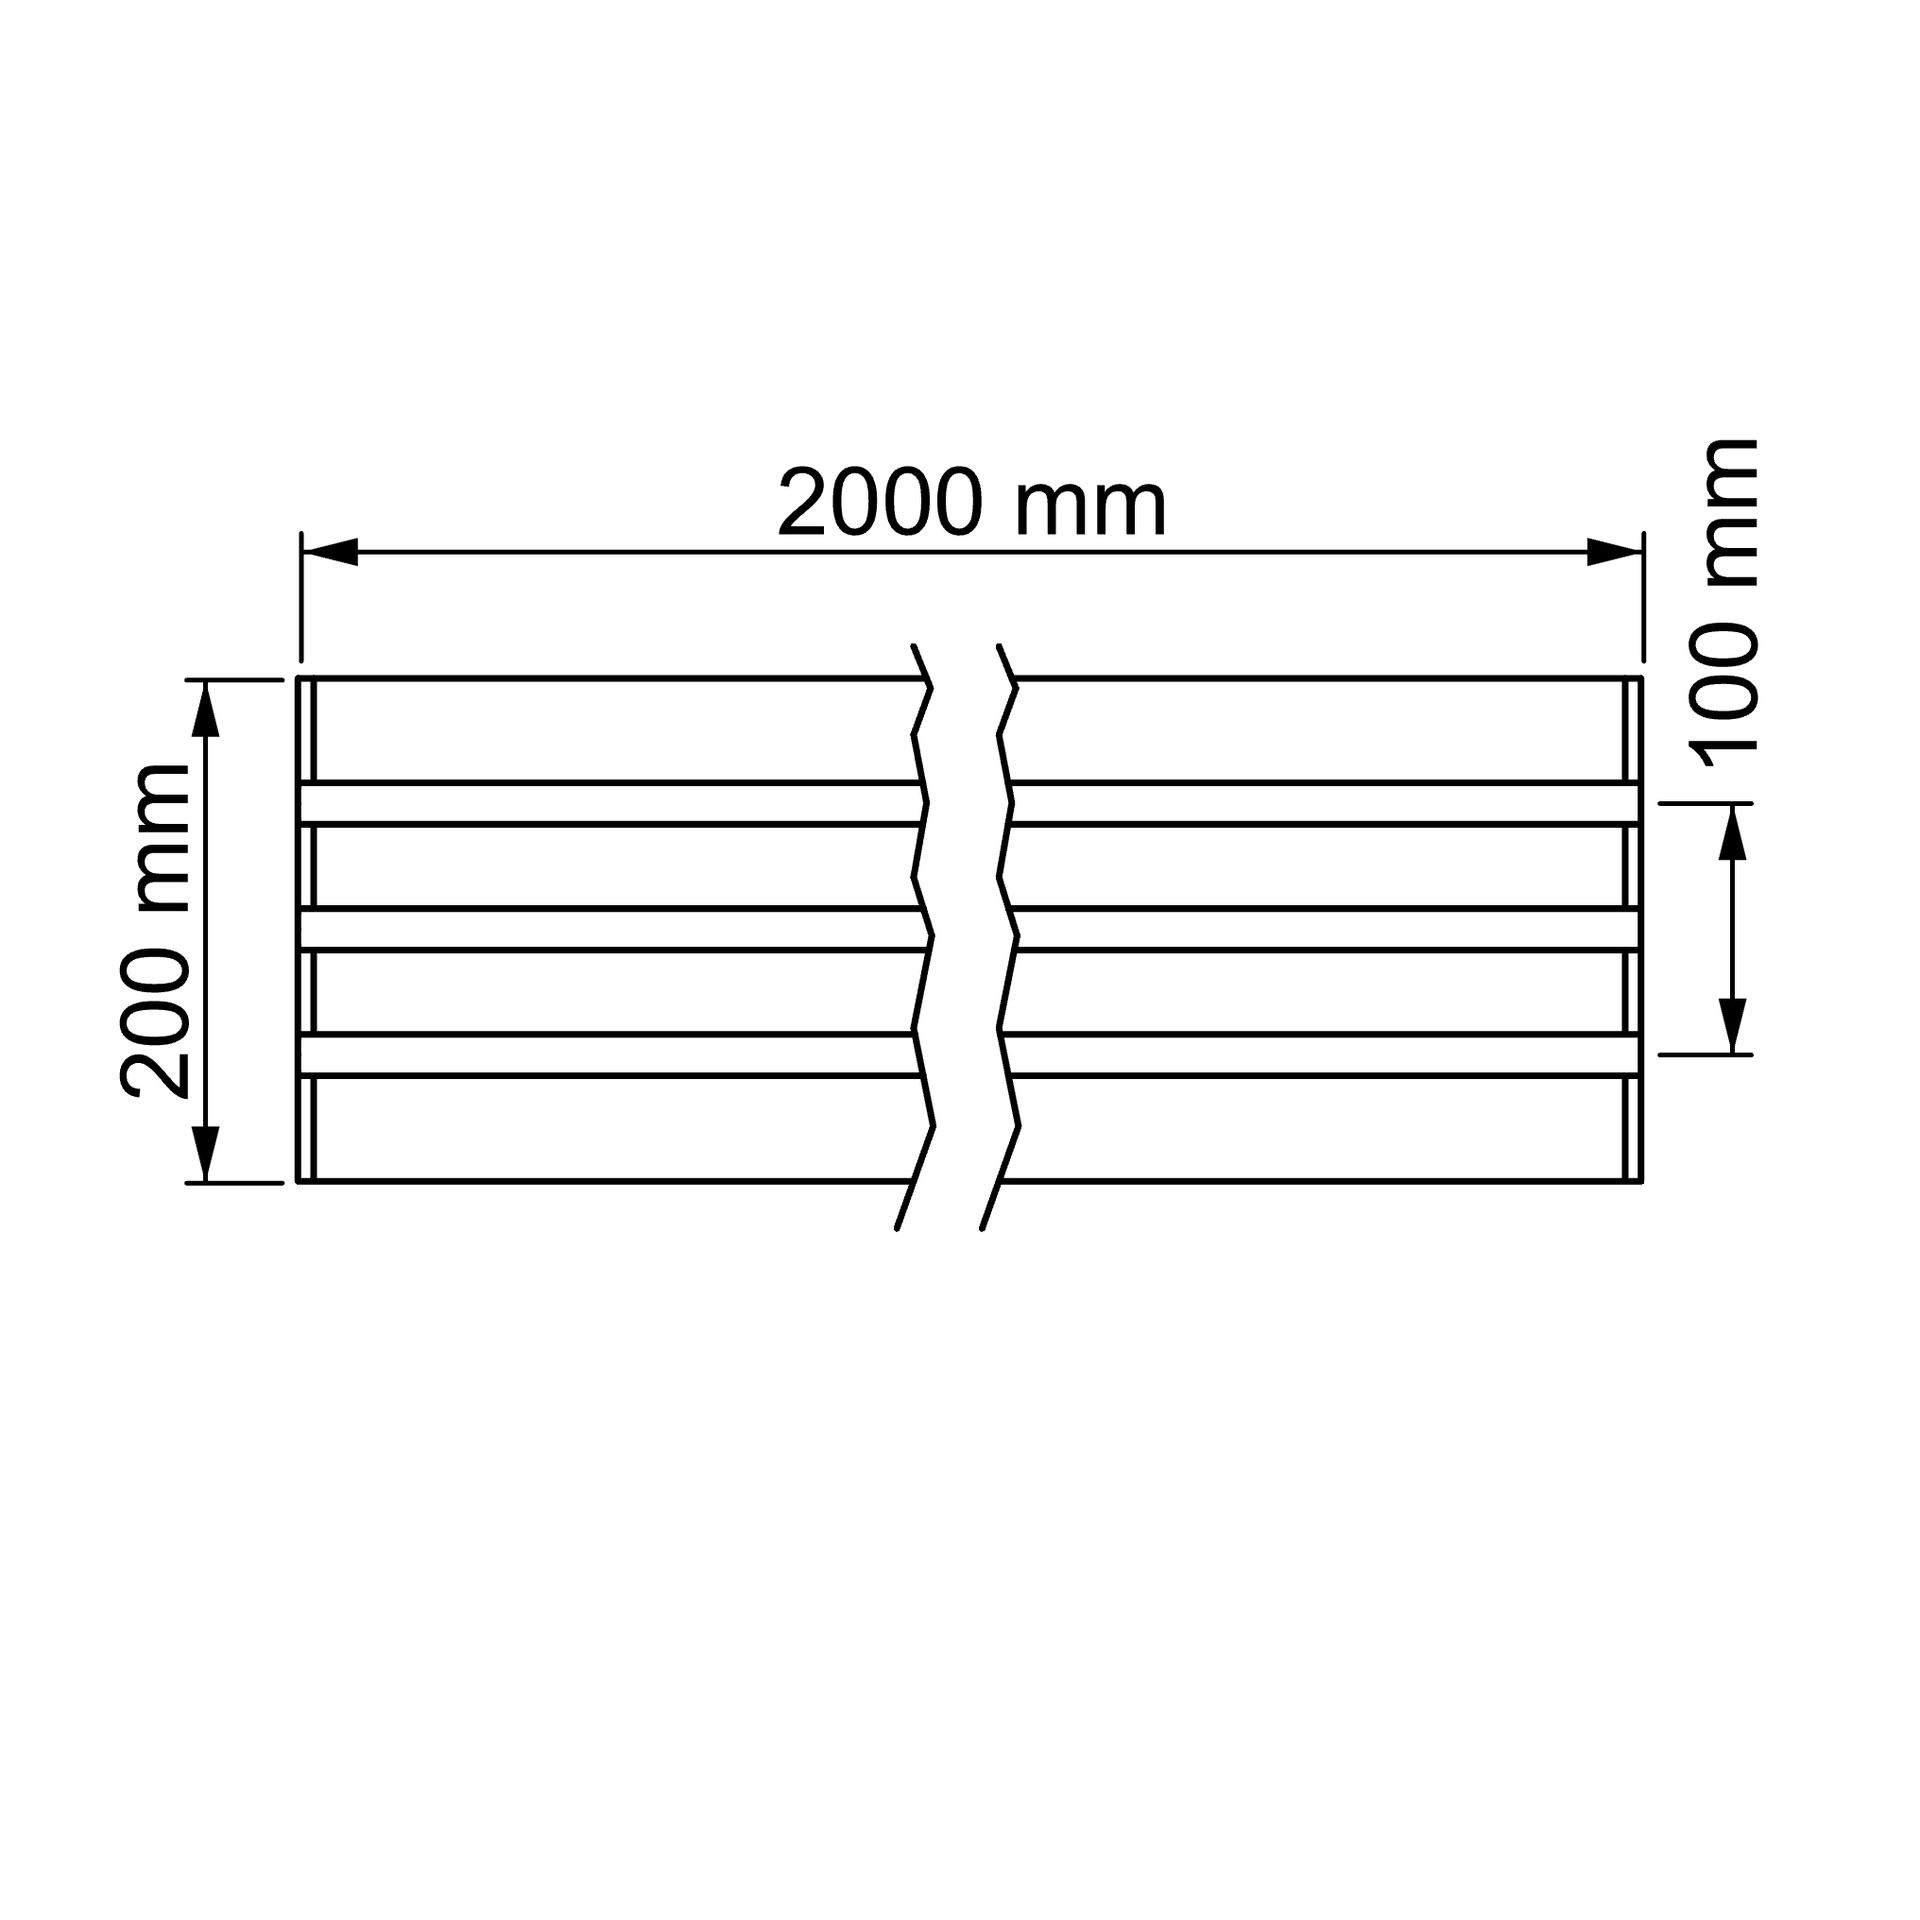
Straight profile | 3
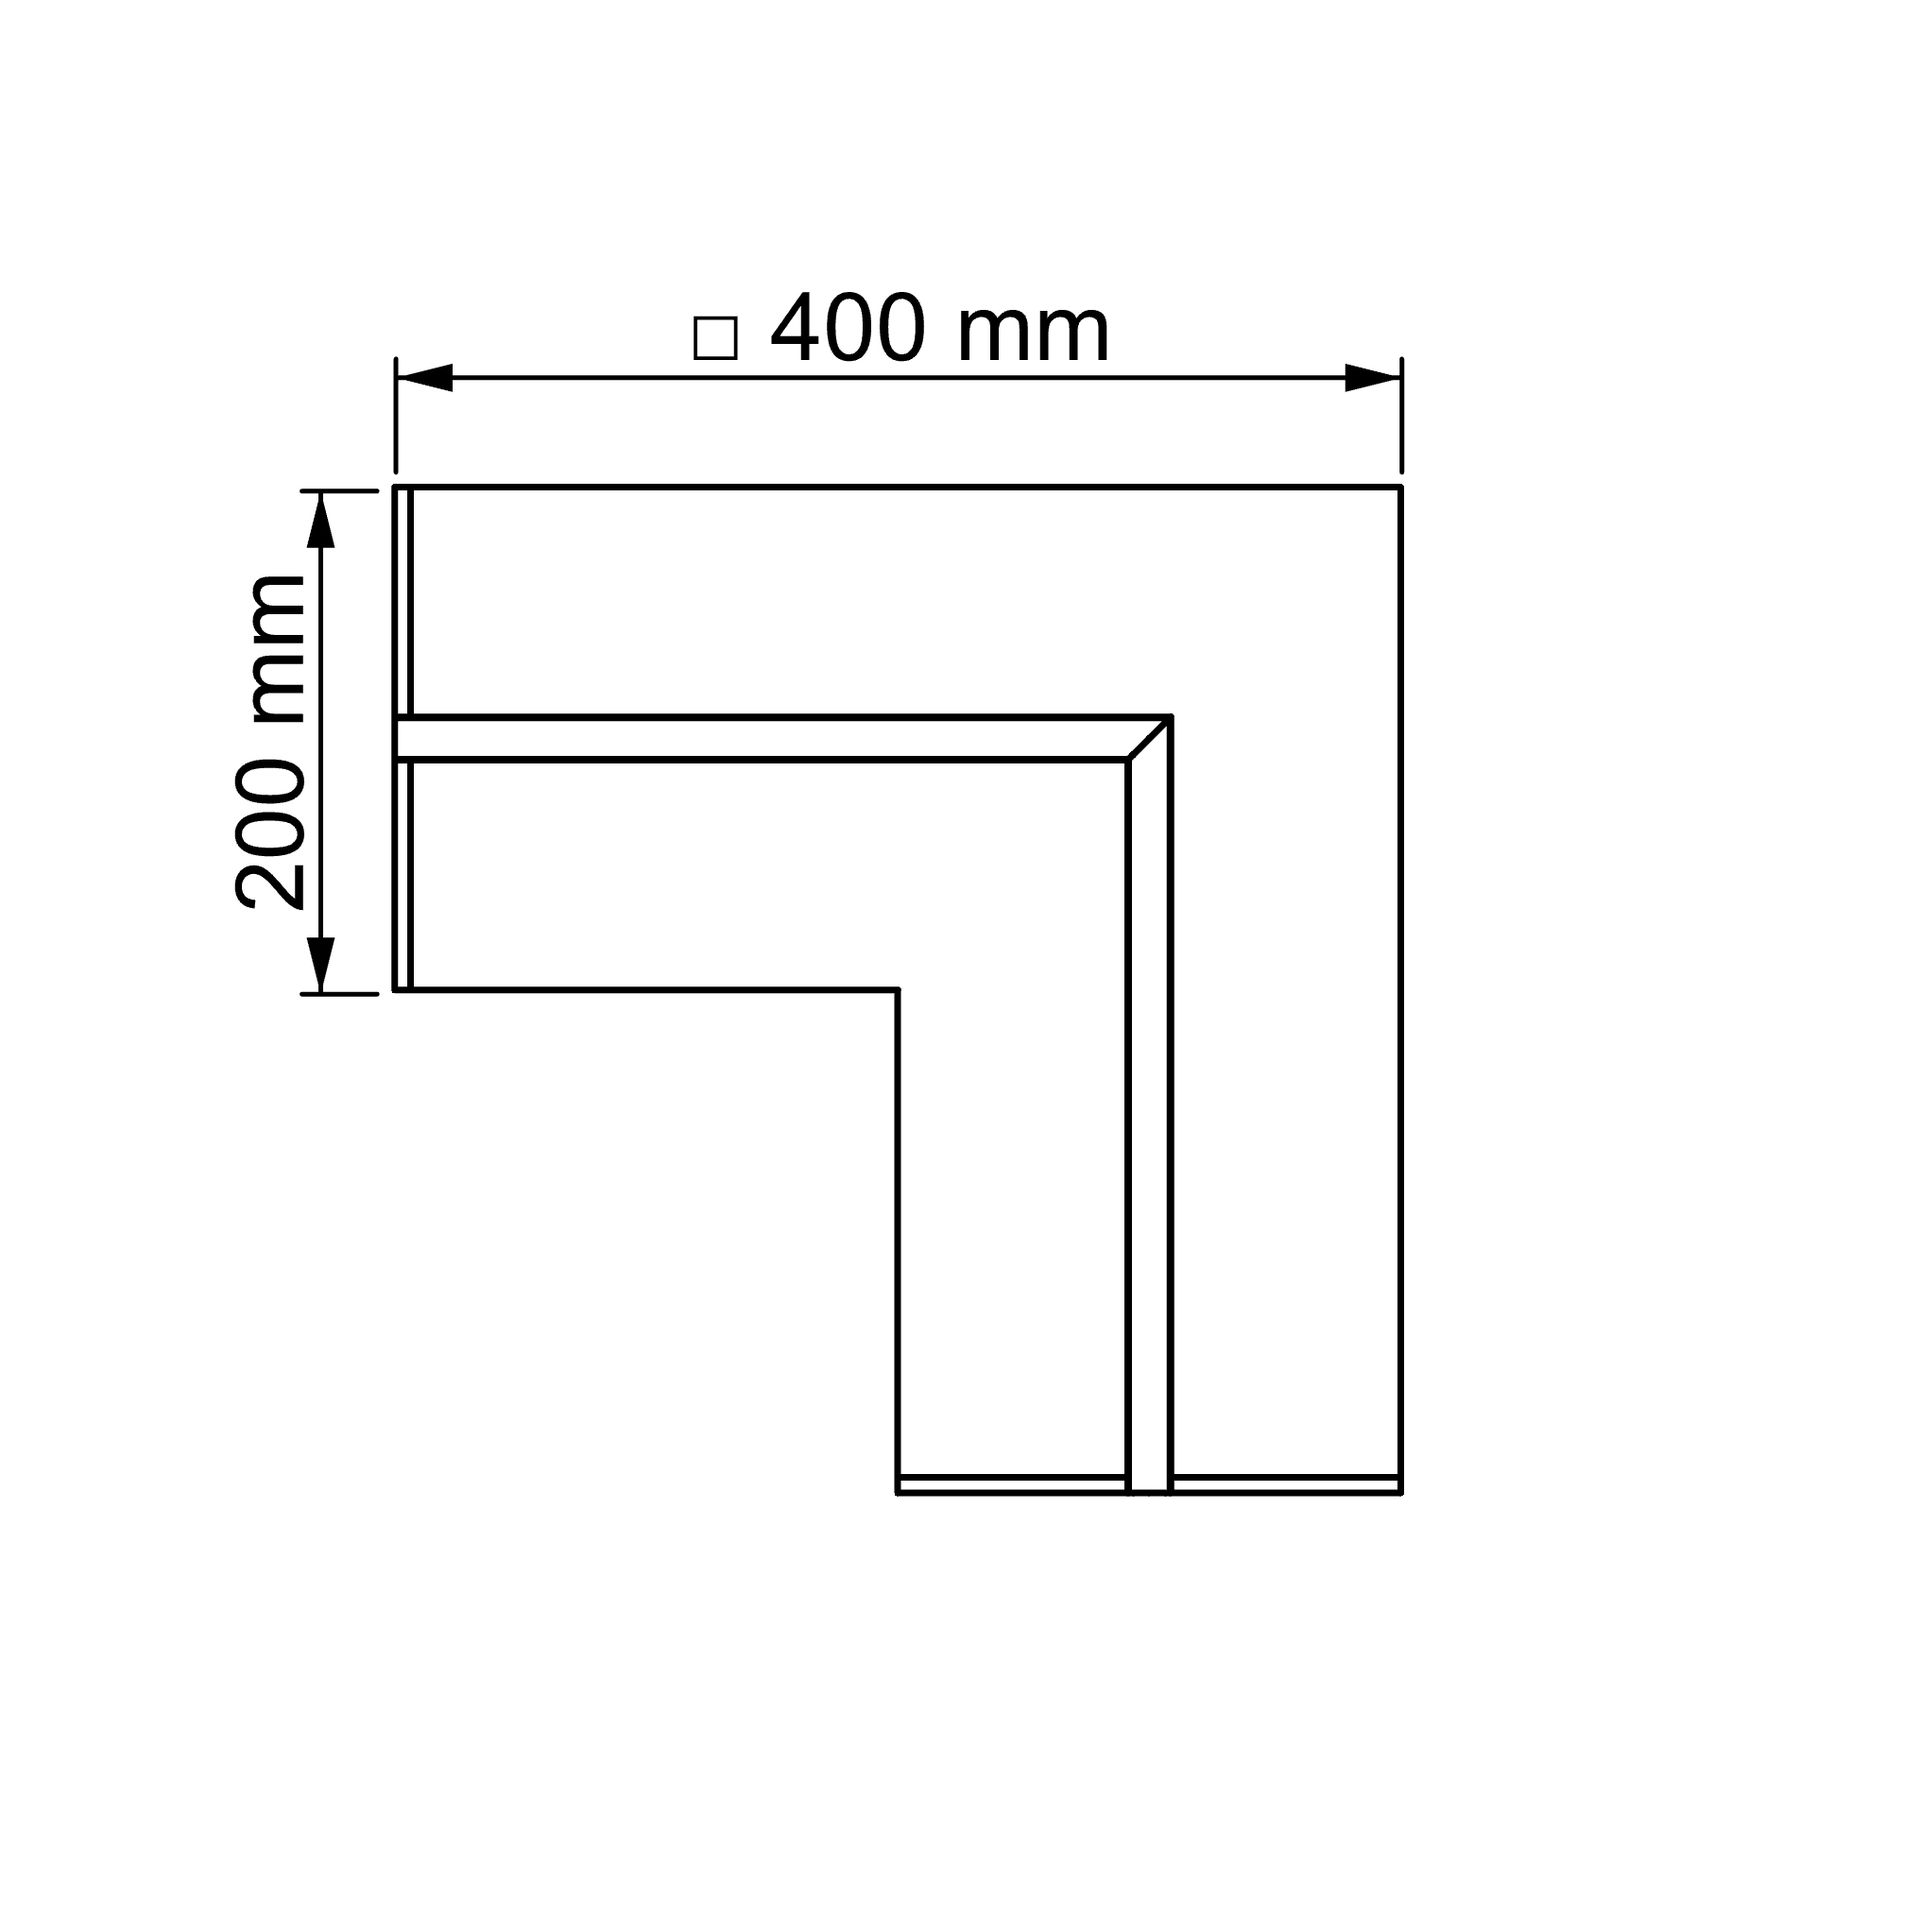
Corner | 1
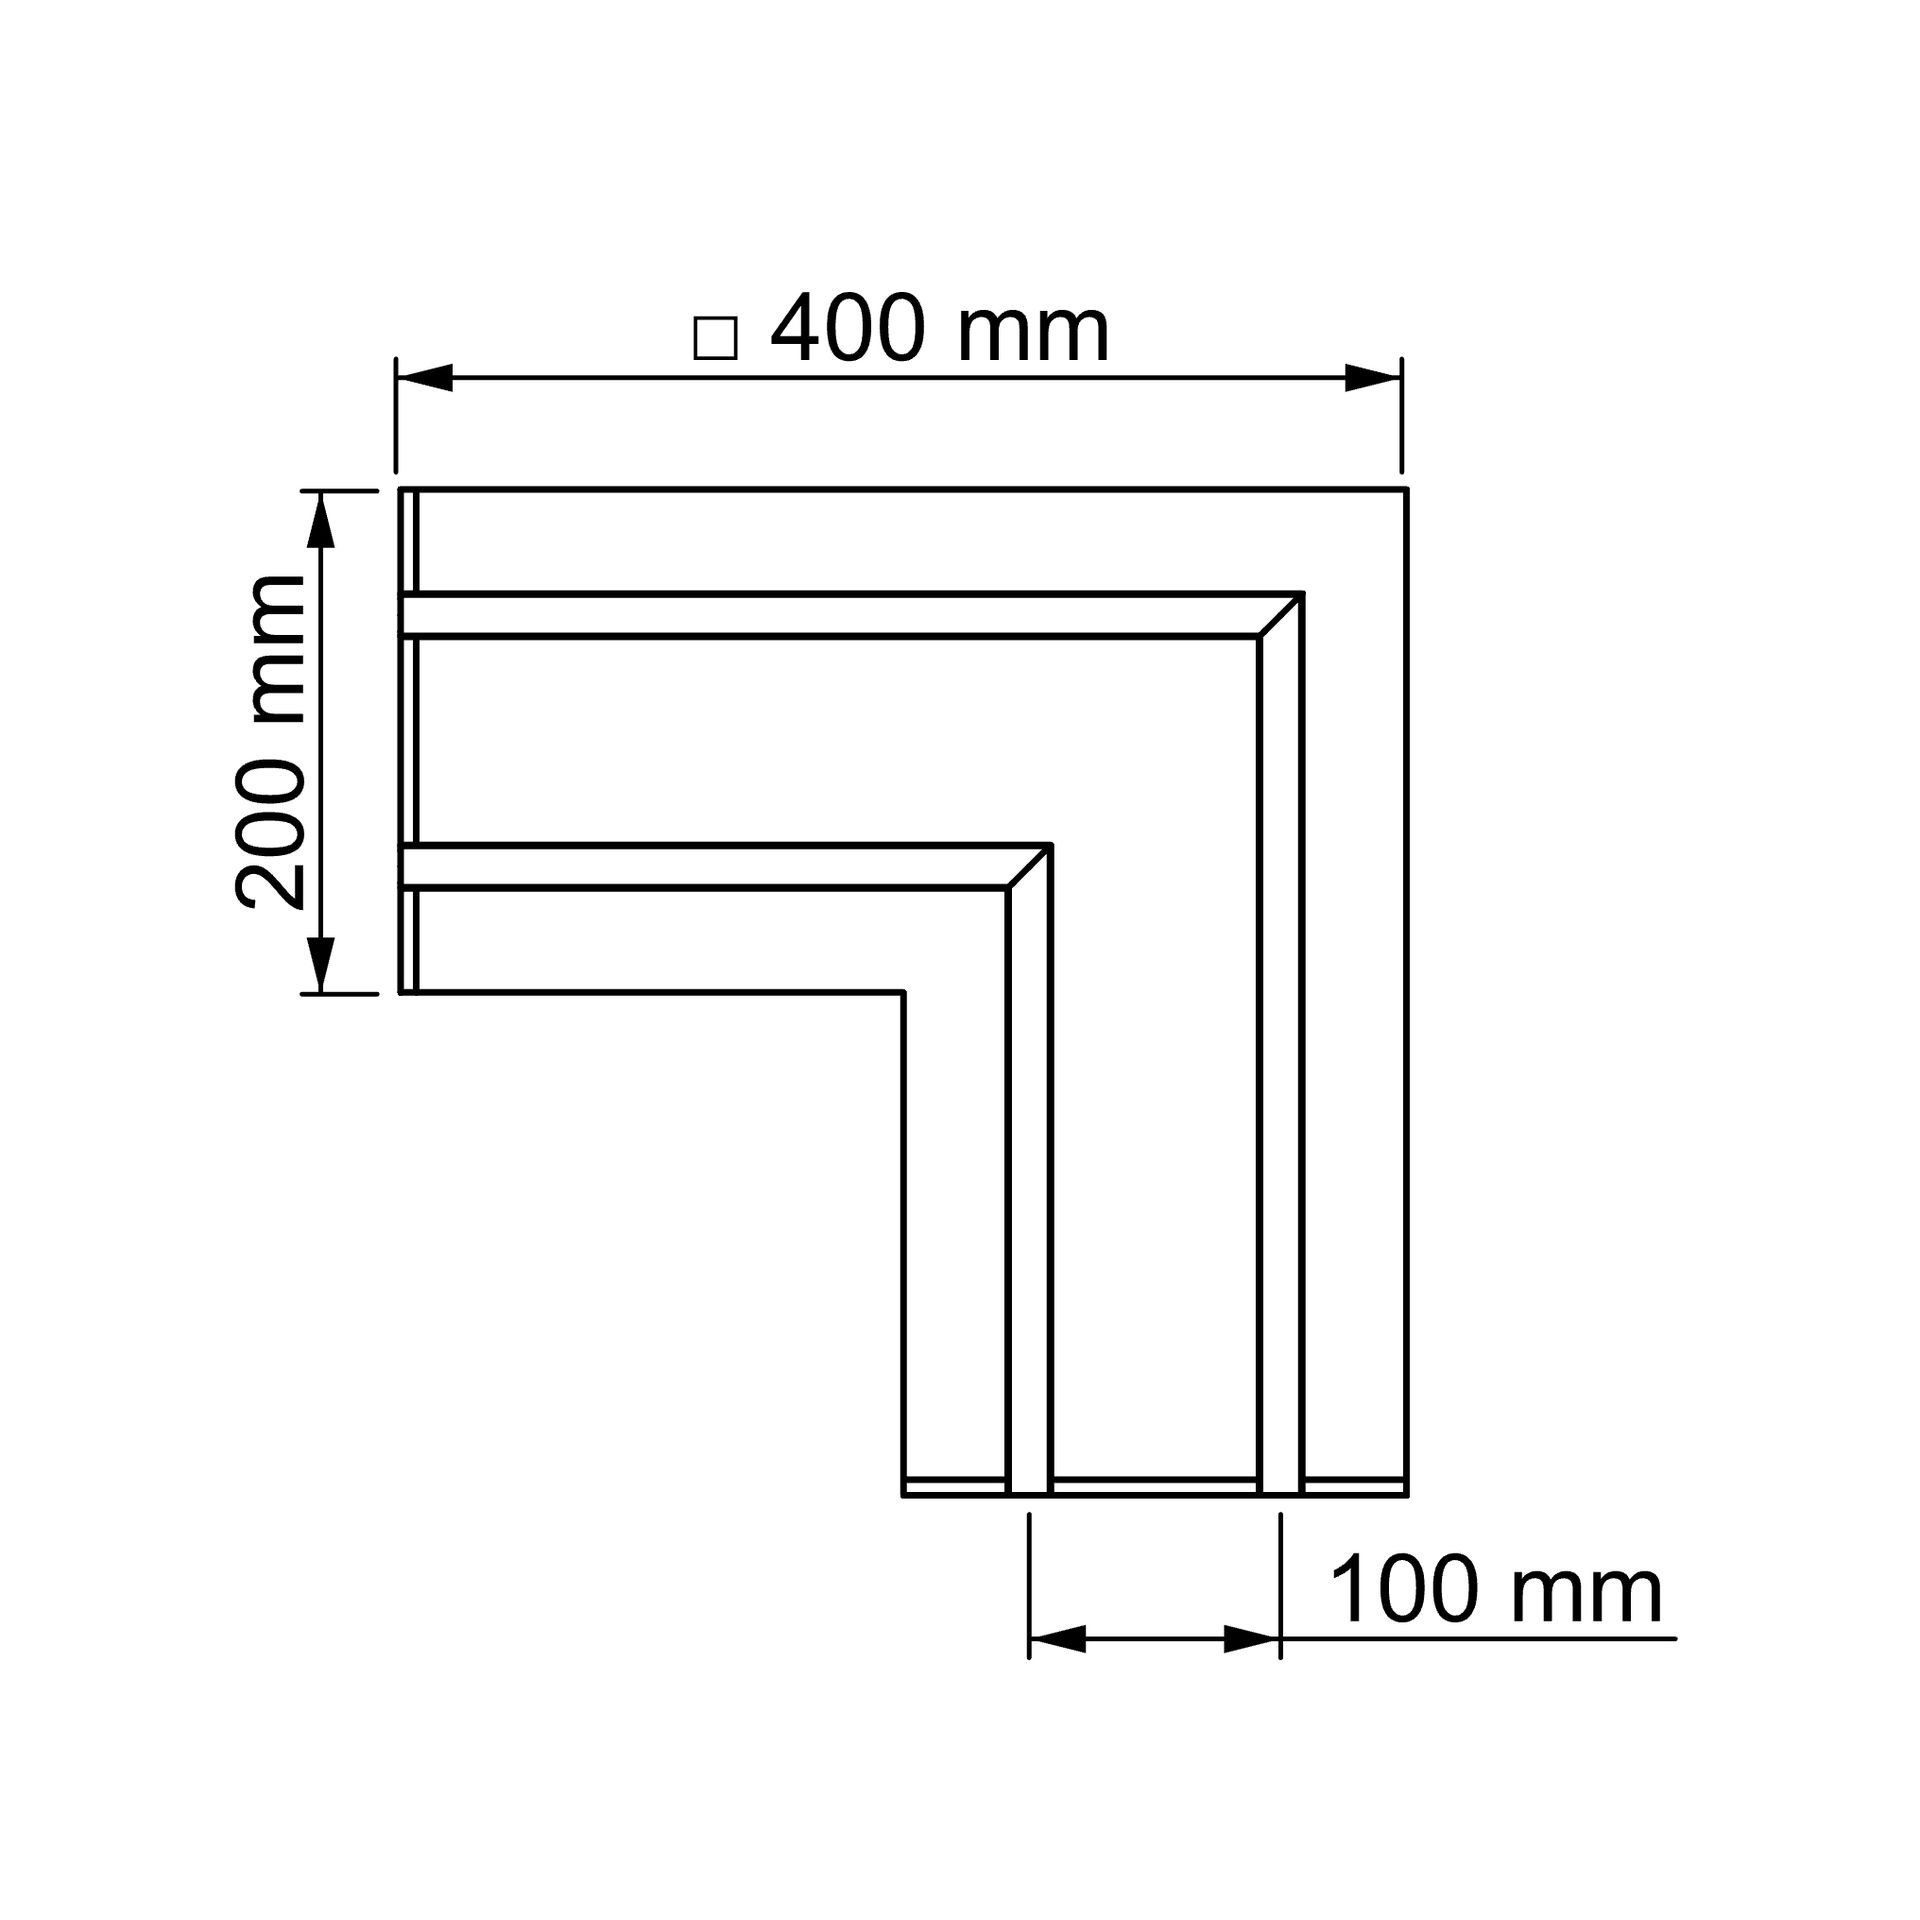
Corner | 2
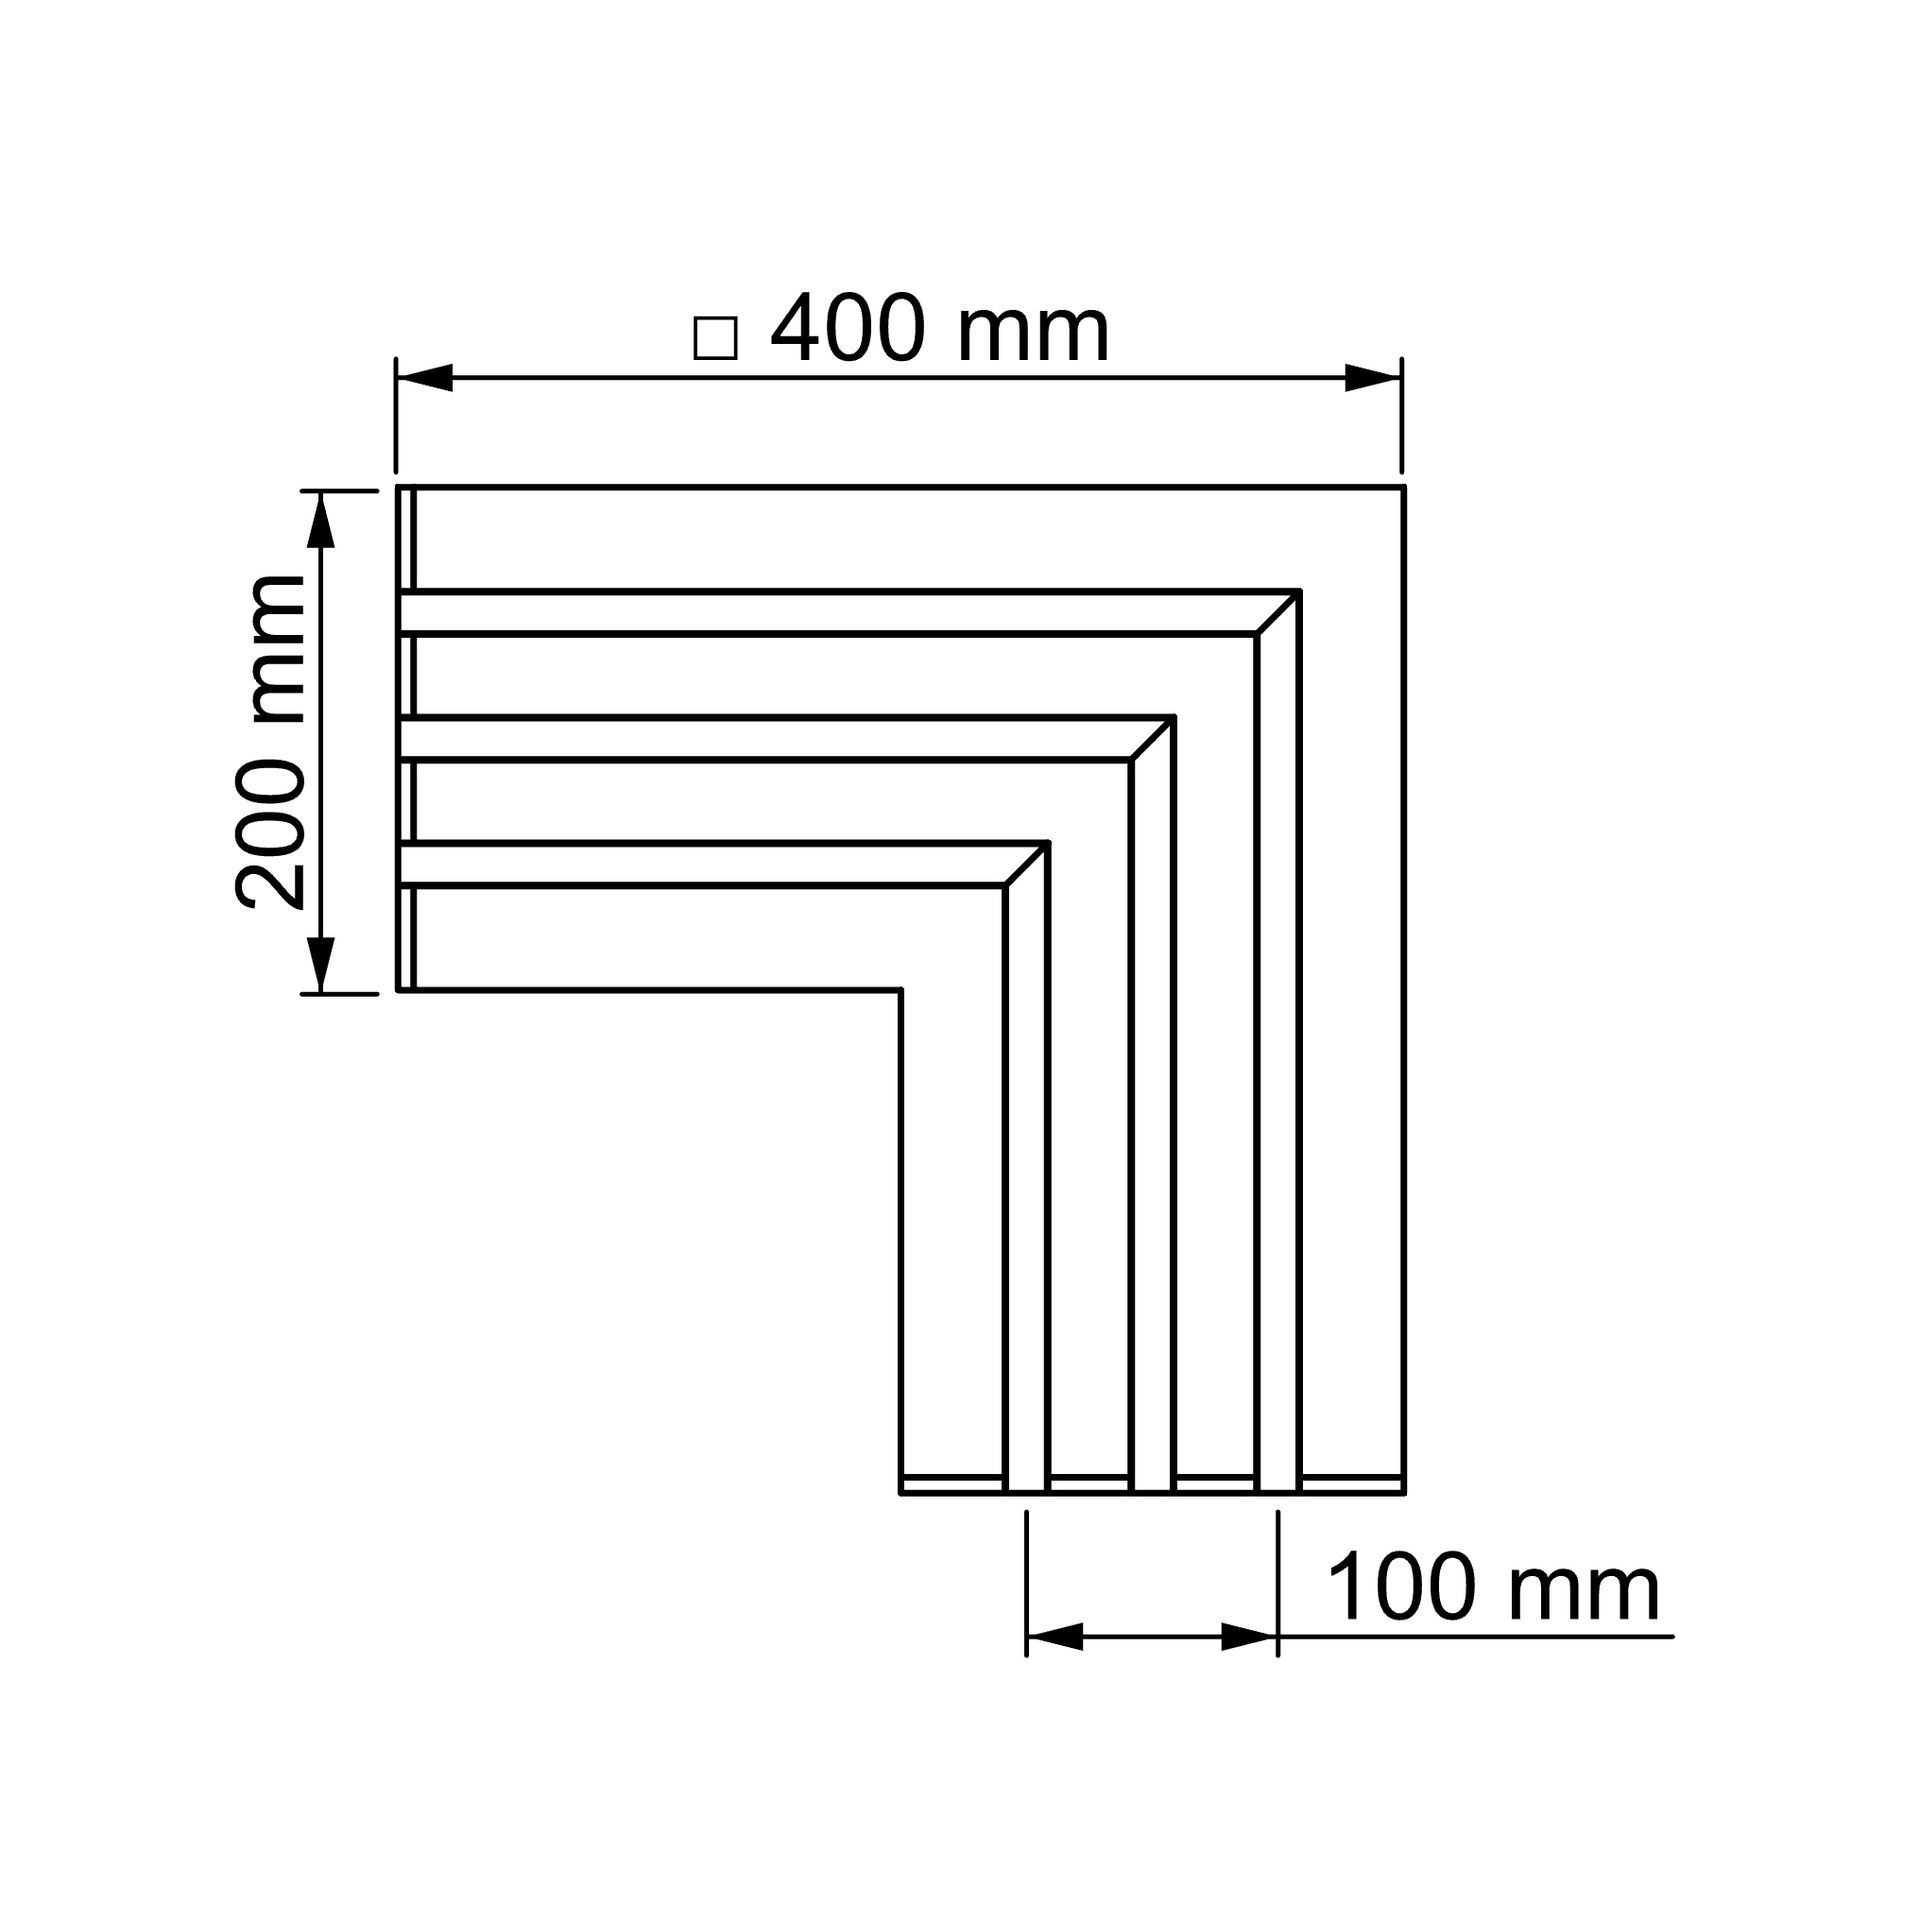
Corner | 3
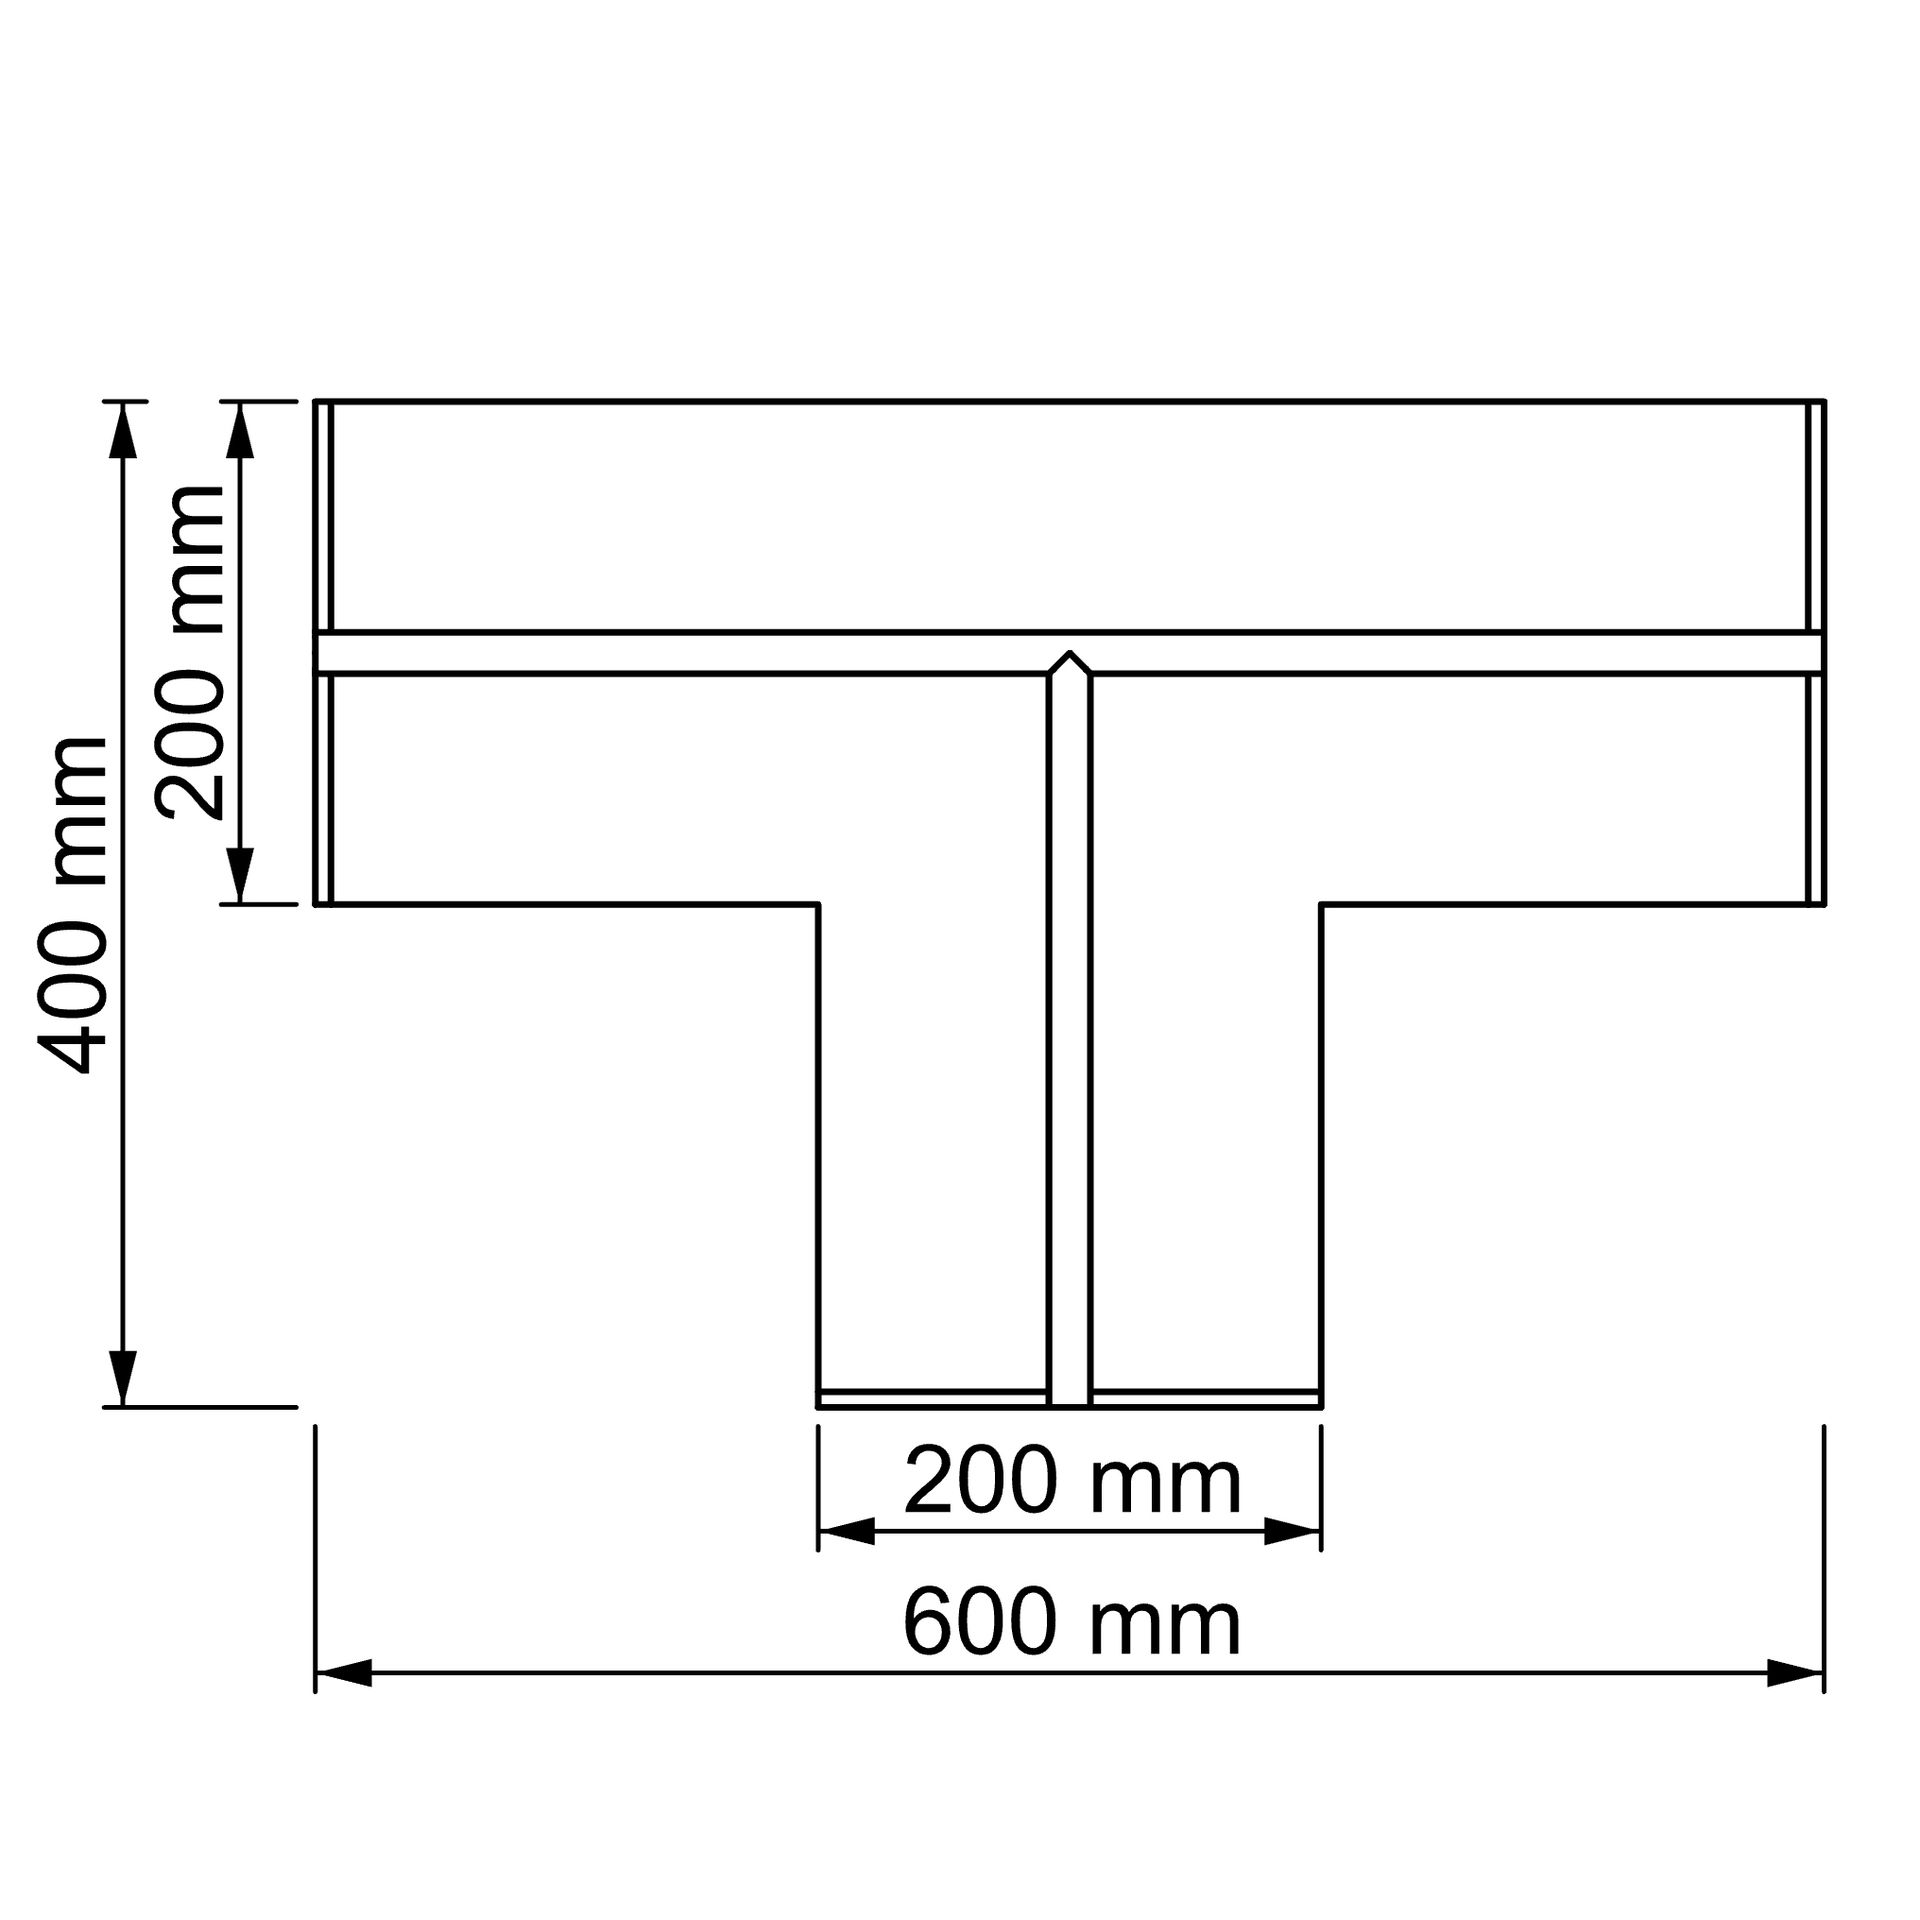
T-element | 1
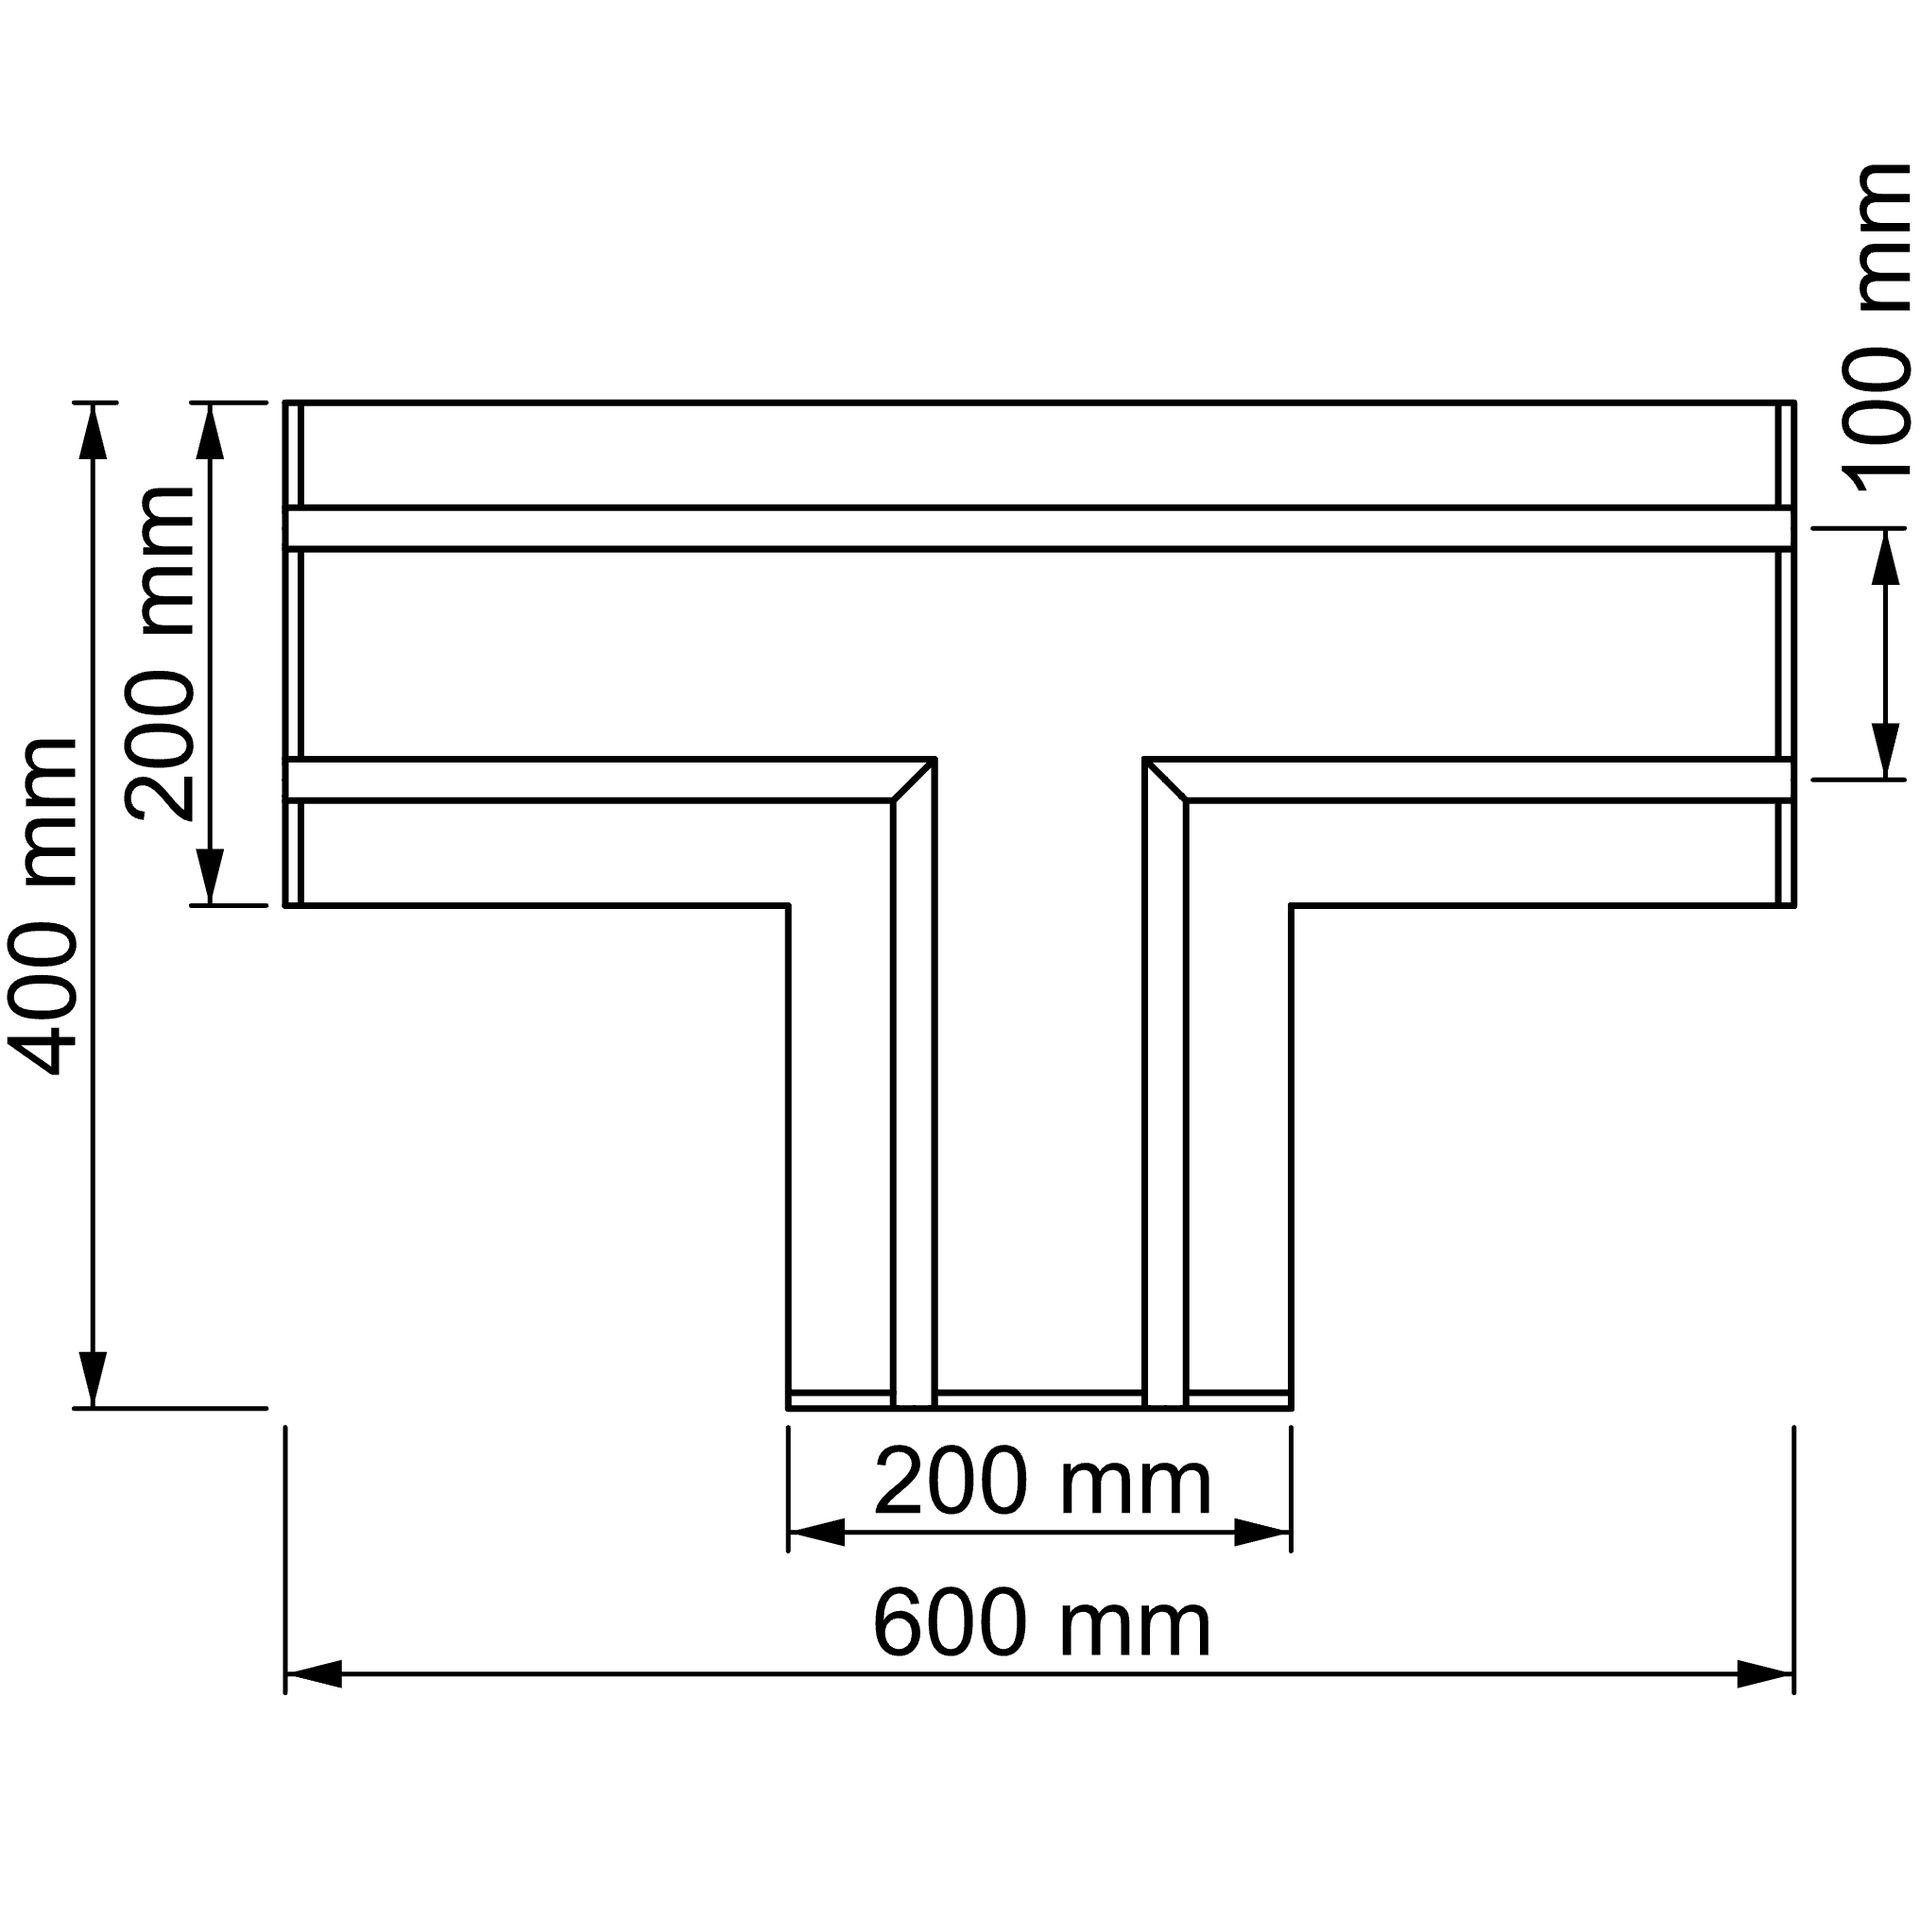
T-element | 2
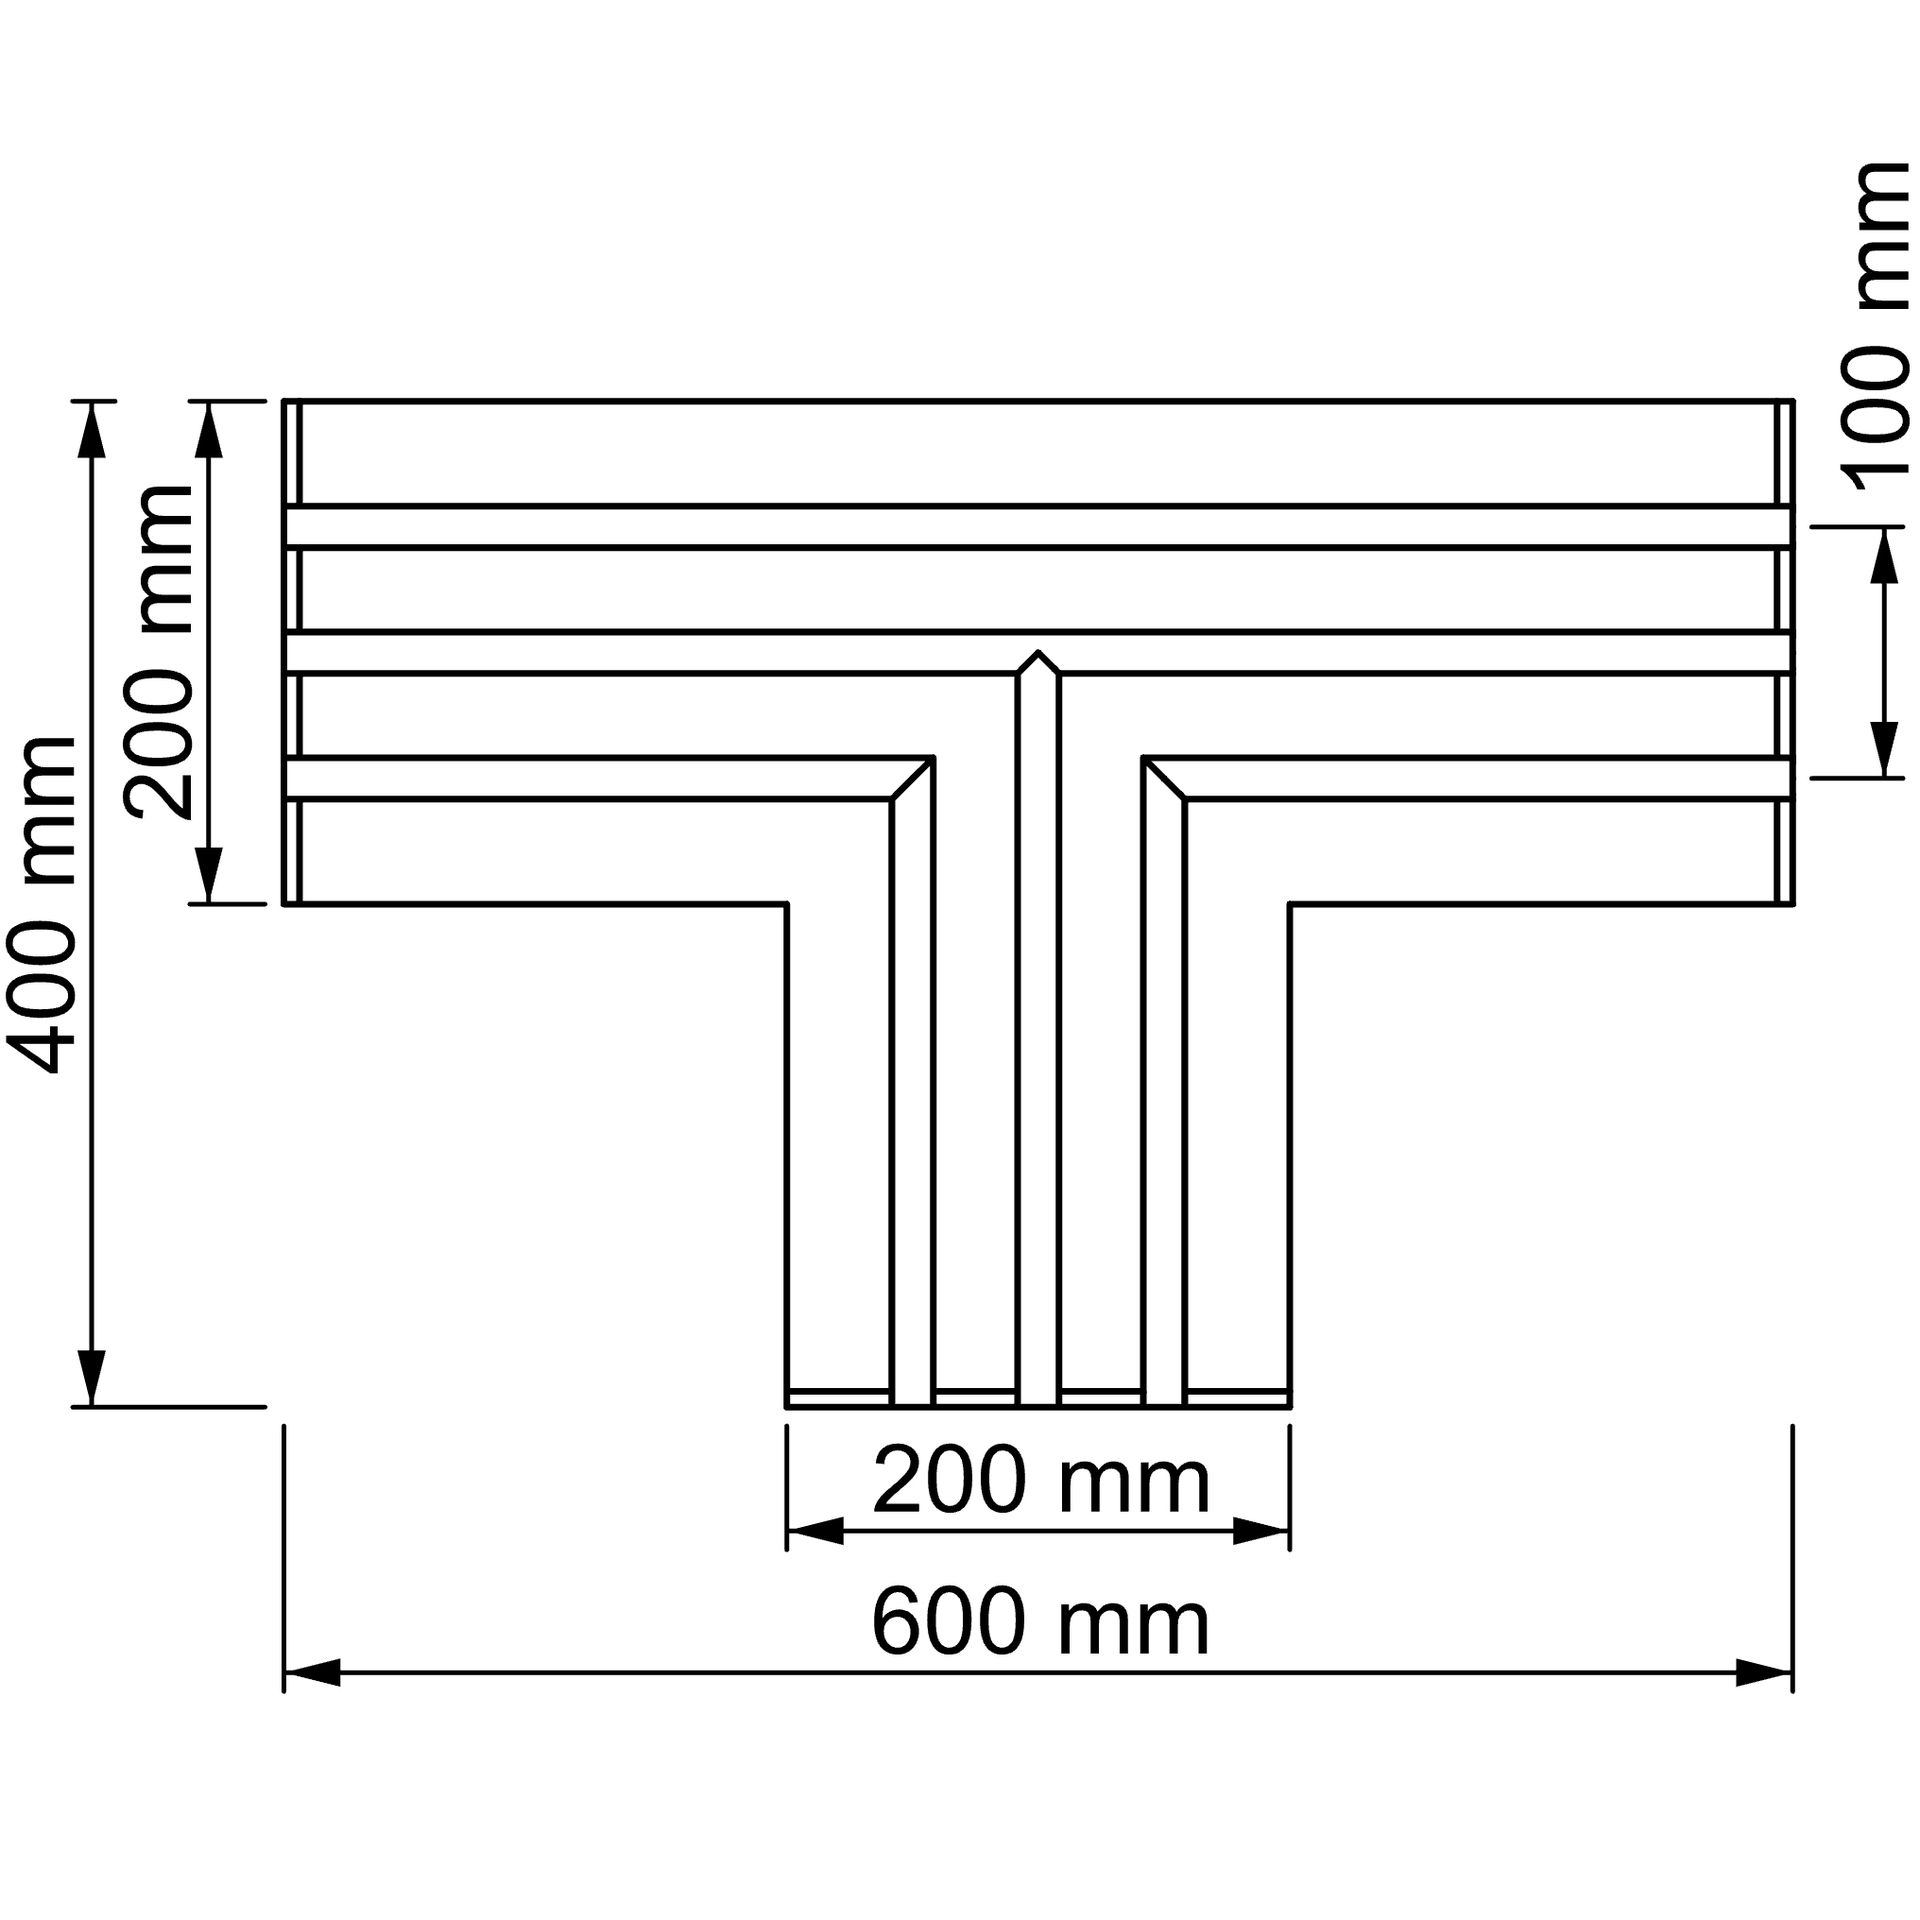
T-element | 3
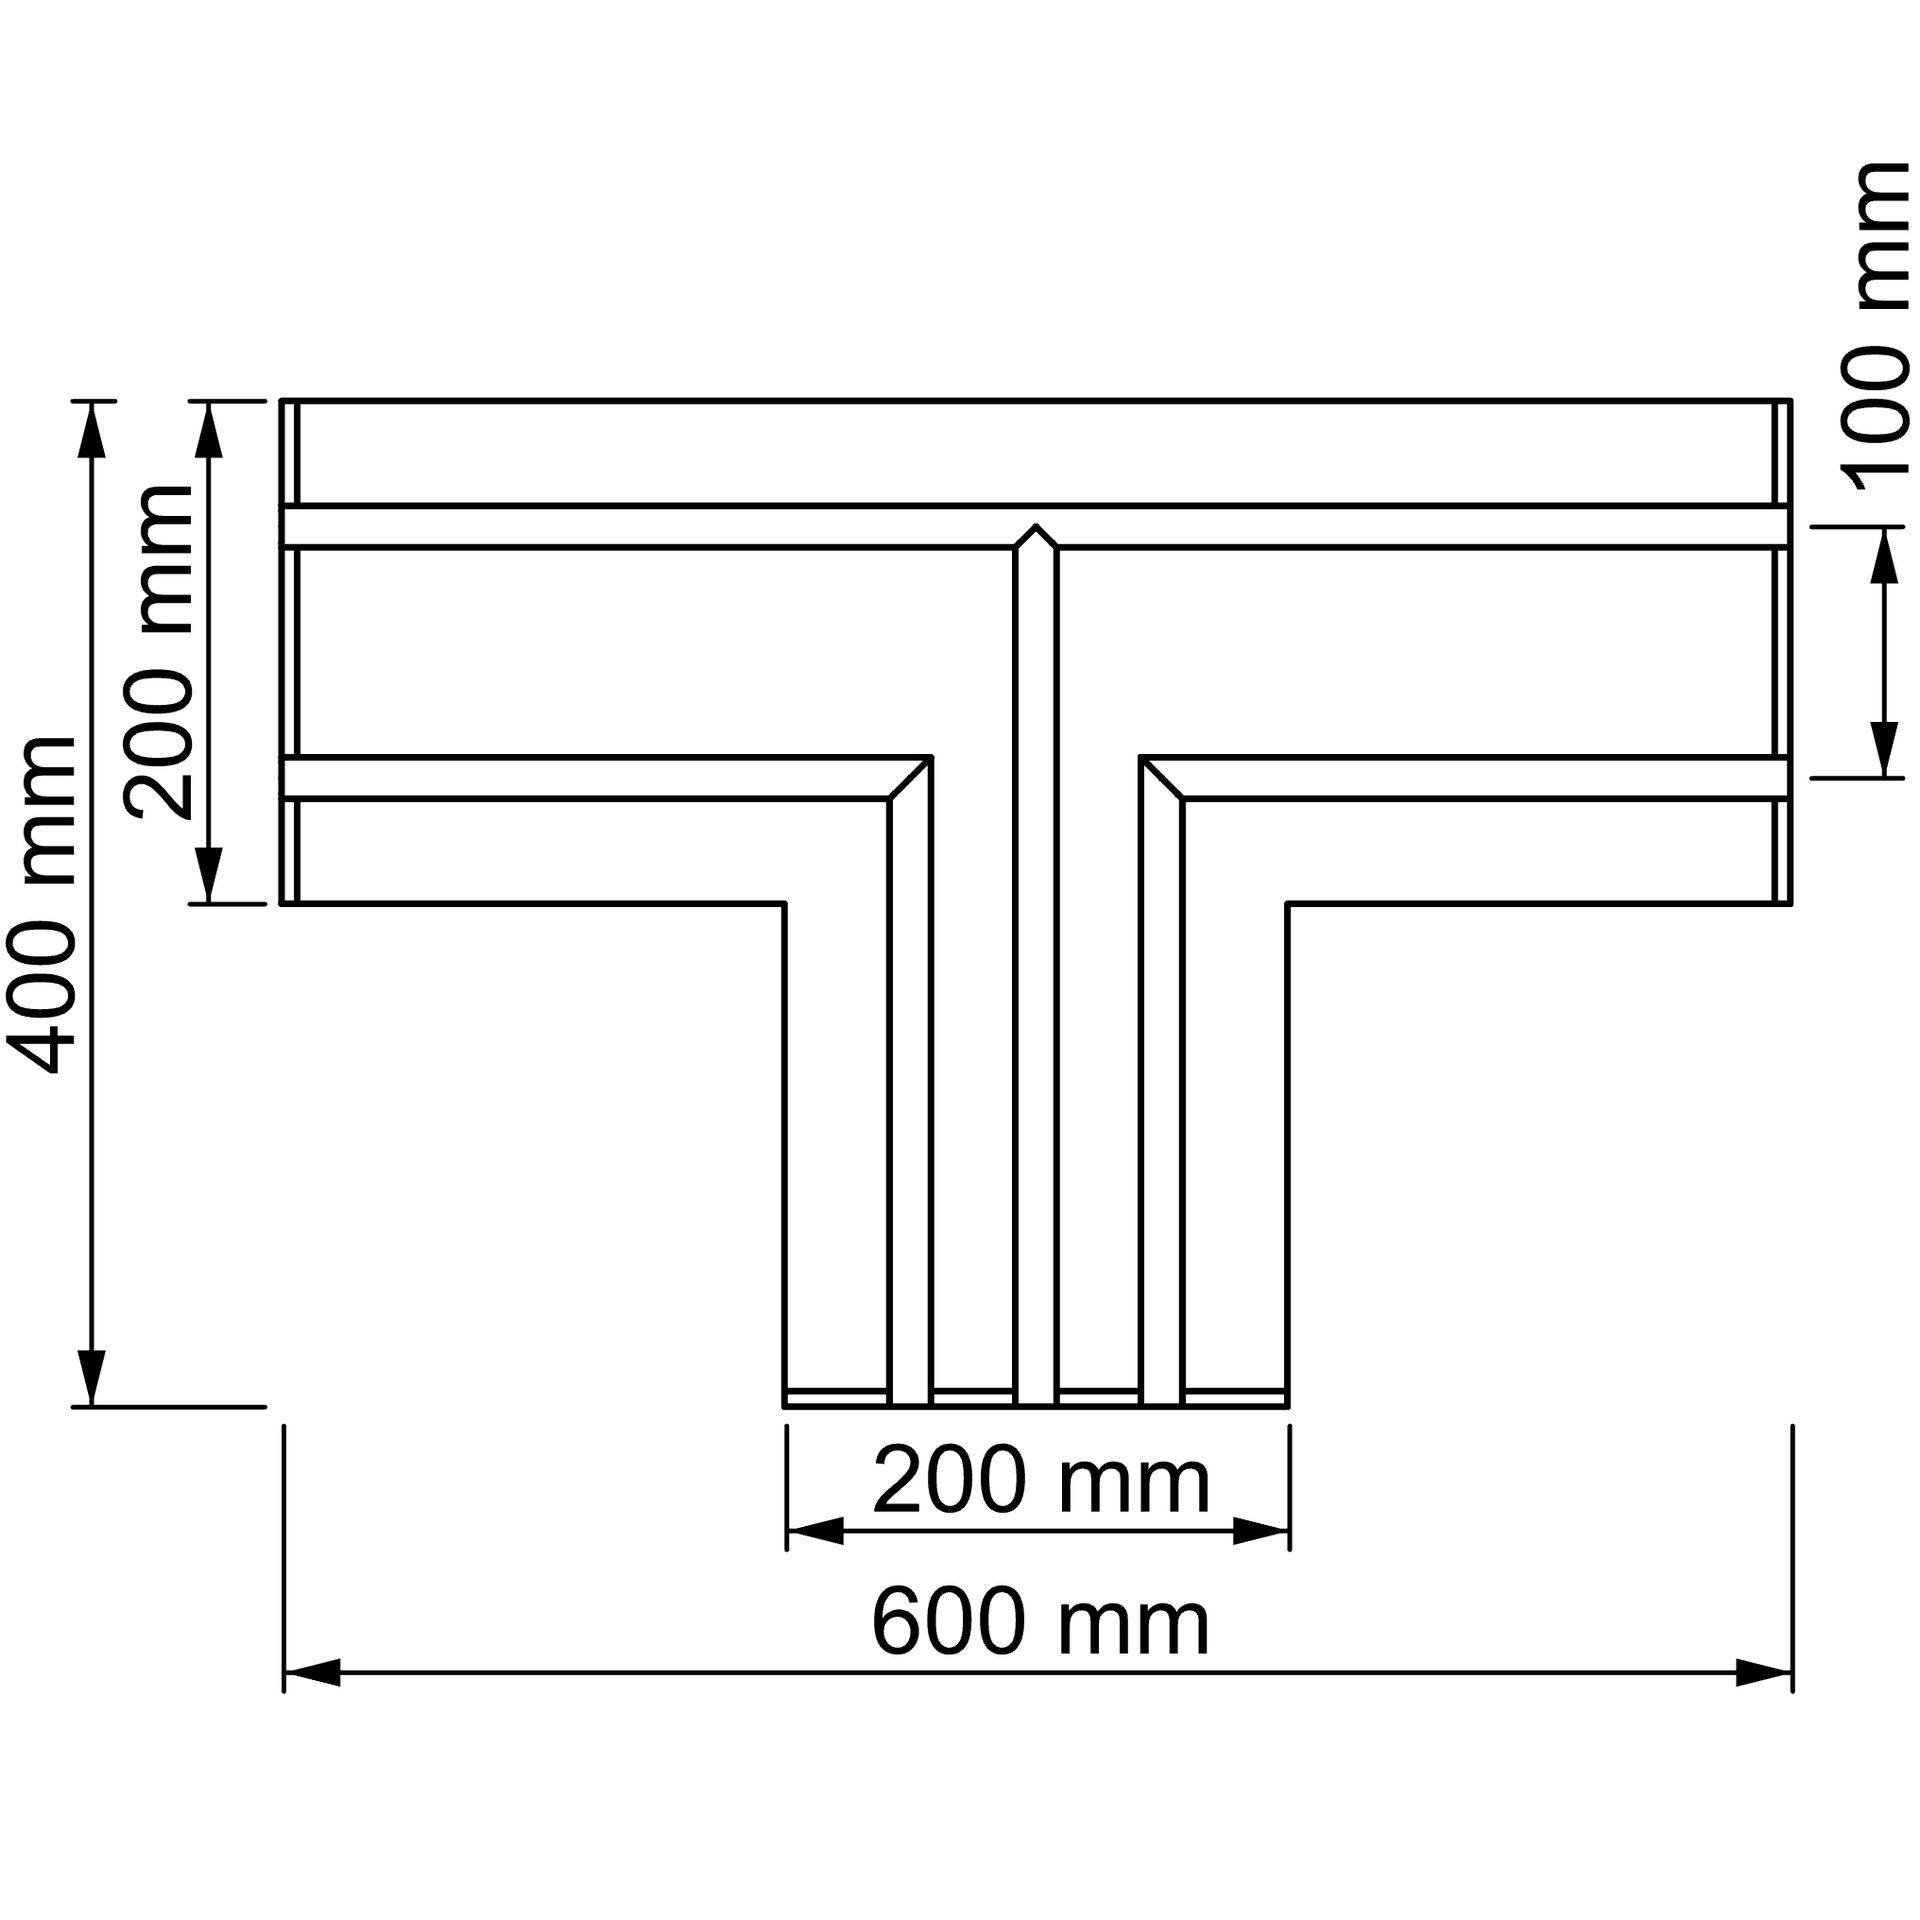
T-element | 2-3
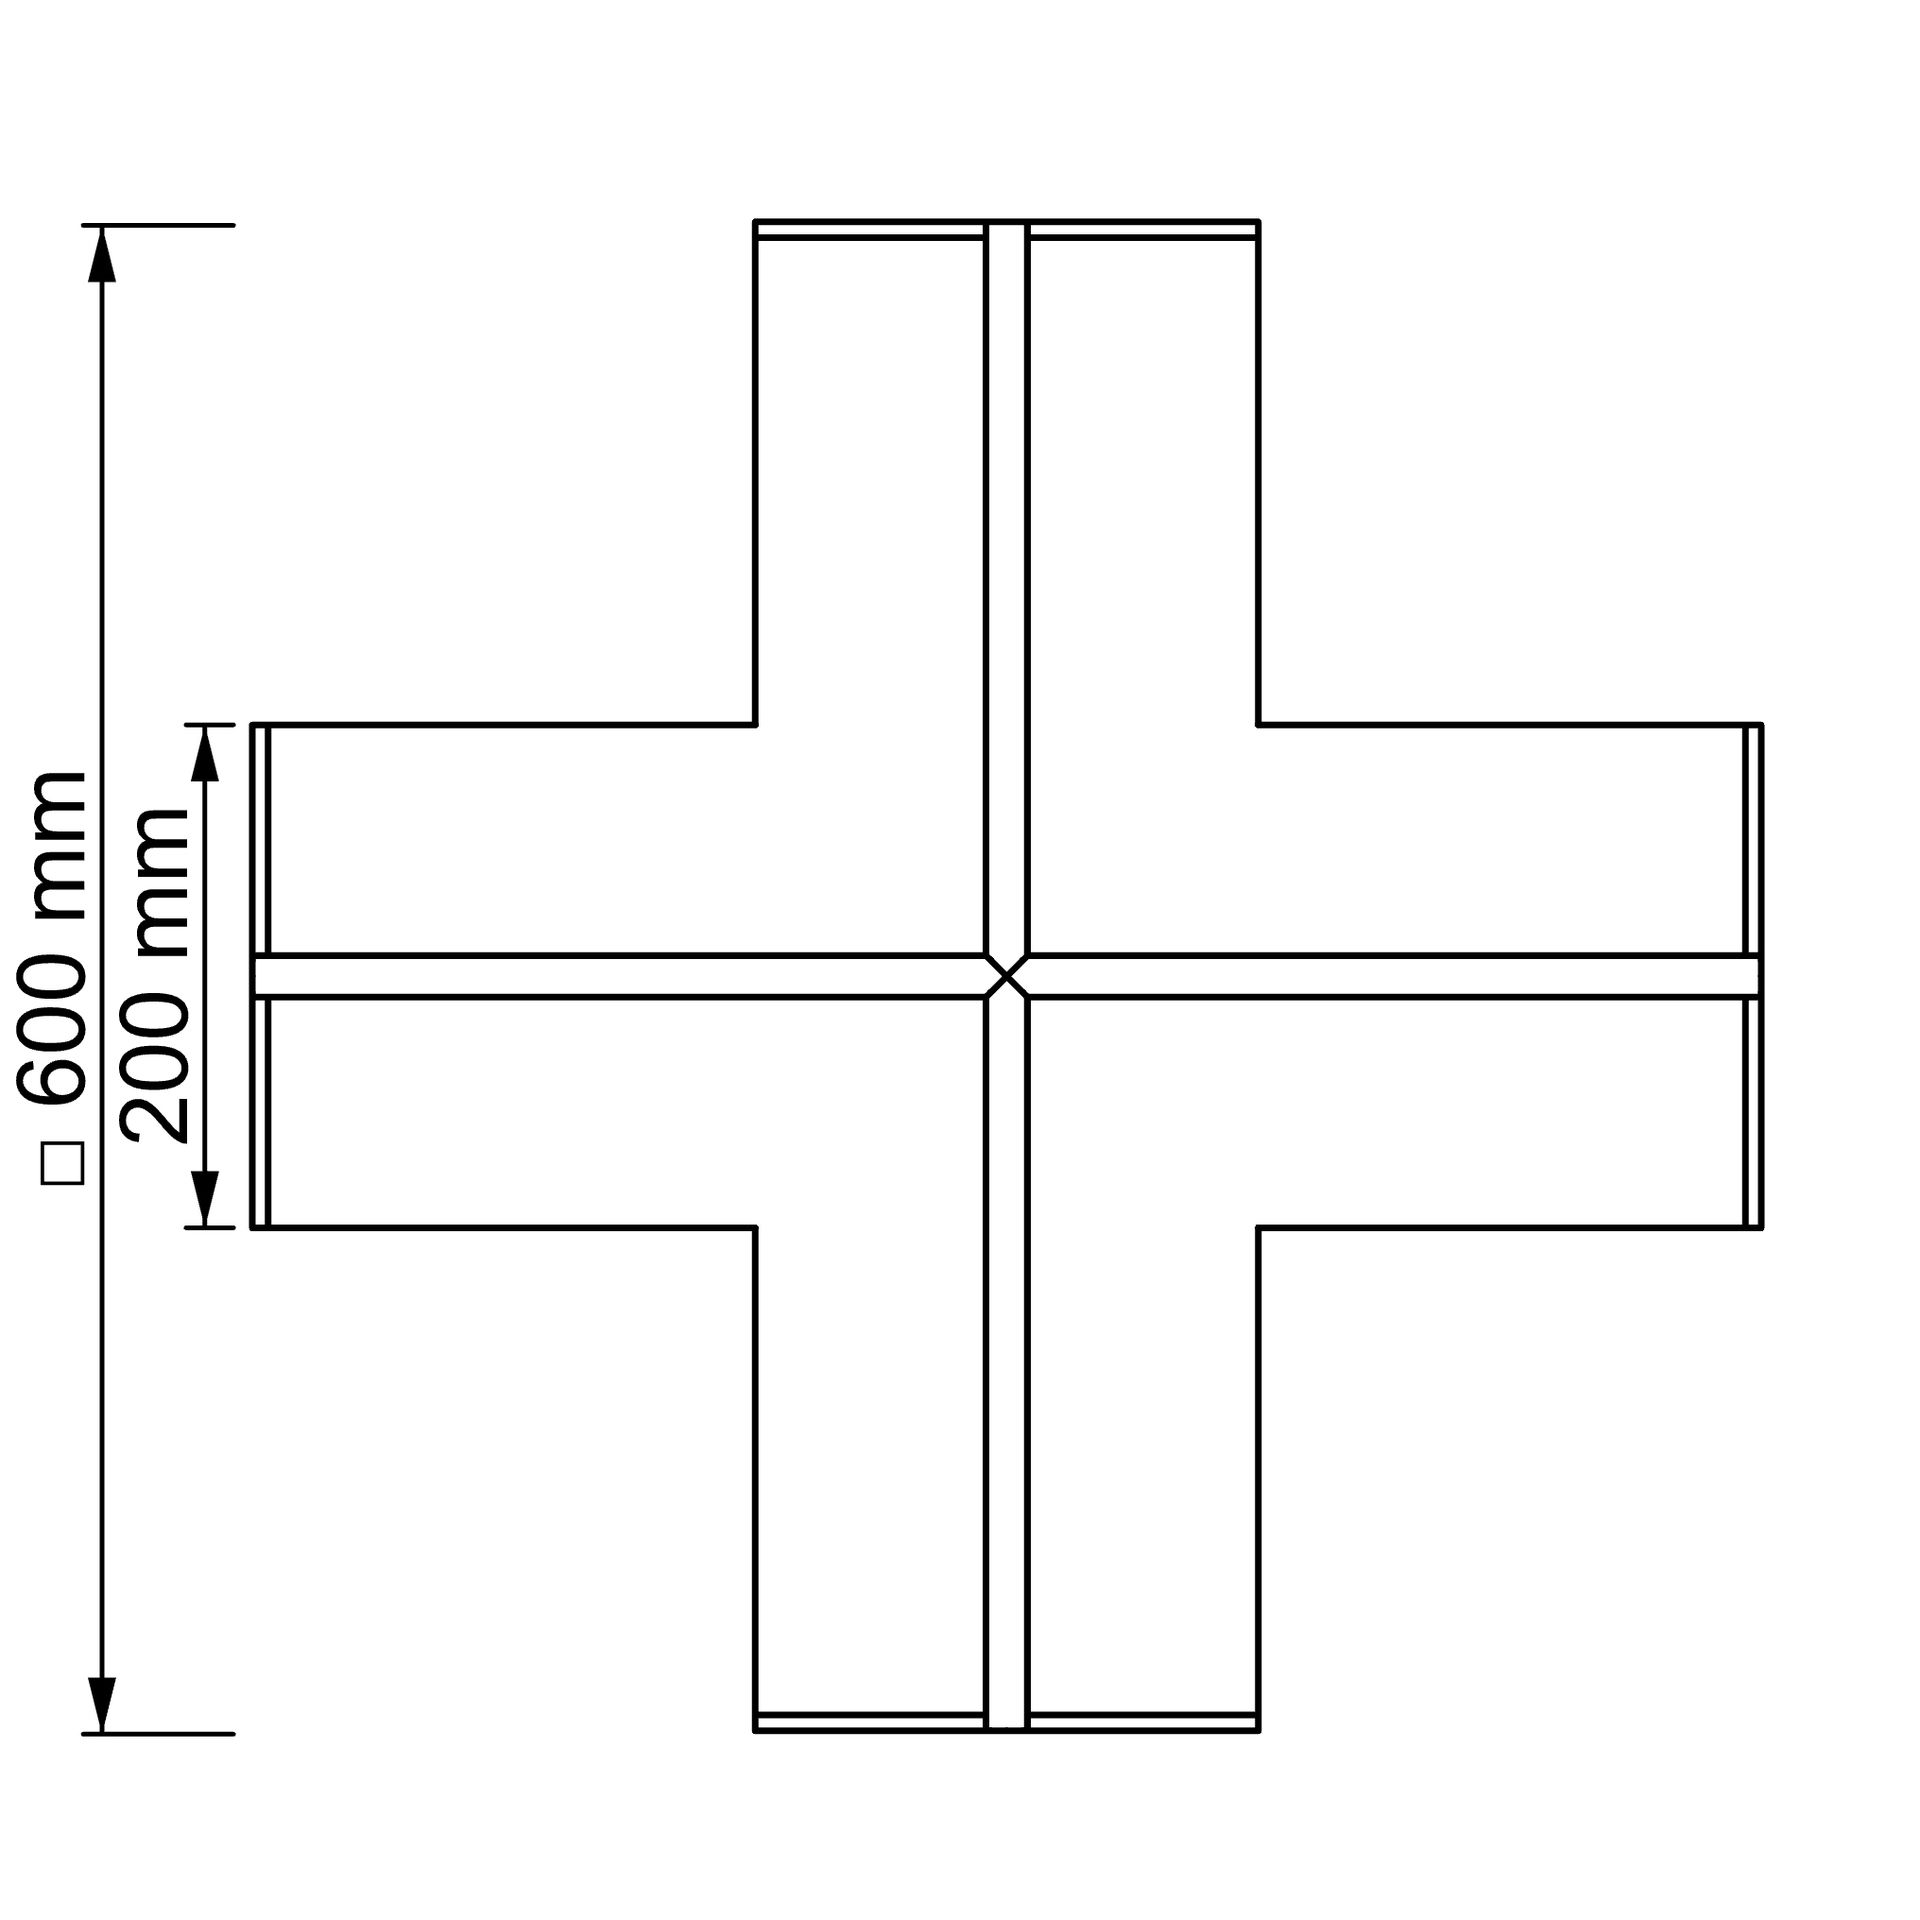
Cross | 1
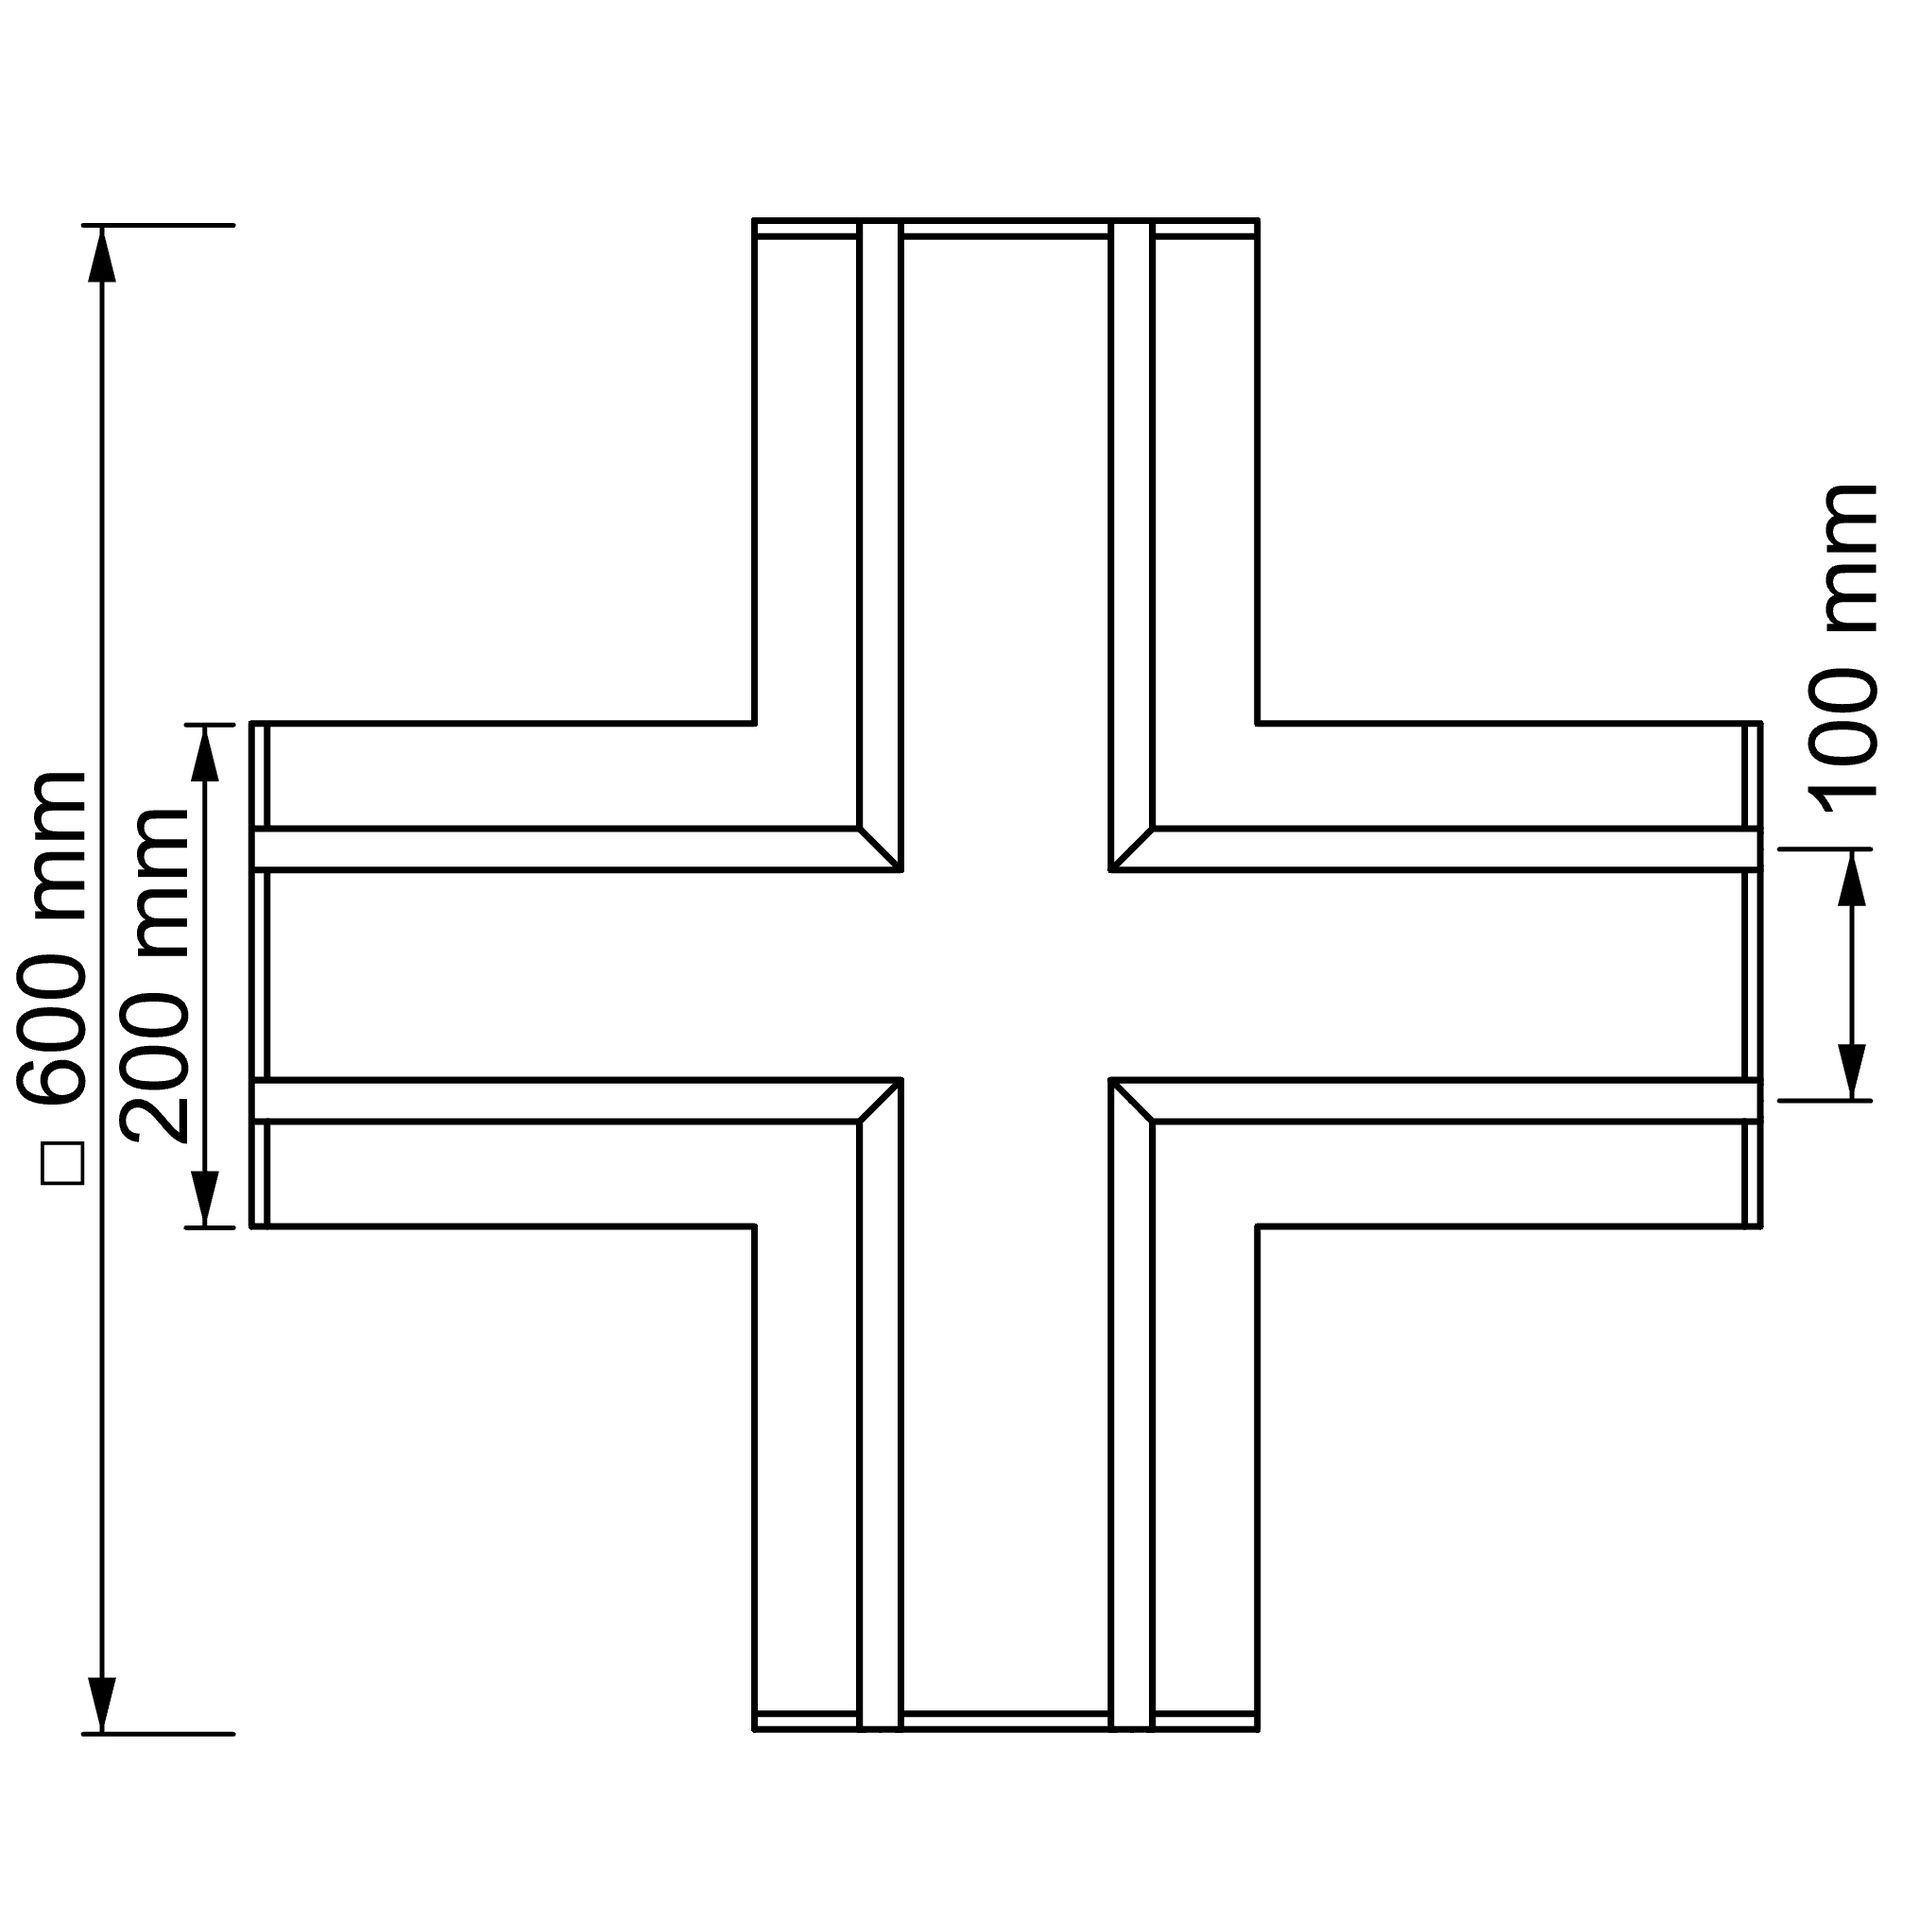
Cross | 2
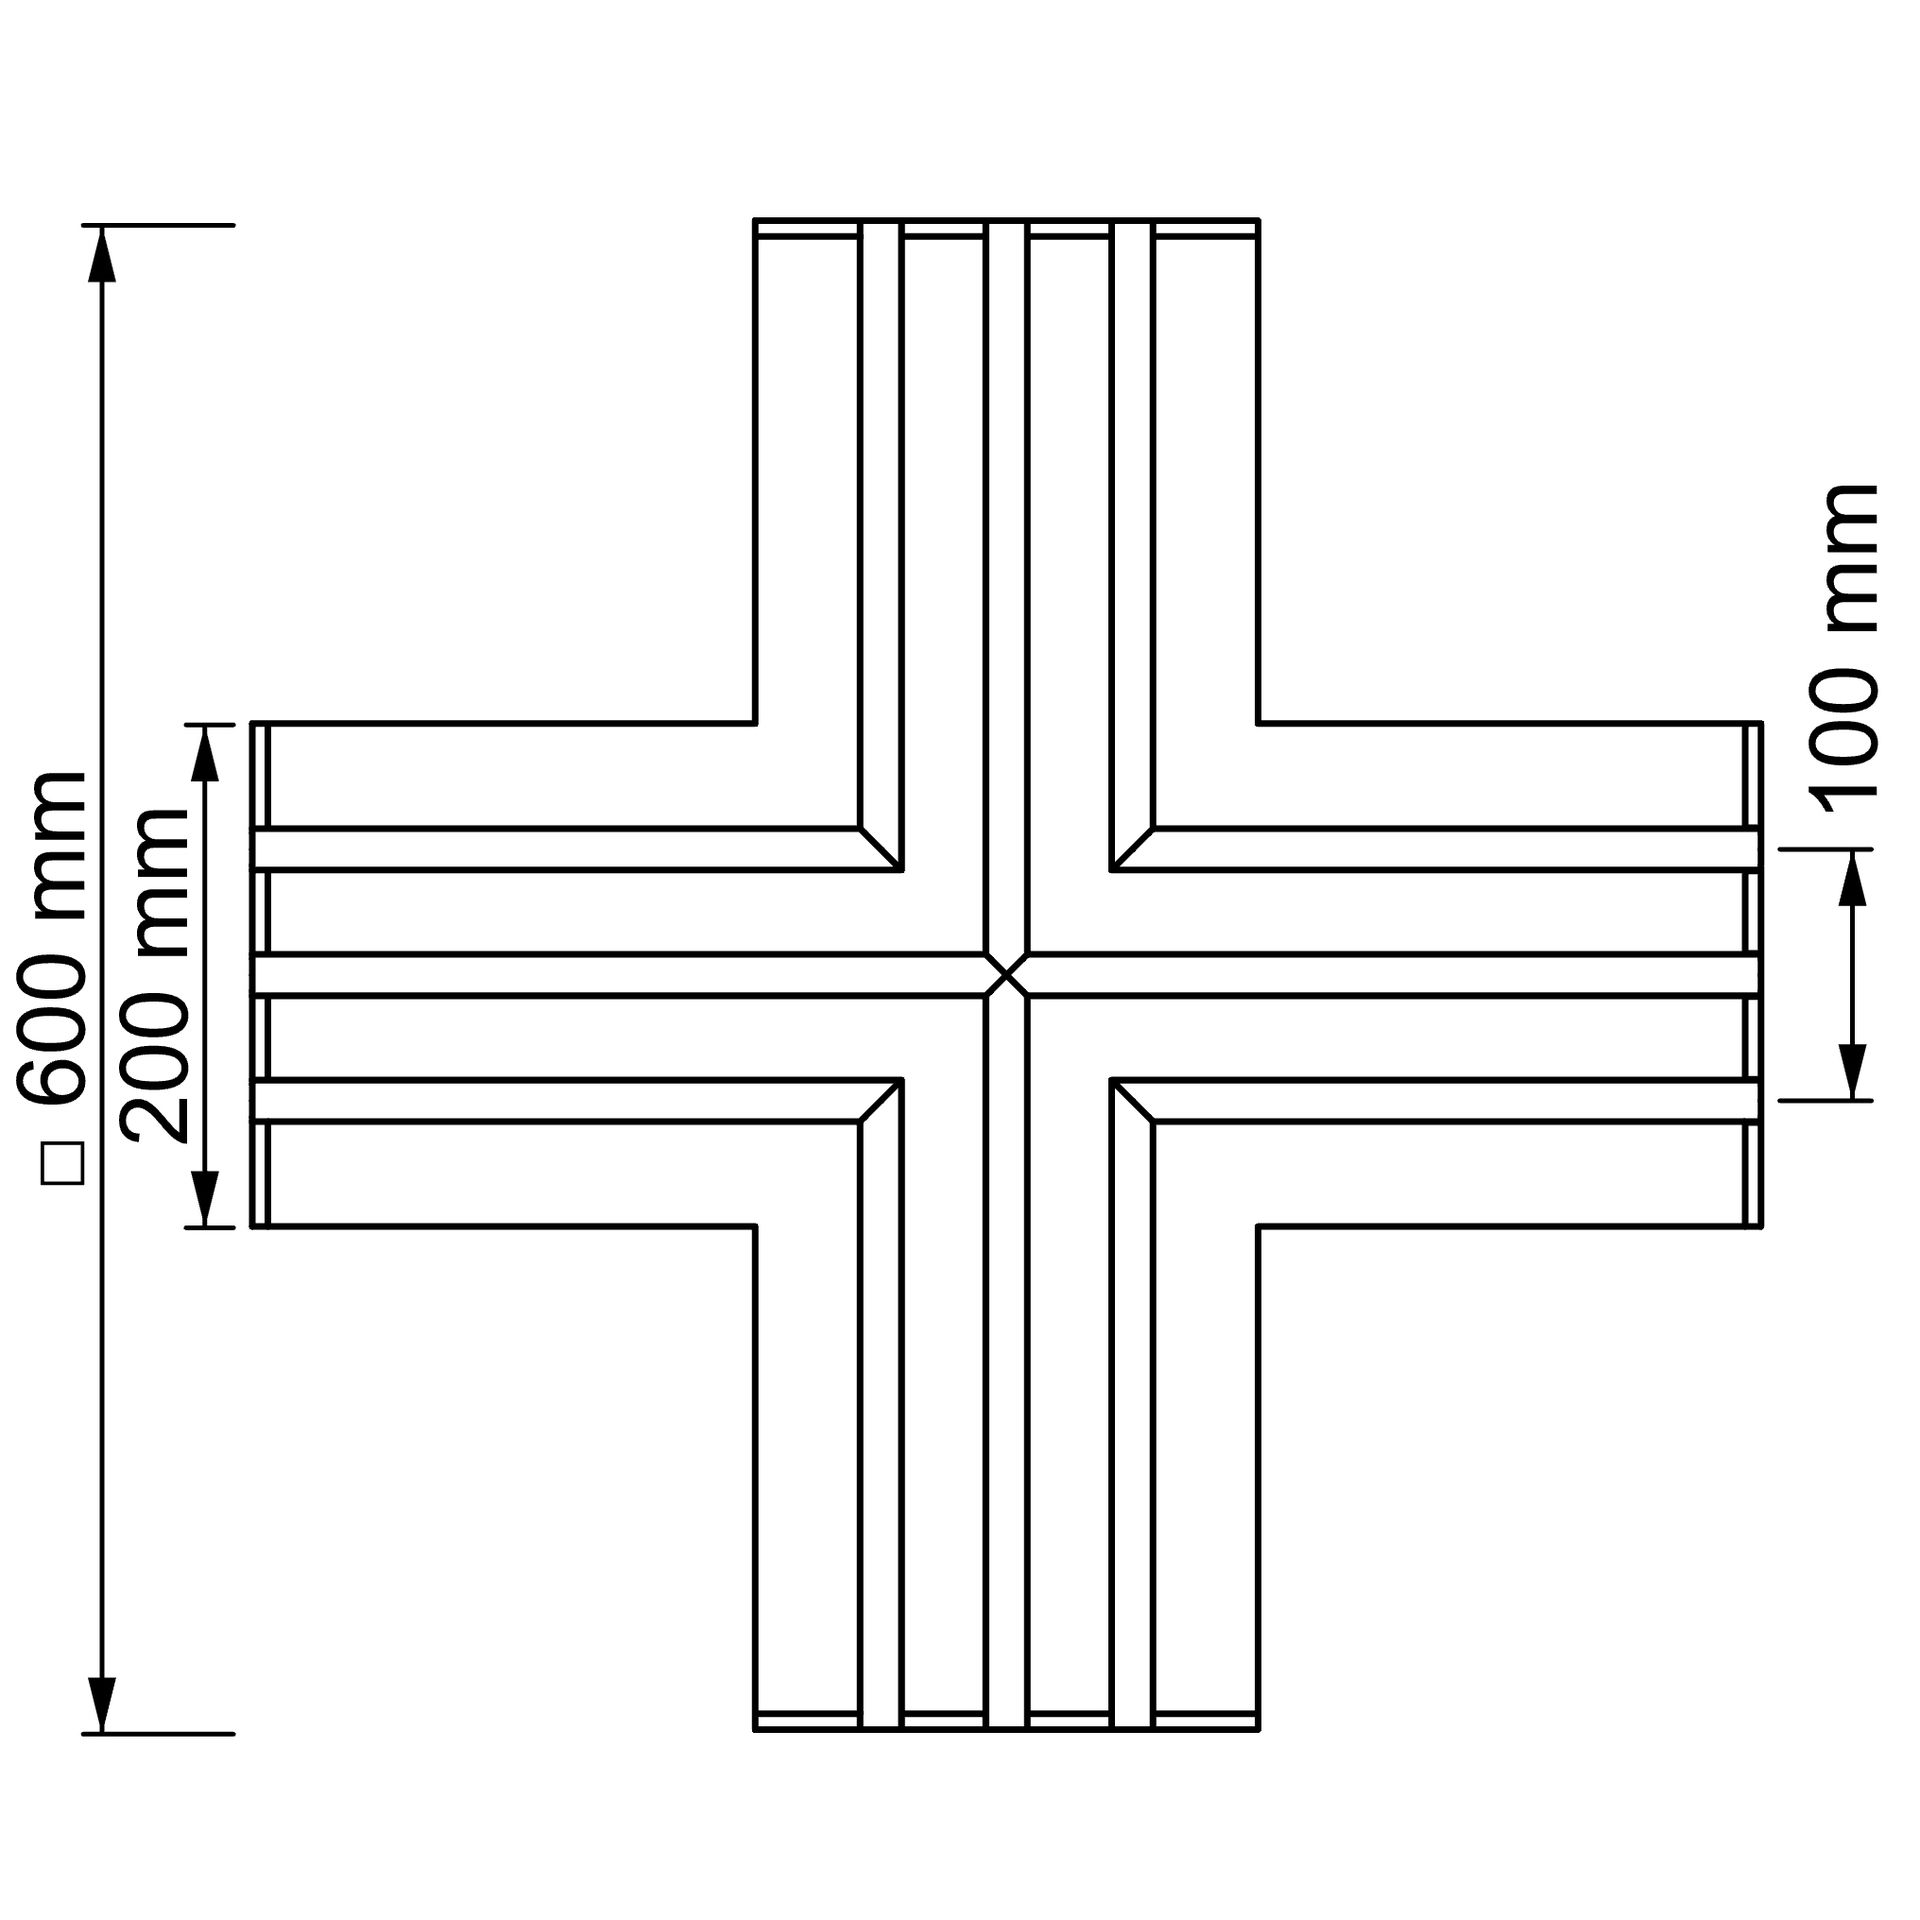
Cross | 3
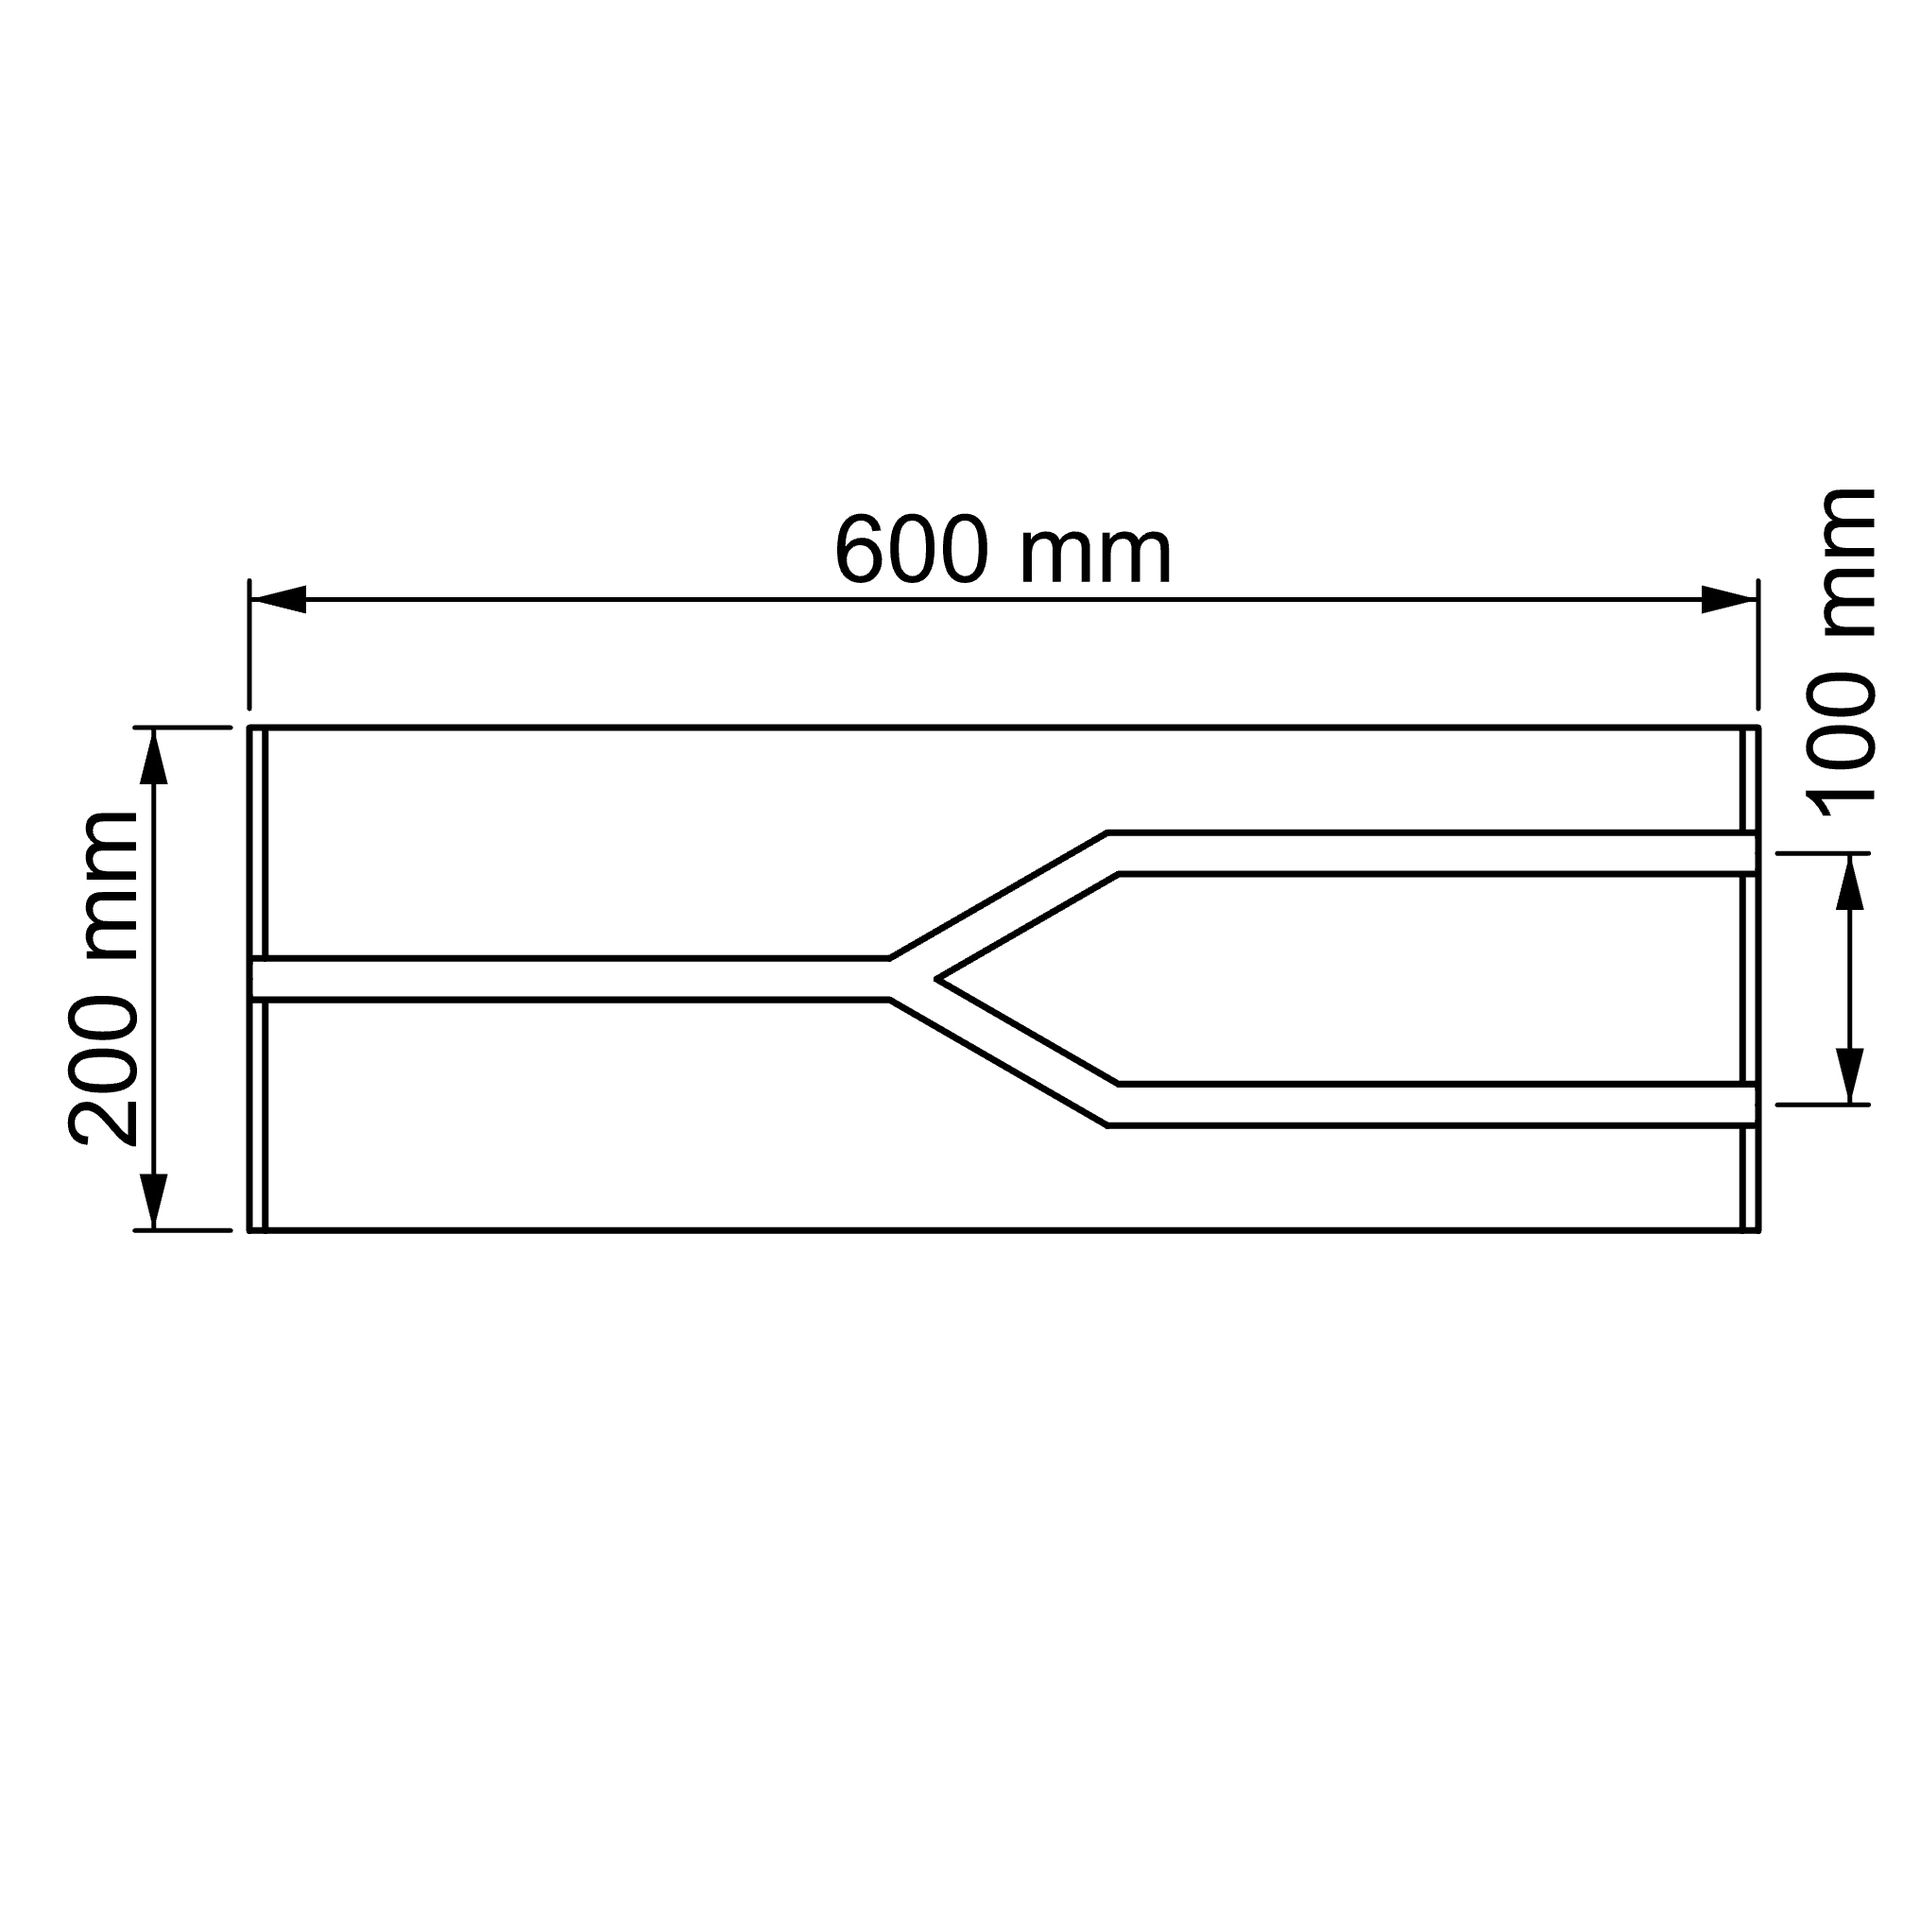
Y-element | 1-2
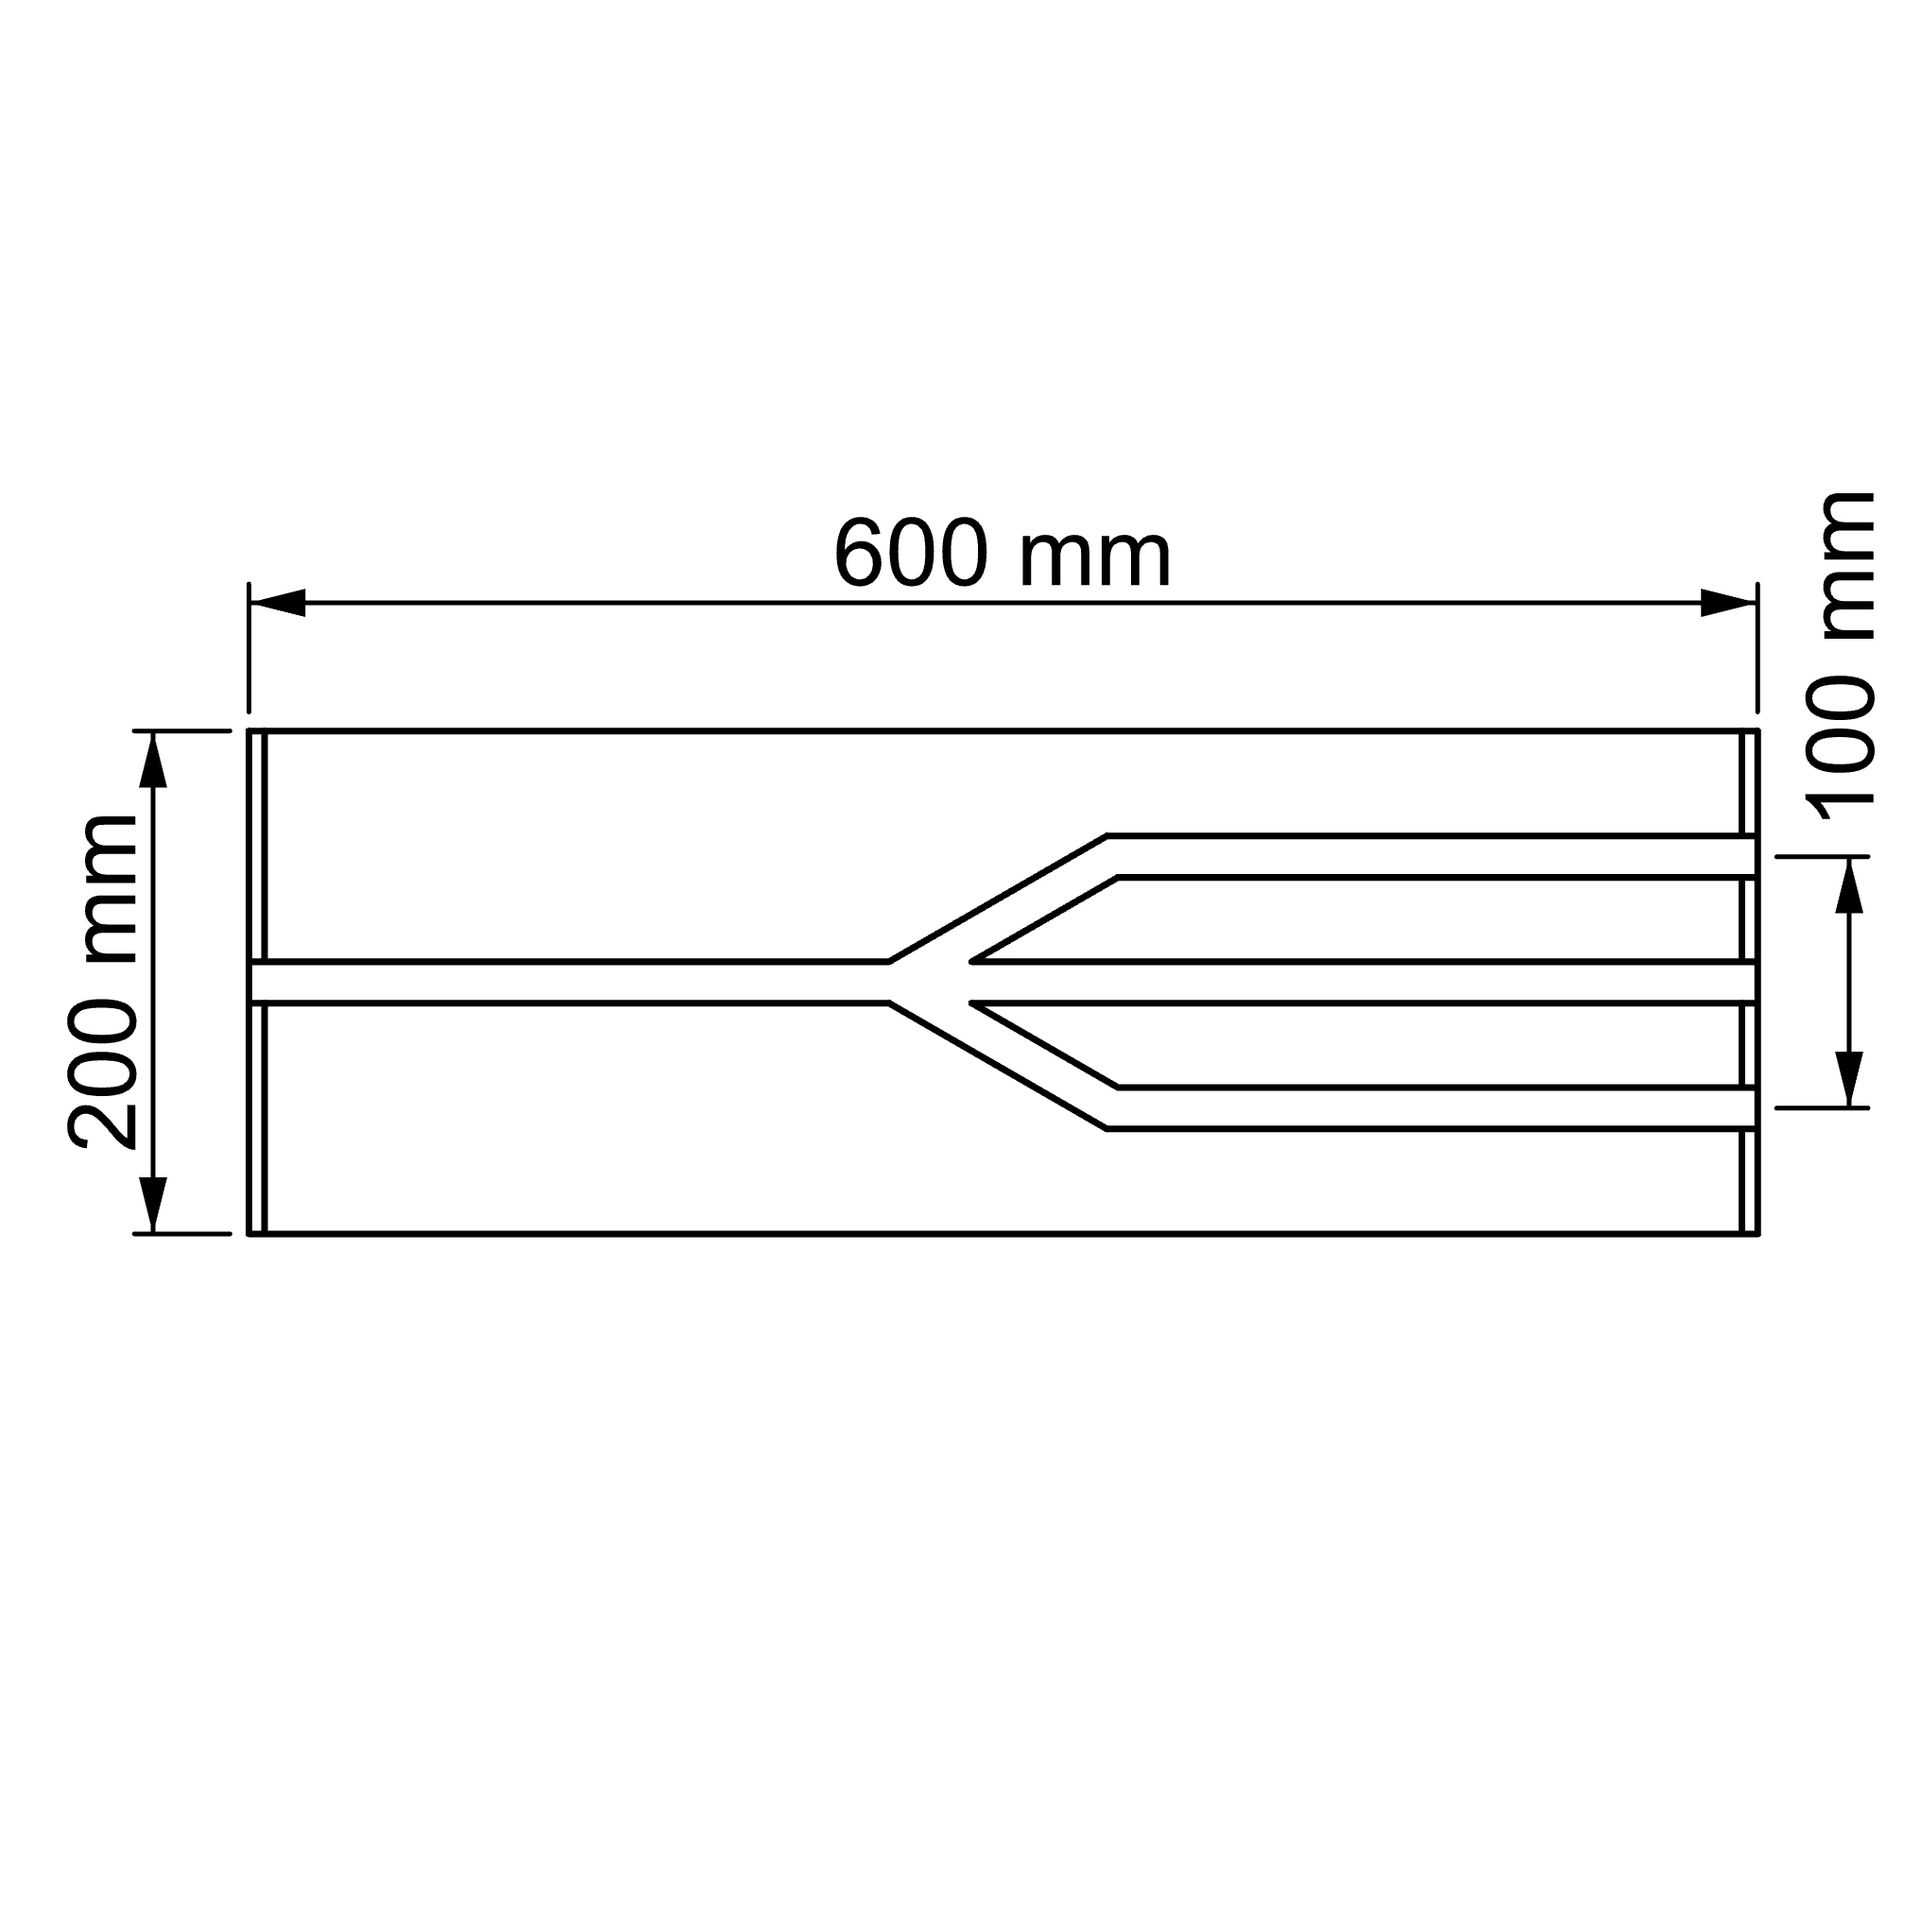
Y-element | 2-3
Check out the two videos on mounting on a substructure made of wood or with metal profiles.
By clicking on the play buttons, some of your personal data will be forwarded to the platform: Youtube. By clicking on these buttons, you agree that we transmit your personal data (in particular your current IP address) to the operator of the platform.
Wooden substructure
Substructure with GK-steel profiles
Direct light (DL) - panels

To install this Web App in your iPhone/iPad press ![]() and then Add to Home Screen.
and then Add to Home Screen.


